


Welcome back to our second session in this series! Today we are going to get started on our transformation, covering everything up until the last coat of paint (Hint: that isn't the last step for me). This step by step process is my ritual for every single thing that passes through my workshop, and as I've said there are probably many, many variations and opinions on this. But it's worked well for me for the last 3 years on hundreds of items so I think it will probably work for you.
So get your brushes out and let's get rolling!
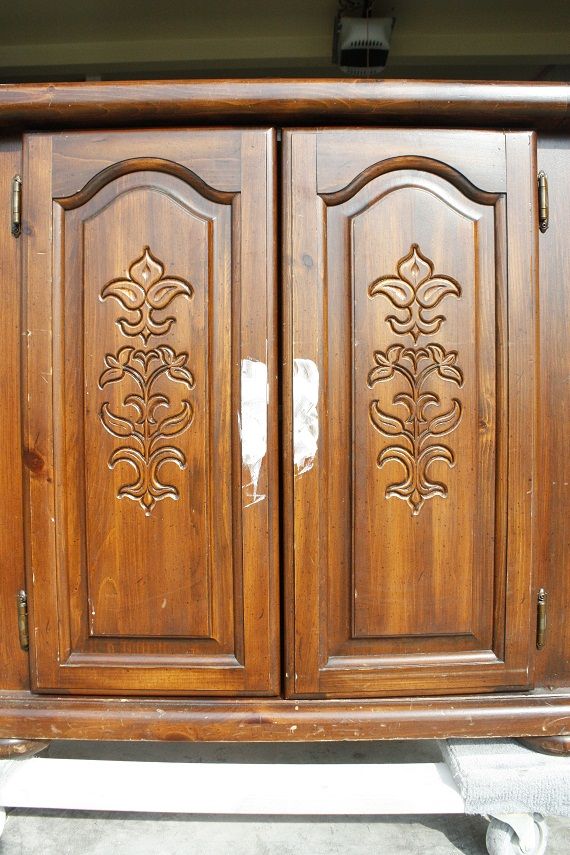
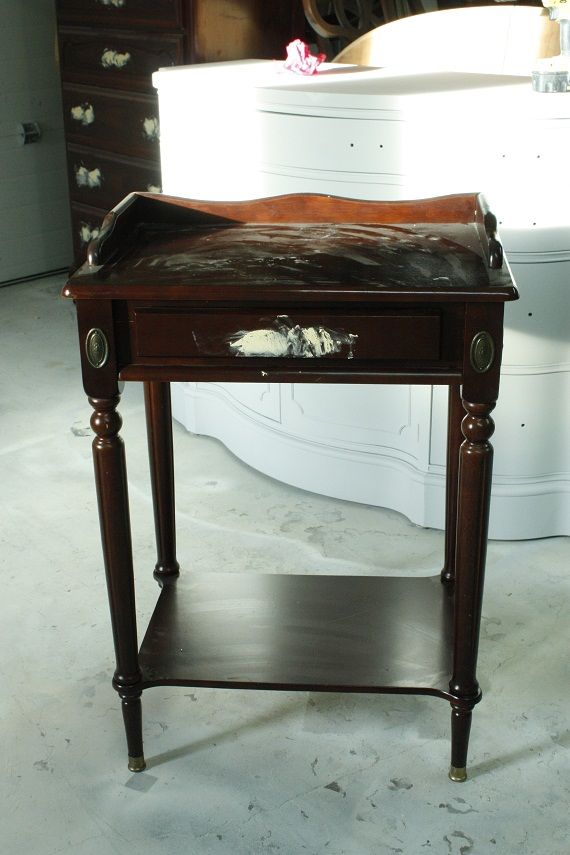
We've covered the tools and what to look for when hunting down your next transformation and now we are going to take that old furniture and give it new life (missed last week's class? Catch up here!). For today's class I am going to take this little wood cupboard from this:
To this:

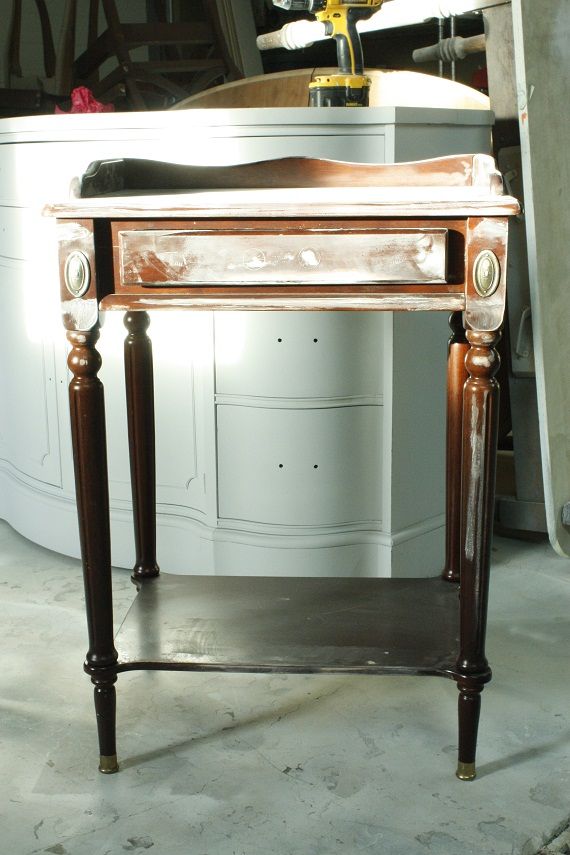
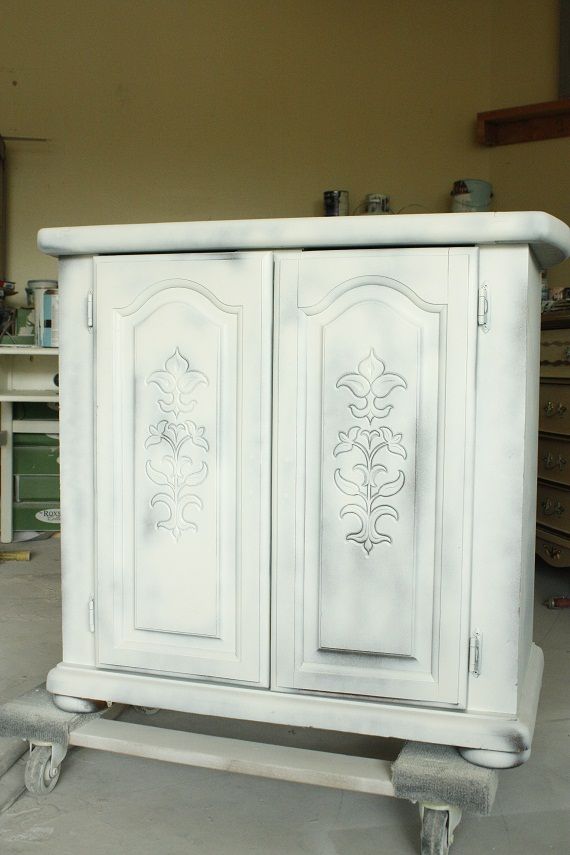
As well as cover how this:
Became this:

Let's start at the very top! You've brought home your furniture, now what? The first step is to find a workspace. It can be inside your garage, out in your yard or on the drive way. The only things that are completely necessary are that it is warmer than 4 degrees C or 40 degrees F, and that you have good ventilation. The reason that the temperature matters is that paint needs to be at that temperature to cure properly. If it is too cold then it may flake, bubble, etc.
Once you've settled into a good spot here is what our steps are.
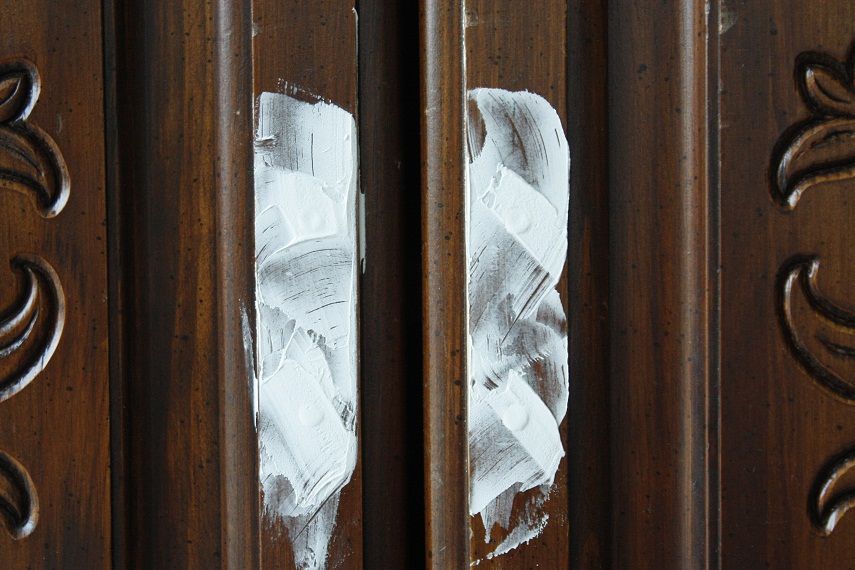
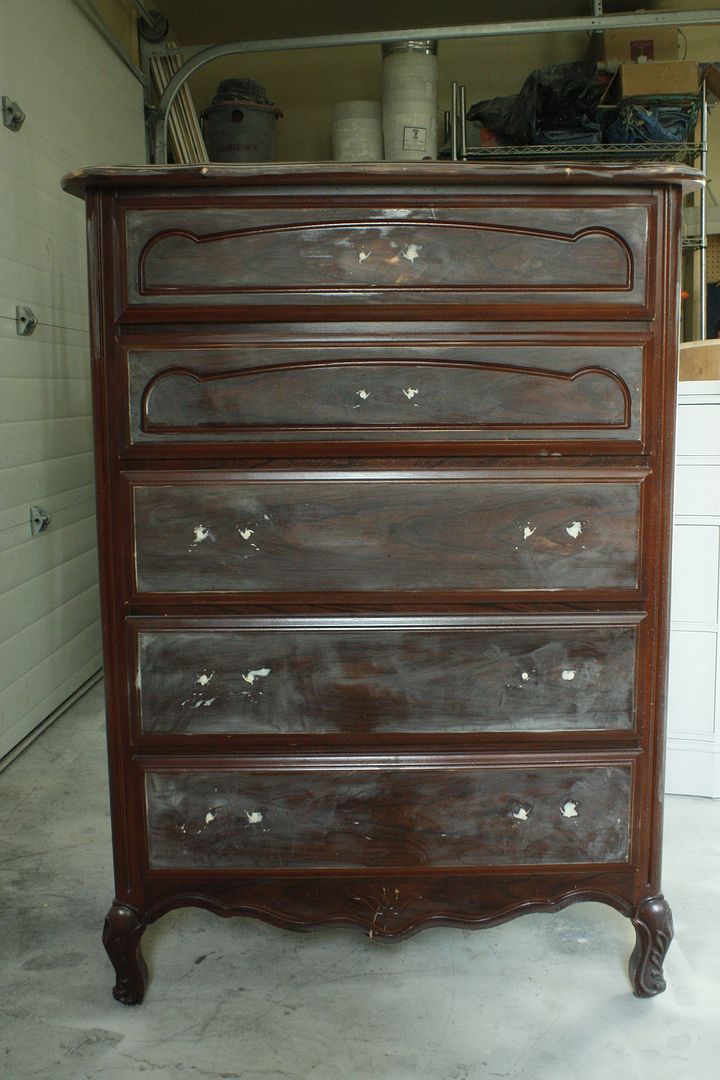
1. Check the piece over to see if any small damage needs to be repaired such as loose hinges, door catches or drawer glides. These are easy and quick problems to solve with a screw driver, fix as necessary. If your piece is in good condition the first thing I do is remove the old hardware. If you like it then store it in a bag or somewhere it will stay clean until we're done. If you don't like it then we will give ourselves a clean slate to choose new hardware by filling all old holes with wood filler/putty.
It is important to slather it on with a putty knife pretty generously. Why? depending on the temperature you apply it at and how long it takes to dry you can get a little shrinkage. Here you can see where the old holes were and that the putty has sort of bubbled out then shrunk in. If I didn't apply a lot of putty the shrinkage would have required another application otherwise the holes would still be visible.

I don't usually worry about filling holes on the inside of drawers since sanding can be awkward and dust from putty is very fine and would make a lot of clean up work inside the drawers.
Often it will take a full day for the putty to fully harden, even when the outside feels dry. So just be patient! I find that when I rush things it usually causes more work in the end so it is best to just do it right.
Once the putty is fully dry it is time to sand it down. Using our electric sander and some fine, 320 grit sand paper we will gently sand it.
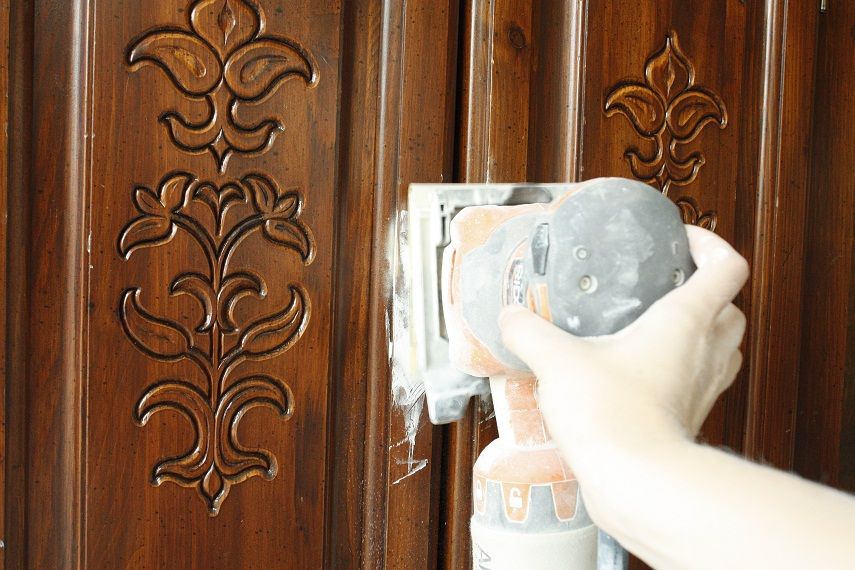
You can see that we went very gently because it didn't wear down the wood all that much and our hole is nice and flush with the wood now! Don't worry about how much putty is left behind as long as it feels nice and smooth/even.
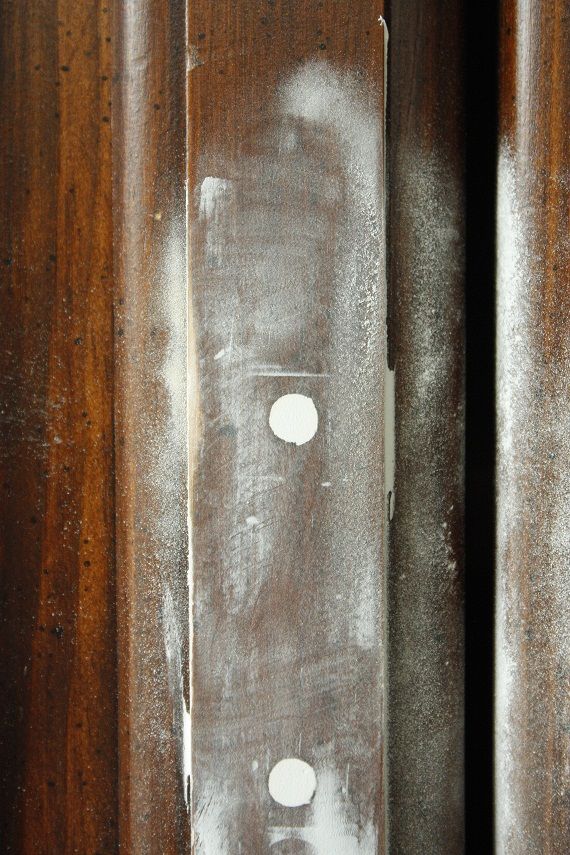
Often old hardware can leave many indentations besides just the holes so it helps to always get coverage on the areas surrounding it as well.

All the white spots were dents left behind from hardware.
Step 2.
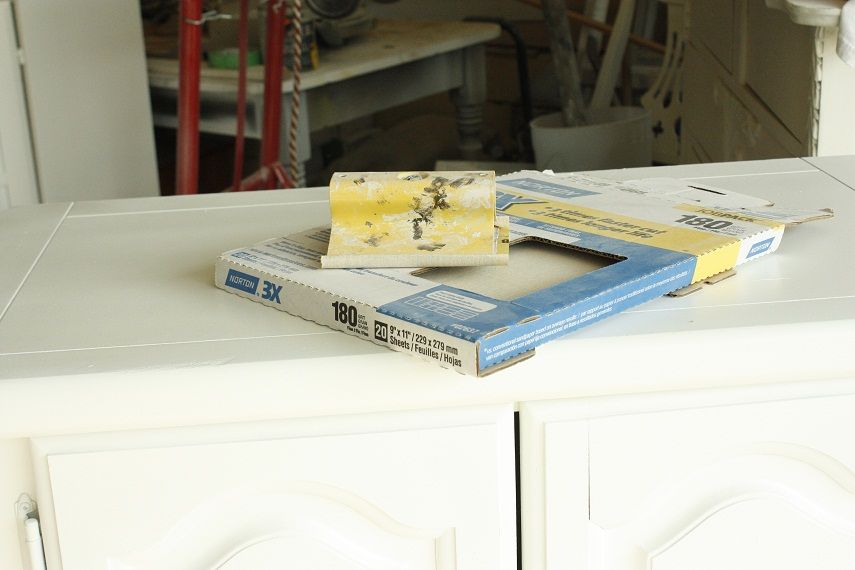
Now that our holes are filled we are going to get the rest of the piece ready for paint! Using 220 grit sand paper we are going to use the electric sander to scuff up the rest of the furniture. If you are working on a piece of furniture that is unfinished already (like many pine pieces are) then you do not have to worry about this step. This is just for those items that have already had lacquer or a finished surface.
Many people spend A LOT of time stripping down the old finish and this is absolutely not necessary for painted furniture. If you are going to attempt a bleached wood finished or some other raw wood look then you will have to dedicate yourself to stripping it (which we will cover in week 4), but for simple paint finishes you are just wasting your valueble time.
We just want to create a rough surface for the primer to adhere nicely to! I always sand the entire piece, but focus specifically in making the upper surface and all edges/corners good and rough.
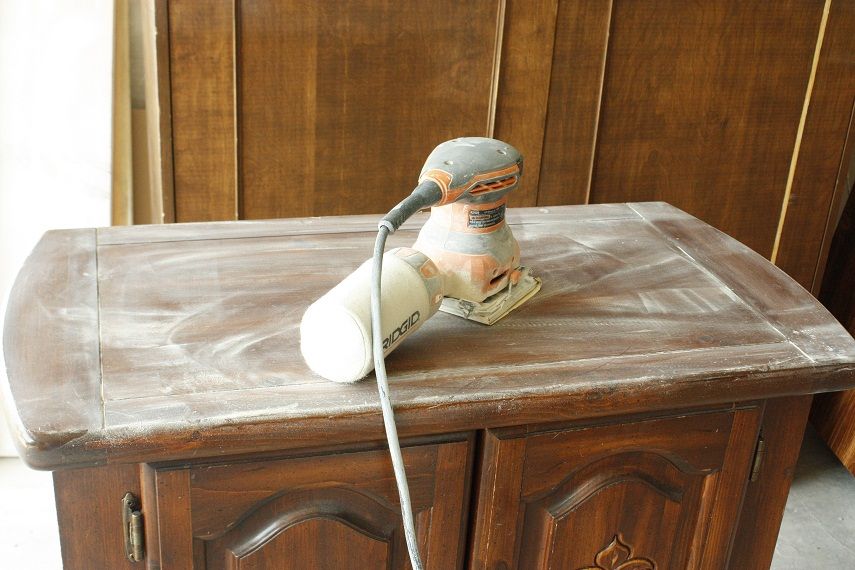
The reason I recommend using 220 grit instead of a lower, rougher sandpaper is that we want our final product to have a soft, smooth finish and sometimes rougher papers leave very fine but noticeable swirls after a pass with the electric sander. So it may take a little longer with the finer paper but the final product is worth it.
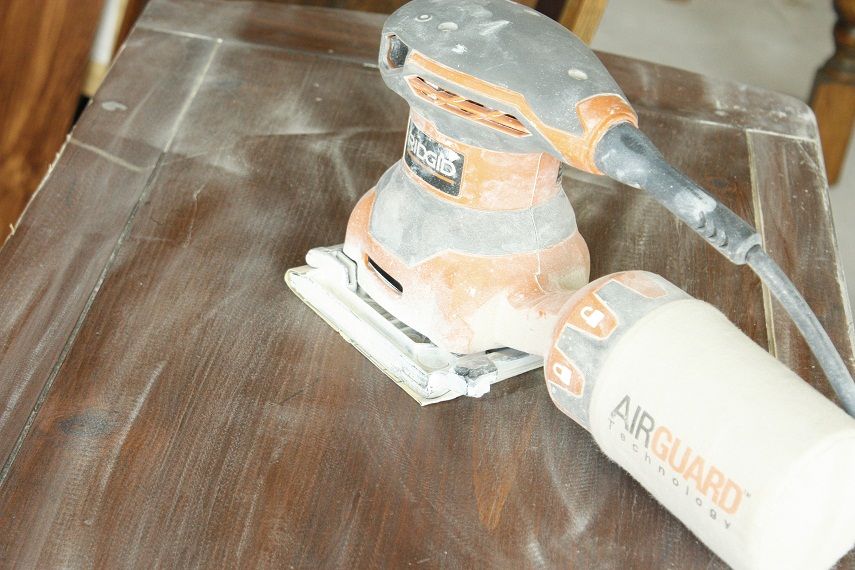
I would recommend spending a solid 20 to 30 minutes on this step for a piece this size and probably 30 -40 minutes for most dressers.
Step 3.
Give your piece a good cleaning after all that sanding. I usually take a damp cloth and do 2 wipe downs then let it dry. It is important to clean well in all the corners and along any ledges. Over time little spills that have accumulated may not be that visible but once your paint is on every so often an old soda spill may seep through and stain your beautiful finished product. So take a few extra minutes to get it squeaky clean now!
Step 4.
We've brought our ugly furniture home, made it even uglier over the last few steps, and now it is time to see it get pretty! Our next step is to prime it.
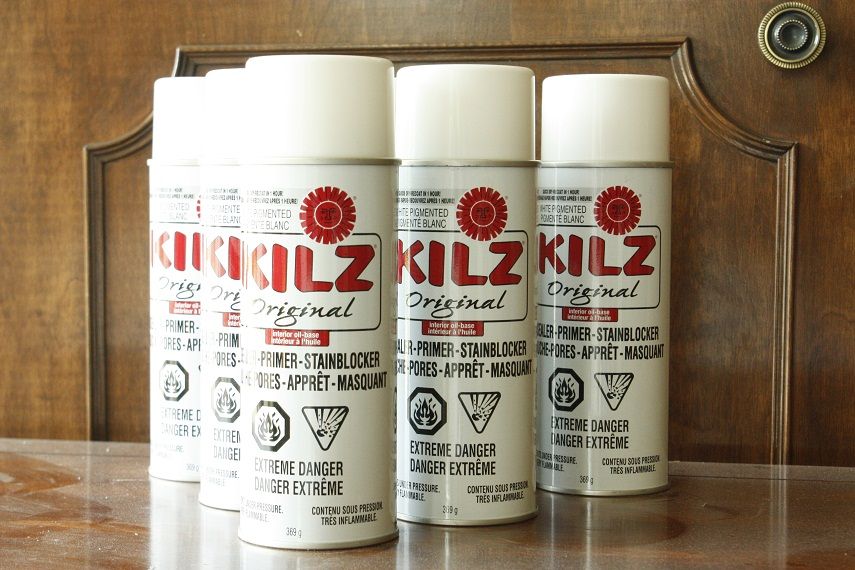
I am a huge fan of Kilz primer and strictly use the cans. But you can use any primer. The only requirements that I have of my primers are that they are oil based. There are a lot of good water or latex based primers out there but I like to feel confident that I am getting the best possible blockage of stains.
"What stains?" you ask? For the most part it is keeping all old stains and smells from years of use inside (a big bonus when you have an item formerly owned by smokers) but wood also has a lot of oil in it and over time it can potential stain your paint finish from the inside out. So oil based primer is just good insurance that your hard work won't be compromised later. If you are working on unfinished wood this is doubly important and in these cases I usually prefer using a shelac finish to keep the oil contained (which I did for each and every plank of our pine ceiling in the kitchen, a solid weeks worth of painting!).
Keep in mind that when you prime with white it doesn't really matter when you are also painting with white or if you are painting a color but not planning on distressing . But if you are planning on painting with another color than white and also distressing you will see the white primer as you sand down. It is just a personal preferance, but I like the white showing through.
IF YOU DON'T want white showing through your distressing then you need purchase canned primer and have it tinted the same color as your paint!
Similar to the sanding step, don't feel like you need to get 100% even coverage and a perfect finish.
I like to prime and paint the inside of cupboards as well, but usually leave the inside of drawers as is.

Our old holes turned out great! No bumps, cracks or unevenness.

Step 5.
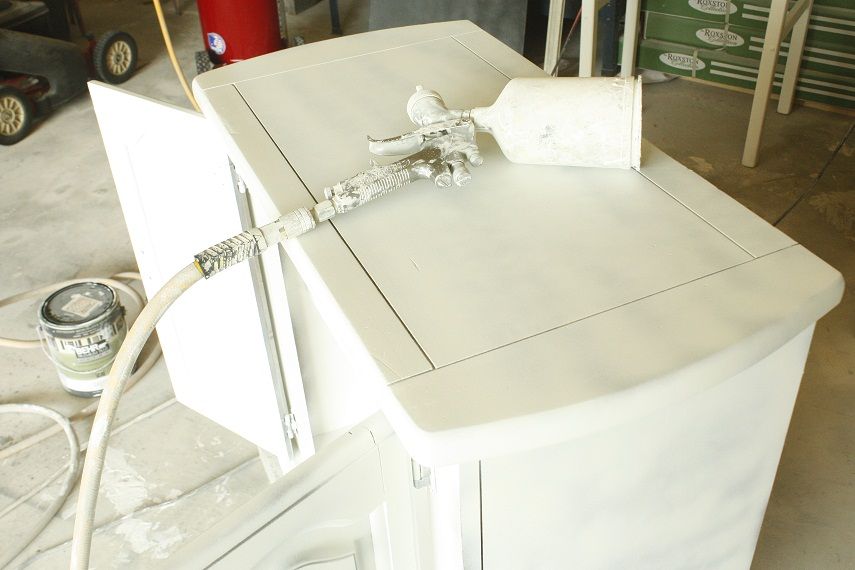
Up until now we have all used the same products and followed the same process. Here is where we can take 2 different roads. I like to personally spray my furniture with a spray gun attachment for an air compressor. The only real benefit to this route is that it saves me time. Many people assume that it also gives you a much smoother finish but in reality it isn't the case and doesn't save any time in that department because we will ensure it is smooth after the paint is dry (we'll cover that in next weeks class). Obviously spraying can seem like an intimidating project if you don't have experience with it and I could easily spend a whole class just on tools and techniques for that (which I may if there seems to be demand) so we will cover this step as if we all had a brush and roller in hand.
BIG WhiteBerry misconception: Everything I paint is white or grey.
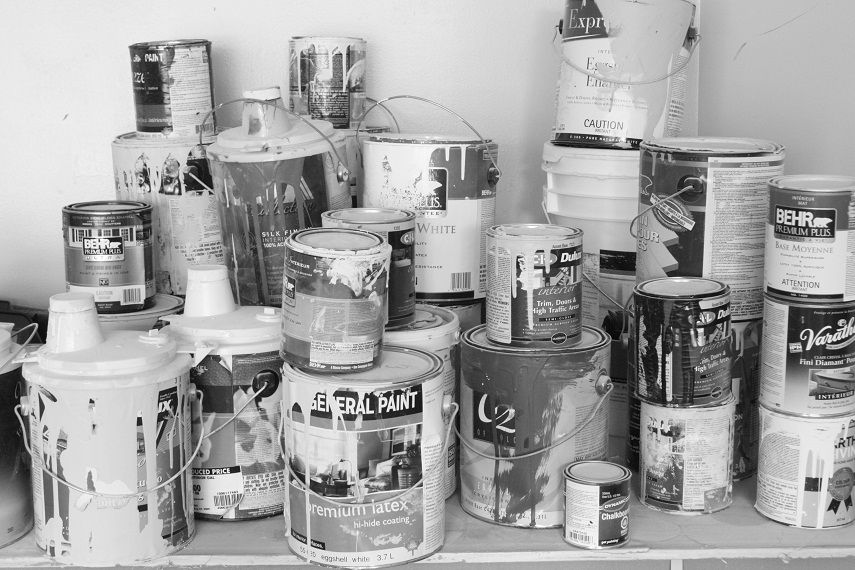
Client projects are almost always colorful! I prefer to use flat latex paint but really any type of latex paint will work nicely.

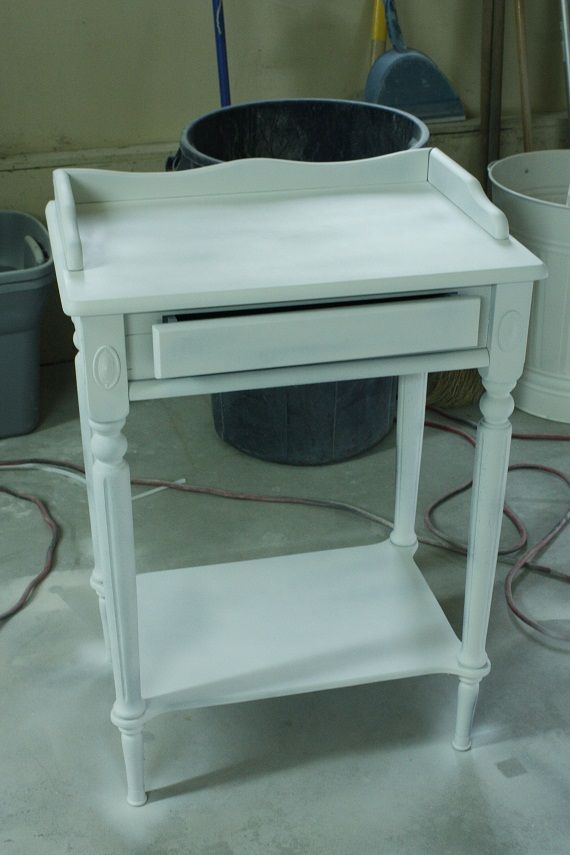
In a small tub or bowl I recommend pouring your paint then watering it down slightly in a mix of 1 part water per 6 parts paint. The end result is that it may take an extra coat of paint because your coats are thinner, but you also will not be leaving a noticeable brush strokes or roller dimples.
This is where it can be time intensive, and a lot of time is spent waiting for paint to dry but if you do multiple light/thin coats your final product will feel much more even and you will not have to worry about pesky drip marks and runs.

Final coat done! Of course this isn't where the transformation ends, but it is already looking like a new piece of furniture.
Next week we are going to cover the finishing steps, including distressing and sealing it up. If you are not planning on distressing your item there will still be lots of tips on getting that silky finish and how to seal it up with different finishes (satin, gloss, etc.)

Until next Friday!


23 comments:
This is great! Thanks for posting these "classes." I would love if you would go more in depth on using the paint sprayer because I just got one for Christmas and I'd love some tips and good info from someone with as much as experience as you!
Thanks for the continuing education! I'm going to try your fine grit sanding process. I usually start with the 100, then work my way up in steps to 22o, then 320.
Always great to learn a new/different approach!
Thank you so much for posting these "classes". I would LOVE to hear more about how to use the paint sprayer! And is it necessary to elevate your piece of furniture up off the ground like you have done? We are working with a concrete garage floor, and I'm interested to know how much of a difference you notice in whether or not pieces are directly on the floor when you paint them.
You are so helpful. Thank you!
Thanks you for putting in your time to help teach us how to do this right!I learned so much and I really have to tell myself to slow down!
Thanks again!
Becca
Thanks for the class! I'm thinking of trying a sprayer next time, so please do a class on sprayers!
Great post. I was excited to see your tip about watering down the paint. I always wondered about this and tried it when I painted my bedroom furniture, but I only did that on the last coat. I am going to try it with all the coats!
This is awesome, Holly!! Thank you so much for taking the time to share your tried and true tips with us!! I still have not managed to paint one single thing yet (there's like 4 pieces I want to get to) but this is going to come in so handy down the road. Can't thank you enough:)
So were both of those pieces solid wood? Is there a different primer/step that needs to be taken to paint something that isn't wood?
Thanks so much for the in depth classes! I can't wait to keep reading. I have a stash of furniture that I am in the process of tackling. Thanks again!
I am ready to tackle my bedside table I got for 20 bucks but I need a paint color that's a hard decision for me.
Thanks for your class!
Great post! I can't wait till next week. Thank you so much for doing this!
Sherry's Bees Nest
Thanks for doing this class! I read all your posts but rarely comment; however today I wanted to let you know I appreciate you sharing your process for painting with all of us!
You are killing me in anticipation ya know...I am not a patient person and want to keep going and see the end results....BUT I will be patient this time as the end result will be AWESOME I know!
Thanks for taking the time to show us step by step. You are very generous :)
Hugs,
Natalie
Little Prairie Girl
You are going to have great karma for life for sharing this information! I love that this is what blogging is really about. You are not trying to commercialize it, just sharing some great tips with some great people! Thanks so much!
PS! I also got a paint sprayer recently, and would love more info if you would be willing to share...
This was great. I didn't know watering your paint down would help with brush strokes. I have been thinking about purchasing a sprayer so I would love a post on that.
Thanks for posting!
Is Latex paint, just a normal matt water based wall paint?
I also have a sprayer that I haven't quite figured out. I would love a class on using a sprayer.
These classes are fabulous!
Your classes are sooooo very helpful and I love all the details. I would love more info on the paint sprayer too and any advice on how to use one the most effective way. P.S. I also would like to know about keeping pieces off of the ground especially larger pieces.
Yes, yes, yes...we DO want to know which paint sprayer you use!!!
yes I need help with my sprayer!!!! please touch on that!
Great post! I came across it after searching for how to paint furniture. When you paint your furniture white, do you use a pure white or an off-white? Any recommendations on which brands of paint are the best?
Post a Comment