Thursday, March 28, 2013

Happy Easter

 photo _MG_4860_zps783e3b32.jpg

From our family to yours, have a safe and wonderful weekend. 

xoxo Holly


Wednesday, March 27, 2013

Things that make me Happy

 photo _MG_4829_zps2126e7fa.jpg 

Happy short week everyone! Sorry I've been MIA this week. We had a MASSIVE snow storm here late last week which threw a wrench in some plans, and ParkView has been eating up my time pretty much everyday this week. It is like night and day in there from just a week ago, although I've had my share of struggles there this week (more on that in my next update), and it has been exhausting.

But instead of focusing on my frustration I thought it was about time we talk about what is making me forget my cares and sport a smile. 

{ Eggs }
Wren is thrilled with the Easter season this year. She had been begging me to dye eggs with her since February because it was the thing she remembered most from last year. I finally caved and we did some last week. She wanted to do shades of pink and purple and I have to say, she definitely has an eye for color. 
 photo _MG_4836_zps4b3c0601.jpg 

{ capes }

I found this one for Wren back in December and kind of thought it was the coolest thing ever. So I kept my eyes peeled for one while out thrifting. My persistence paid off when I scored this vintage wool cape for $14. The fact that it matched my new Joules boots perfectly was too awesome (yes, I still say awesome from time to time).
 photo _MG_4841_zps81346499.jpg 

{ baking twine }
I'm new to the scene when it comes to wrapping food in twine. Seems kind of 'Martha' to me, but geez it's pretty and takes sharing snacks to a whole new level. Plus it makes me feel like a way more accomplished baker than I am. It's a win-win. 
 photo _MG_4701_zps99759361.jpg 

{ lip balm} 

Proving I'm not the only person frequently using the term 'awesome', the Awesome Balm etsy store has me hooked. Cold, dry winters are not your friend when it comes to soft lips. Wren and Sean have already claimed most of my collection... so I will be restocking again soon. Now that I have my own etsy store I am more addicted to than ever to browsing and shopping all the amazing stores on there!

EDITED TO ADD: wow! Rose from Awesome Balm saw this post and just contacted me to give us all a 25% off coupon! Use FUNLANE25 
THANKS ROSE!!
 photo _MG_4820_zps92559a1a.jpg 

{ chocolate }

Let's be honest, this would be in every Things that make me Happy post if I didn't keep reminding myself that swimsuit season is only a few months away. This is my biggest weakness and I am just thankful Sean and Wren got to these cute little chicks before I could. But the pile of Easter chocolate only seems to be getting bigger, so I plan on indulging just a little.
 photo _MG_4729_zps6d678464.jpg 

{ Forever 21 }
I bought Wren an adorable lunch bag for school back in August. It was from an uber popular, fairly expensive local children's boutique. After just over 7 months of use only 3 days a week I started to see mold growing under the oil cloth (which is weird because I only send dry snacks to school and wipe it down to clean it?!). So I took Wren over to Forever 21 and let her pick out on of their make up bags as a new lunch bag. I am kind of obsessed with the Cath Kidston-esque bag she picked, aaand it was only $10. Forever 21 saves the day, again. 
 photo _MG_4638_zps10f3b38a.jpg

These are just a few of the things making me happy, what is floating your boat these days? 

Wednesday, March 20, 2013

Parkview Update

 photo _MG_4036_zps3f665089.jpg

It's about that time again! We are nearing the home stretch... although it will be a hard push to make it all happen quickly. The last few weeks always seem so close, but really there is a TON to be done.

Our biggest update is on the exterior of the house which looked like this when we started.
 photo _MG_0418_zpscd977c7b.jpg 

Things looked much worse before it improved...
inthefunlane photo inthefunlane-64.jpg

And this is it today! We just got a big snow dump so you can't see the pretty new roof, but I am thrilled with the new siding. The new porch is the single biggest improvement, and adds a bit of character to the otherwise boring front. We still have some character to add to the supports and railing, etc. but I am so happy with the outcome.
 photo _MG_4823_zps6016e13e.jpg 

Inside we are getting our wood floors this week.
 photo _MG_4825_zpsddb27ec5.jpg 
And the tilers are starting too!! Our main floors tiles are all going to be this tile, which I'll show you more about later this week. 
 photo _MG_4824_zps6ca4e397.jpg

I am going for a 'carriage house' look in my mud room with the floors looking cobbled together and some dramatic lighting. I can't wait to show you all the decorative accents I have planned for in here. Two of these guys will hang down over the door ways in the mud room, which I am excited to see installed!


I was also excited when this guy showed up on  my door step last week from Restoration Hardware to hang over the kitchen island!


I love the adjustable arms and industrial feel! 

As you can see, things are happening and starting to come together, so expect to be inundated with a lot more updates (sorry in advance!).


Tuesday, March 19, 2013

Bliss and Tell Giveaway!

Today I have a really great giveaway for you! If you  are not familiar with Bliss and Tell by name, I can almost guarantee you have seen some of their work around the internet. They are the design firm and masterminds behind some mighty cute blogs and products. Take a peek at the BLISS AND TELL LOOK BOOK for a quick peak at some of the design & branding work for clients like MISS MUSTARD SEED and HOME STORIES AtoZ.

Here is just a sampling of their esthetic (click the image below to open).
 photo image_zpsfd0c7d03.jpg

Pretty cute, huh? Not only do they create beautiful websites, but they can help you brand your business in all aspects, including custom stamps and a variety of other products.


So I am thrilled that Reni and the team at Bliss and Tell are offering up their expertise, including a custom stamp, to one lucky reader!
 photo rubberstampgiveaway_zps6228e44e.jpg


GIVEAWAY INCLUDES:
- custom design/image
- 1 handle rubber stamp (max size is 3"x3")
- stack of hang-tags
- boxed and mailed to the winner


TO ENTER
subscribe to the bliss and tell blog  OR like the bliss and tell facebook page then leave me a comment on this post letting me know you have done either of those. Entries will be open until March 26 at 9 pm Pacific Time.


Thanks so much Bliss and Tell!!! If you love what you see, and are ready to take your business to the next level just be in touch with reni

Good luck everyone!!


Monday, March 18, 2013

Spring Animal Parade Cupcakes

 photo _MG_4778_zps7f9dc828.jpg 

These fun and happy cupcakes are actually a creation of Wren's and I found them so adorable that I just had to share!

If you have little people or a party on the horizon I am sure these will please everyone.
 photo _MG_4779_zpsc030627c.jpg 

Our project starts with the animals. Wren and I picked up a bag of various animals at a thrift store for $2.99. Some of the animals had stripes wearing off and were ready for a new lease on life. We tossed them in the dishwasher just to get them all clean before we started painting.
 photo _MG_4749_zpsd0d73c01.jpg 

With a few paper plates and our favorite colors of craft paint we gave each animal 3 coats. After they were dry we added a few variations to a handful like polkadots or stripes, but others we just left as is. To do the polkadots and striped we just used the blunt end of a skewer dipped in paint!

 photo _MG_4752_zpsd363b4ce.jpg 

This is where Wren came in. We originally just planned to paint and play with the animals but she really wanted to put them on our cupcakes. I am well aware that craft paint is not edible and probably not a good idea to use on products touching your food. But for a little afternoon fun I felt it was fine. Would I leave the animals on the cupcakes for days? Probably not. For an hour or two? yeah. If you have an issue with it I am sure it would be easy enough to mount the animals on skewers with some hot glue so they don't quite touch.

To give our cupcakes a little hint of color and a lot of flavor we diced and added blackberries to a boxed white cake mix. These adorable baking cups are AMAZING because they don't brown or discolor during baking, I am a huge fan. You can find them here at Sweet Social.
 photo _MG_4762_zpsce19f04d.jpg

All iced up, with a few nonpereils Wren stuck her favorite few animals on enough cupcakes to serve at a family dinner we had at our house.
 photo _MG_4766_zps0e9a8779.jpg 

To top off our creations we used our favorite stamp and made little flags on skewer sticks. A Happy Day, indeed.
 photo _MG_4783_zps3bd59dae.jpg 

The rest of our zoo wandering around, waiting for dessert to be served.
 photo _MG_4786_zpse0cd759a.jpg 

 photo _MG_4788_zps0d3949ed.jpg

Be sure to stop by tomorrow to enter a really cute, customozed giveaway I'm hosting!

Friday, March 15, 2013

Scrap Week Blog Party!

Well, I'm happy it's Friday! and I'm even happier that I can see what some of our friends have been working on in our Scrap Week Party!!

My very last Scrap Week project is a simple, easy-as-pie Spring garland.

 photo _MG_4716_zpse884374c.jpg

The only thing you need is one or two hoops of a wire garland like these. I found these ones at my dollar store but I know that most craft stores have them too.
 photo _MG_4603_zps056c8451.jpg

Four easy steps sum this bad boy up.

First, I doubled up my wire garland for a little my substance. It felt bare with just one strand, but this is just personal preference.
 photo _MG_4605_zpse573a77c.jpg

Then I cut a few more of my scraps into little 5 inch by 1 inch strips.
 photo _MG_4606_zps2d0f63bb.jpg

Tie them on in any pattern or frequency you like.
 photo _MG_4609_zps96aecac5.jpg

Then put it where you please!
 photo _MG_4724_zpscc325b0e.jpg
I pinned one to the table cloth and washi taped another to a wall where I am working on a little Easter vignette.
 photo _MG_4713_zpsb014003f.jpg

I love that it is so light weight that you really can just tape it or hang it absolutely anywhere you want a little festive touch of Spring!
 photo _MG_4715_zps82dd0020.jpg

Pretty cute for $1 in materials and 5 minutes of time!
 photo _MG_4707_zps7bb07d24.jpg

Did you work on a project for Scrap Week? Here's where you share with us!
 photo _MG_4543_zps3af59977.jpg


Please stop by and say hello to all the crafty McAwesome folks who took the time to share their projects as well and I hope you enjoyed scrap week as much as I did!!

Thursday, March 14, 2013

Easter/Spring Tree

 photo _MG_4543_zps3af59977.jpg 
We are nearing the end of Scrap Week, but the good news is that we are just nearing the start of Spring!
To celebrate the Easter season and coming of Spring Wren and I decided to do a little Easter Tree this year. 

 photo _MG_4589_zps62087e3b.jpg 

We went out back and clipped a little branch in the yard to use as the base of our Easter tree.
 photo _MG_4594_zps970bd5a5.jpg 

With a little hot glue we wrapped and twisted different fabrics on different parts of the limbs. This is so fun for little people, I let her pick which colors and fabrics went on which branch, and I did all the gluing.
 photo _MG_4596_zps5af9b74a.jpg 

We also added a little cotton yarn we found at the dollar store for extra texture and color.
 photo _MG_4598_zpsbd3aad2b.jpg 

We spent about an hour wrapping and playing with it till it looked just right. Then we made a second trip to the dollar store to find some inexpensive decorations for the tree. These disco ball eggs were 2 for $1 and I loved the glam twist they add.
 photo _MG_4600_zps16f39a6a.jpg 

We didn't want to overcrowd the tree, 6 eggs in total was all we used.
 photo _MG_4687_zps10b0b41a.jpg 

I like that it isn't your typical Easter decor and adds just a little fun punch of color.
 photo _MG_4685_zps71bb4028.jpg 


 photo _MG_4688_zpsa9be51e1.jpg

Hope your projects are going well to share in tomorrow's Scrap Week Craft Party!! I can't wait to see what y'all have been up to.

Wednesday, March 13, 2013

Cloth Garland and Tassels

 photo _MG_4543_zps3af59977.jpg

That fabric garland you've been seeing in all my Scrap week posts is today's project! I actually first shared this post last Spring, but some how it missed being added to my DIY archives. It is a good one so I am sharing it again today, along with how to make fabric tassels. 


Depending on the weight and size of your fabric you could make a whole variety of sizes and lengths in both the tassels or garland. I happened to make a very long, dramatic garland, but a shorter (easier to store!) version would be perfect for a party or in a play room.


Tuesday, March 12, 2013

Scrap Week: Fabric Braid

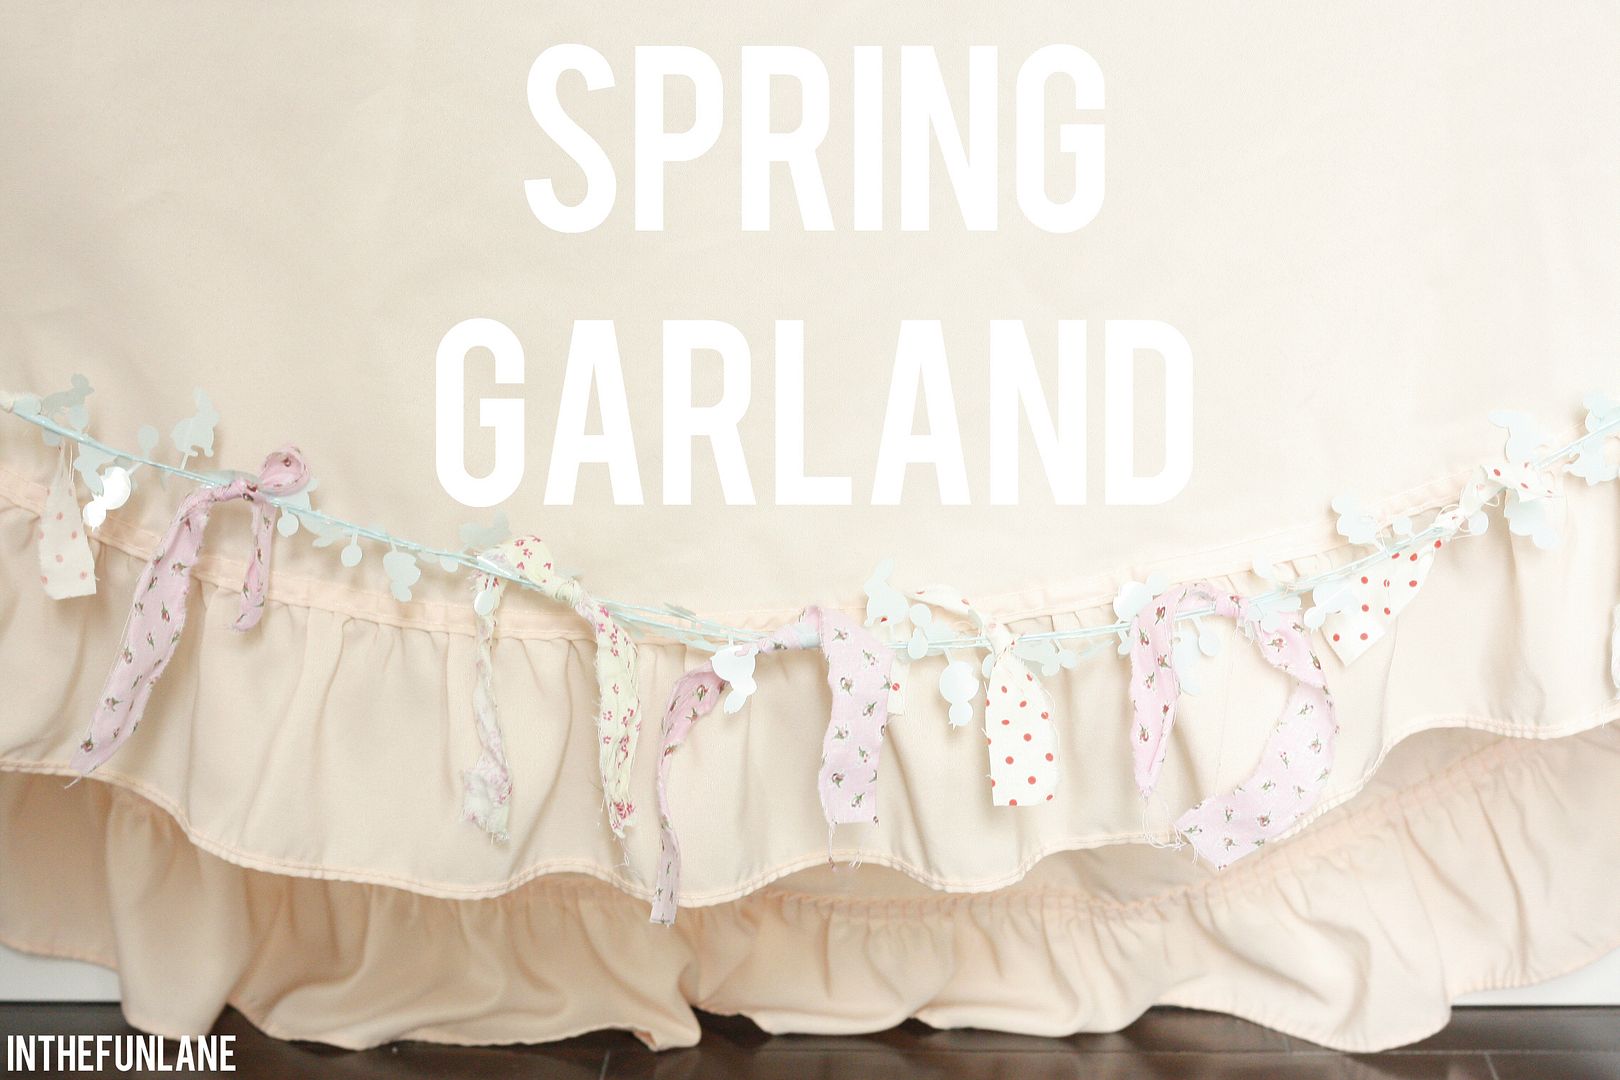
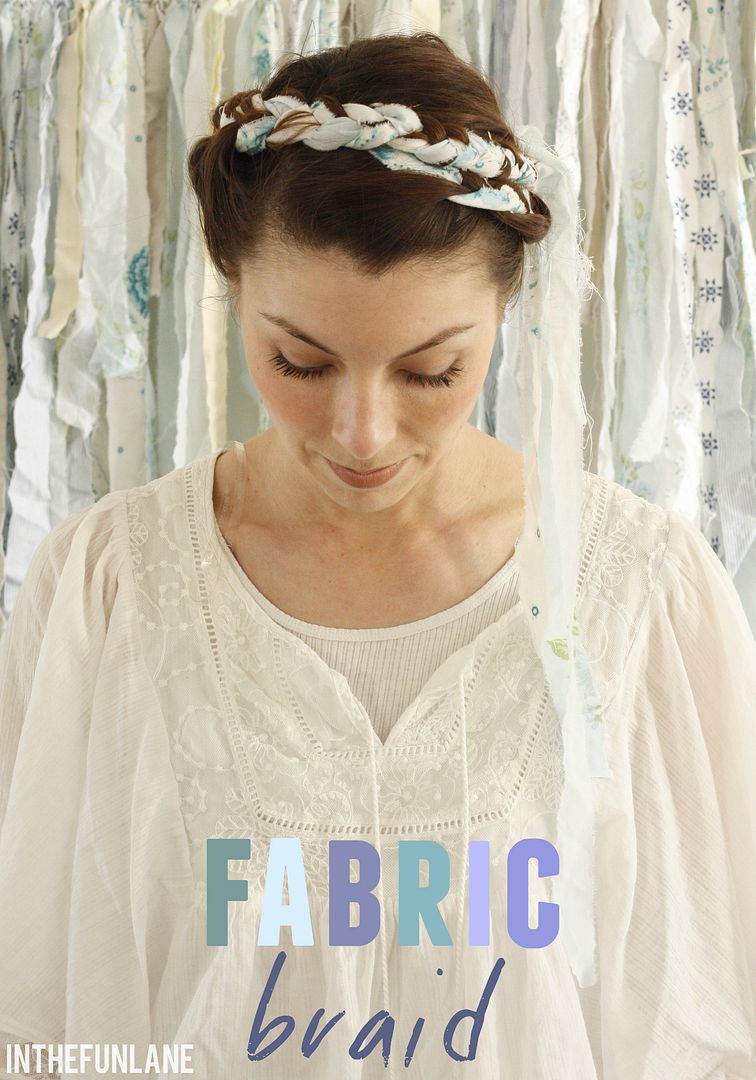
Today we're gonna put a romantic/country spin on braiding! Unfortunately, you will have to know how to braid (I am not a great teacher but there are plenty of helpful youtube videos out there!), nothing fancy, just your run of the mill french braid. 

The only twist is that we will twist it around our head like a crown.
 photo _MG_4521_zpsd3d6b066.jpg 

I actually wear my hair like this once a week or so anyways. When your hair gets longer it starts to hurt to wear pony tails too much so I like trying out different braids, especially french braids, because they tug on your scalp a lot more evenly (that doesn't sound any more comfortable, does it LOL).

Here is today's braid without any fabric embellishments, but I think we can kick it up a notch.
 photo _MG_4458_zpsf61672e4.jpg 

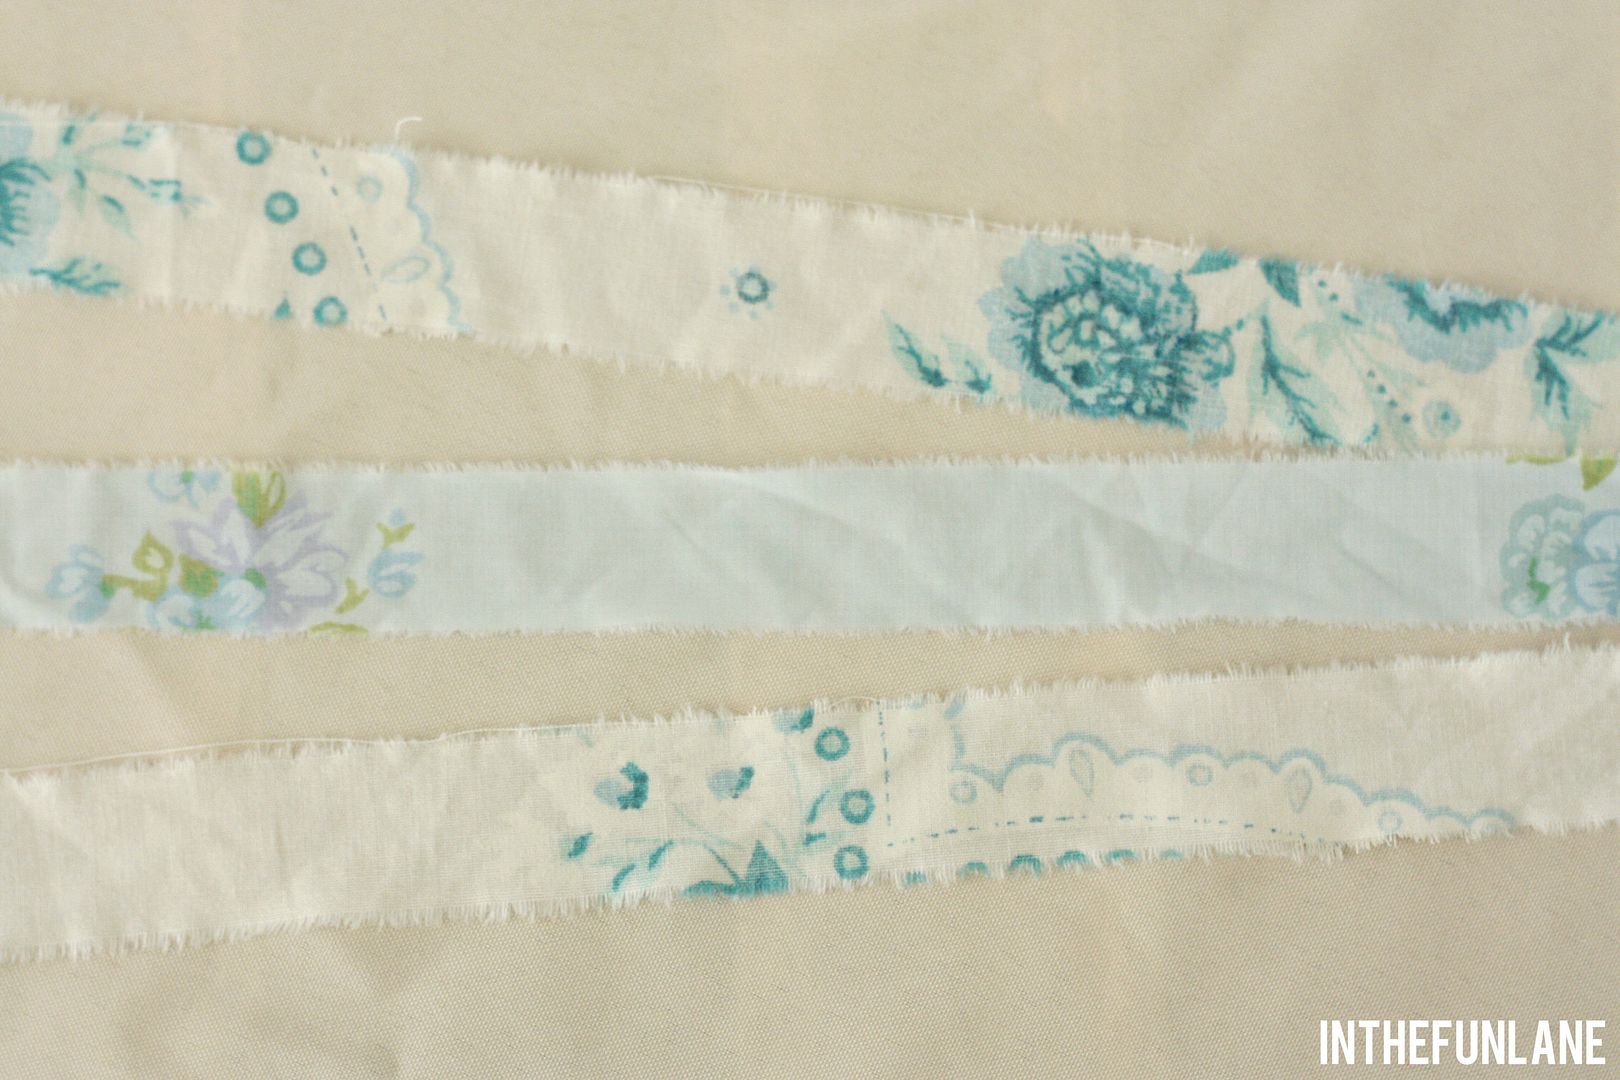
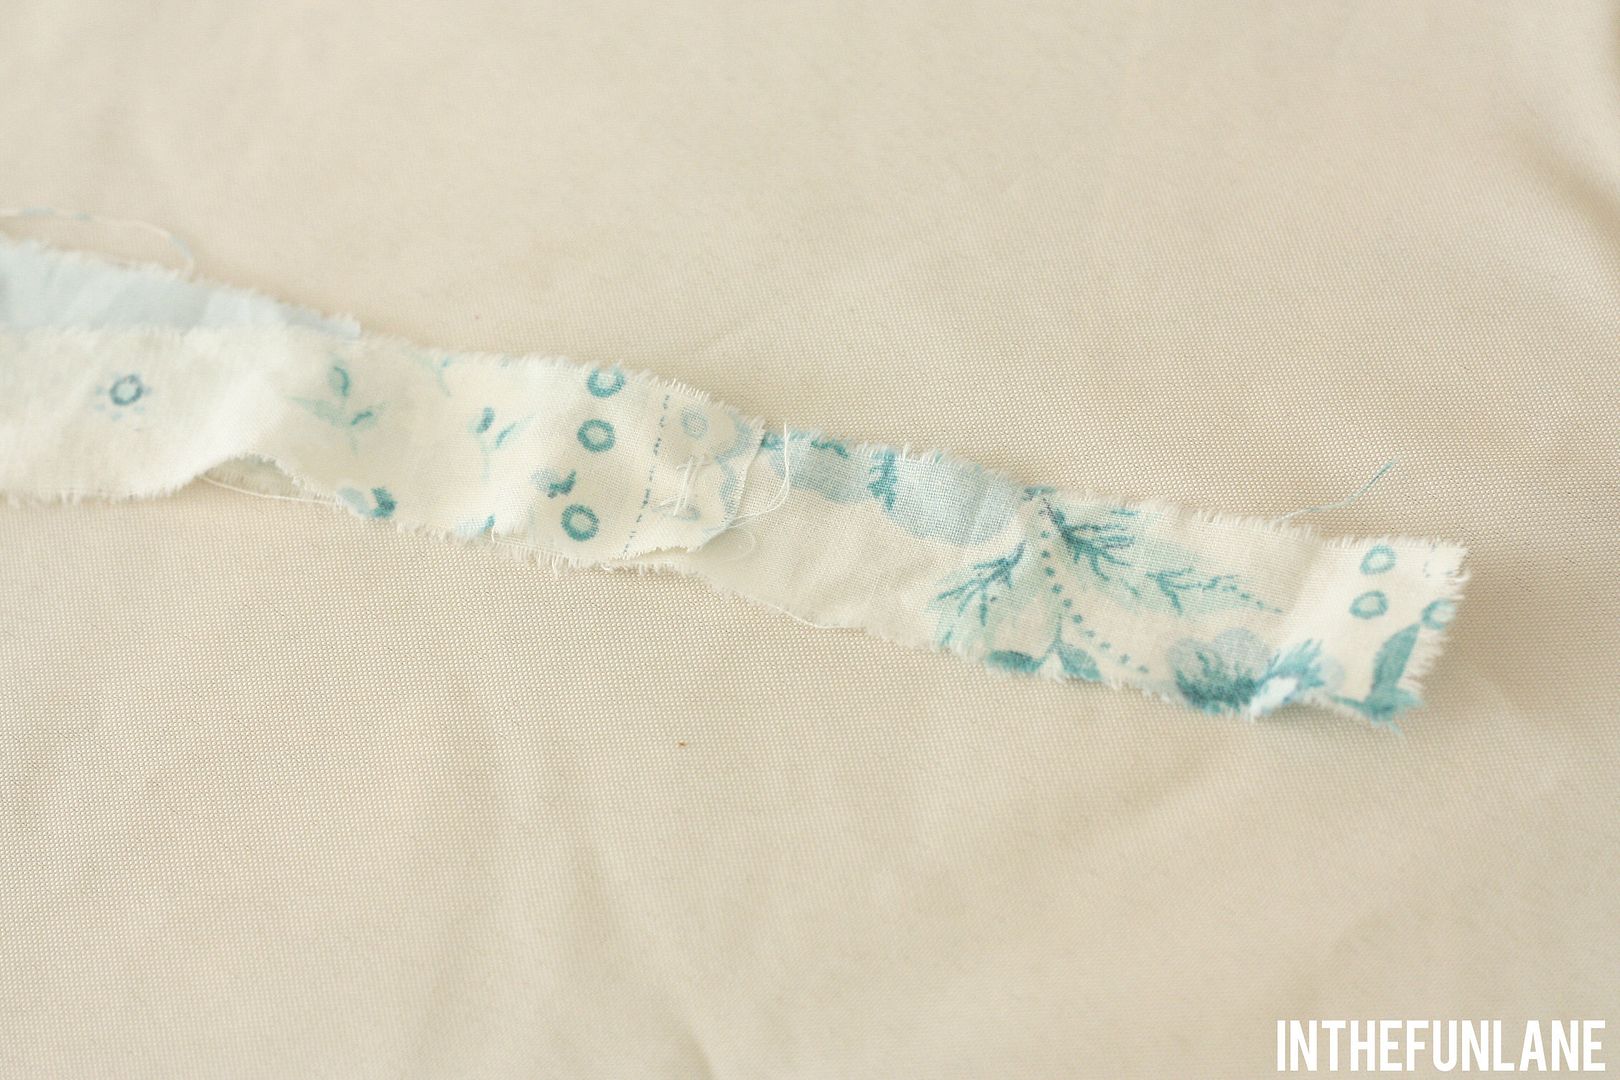
Let's start with the fabric. I used three 1 inch strips of fabric that I cut about a foot longer than my own hair.
 photo _MG_4660_zps1c47f1d1.jpg 

To get it braid-ready I got out my thread and needle and stitched 2 of the lengths about 3.5 inches from the top of one. This might not make sense, but when you start braiding you don't want too much fabric bulk at your roots. We are going to hide the start of our braid and too much fabric is hard to hide.
 photo _MG_4664_zpsec1fc07a.jpg 

In this photo the braid closest to my face is where we start. You can just barely see a bobby pin in the middle of my scalp and that is what is holding our fabric in place. You can also hot glue the fabric to a bobby pin or clip if you find it easier. I started my braid with one fabric section and 2 hair sections to get my 3 braid pieces.

 photo _MG_4532_zps9ea26cee.jpg 

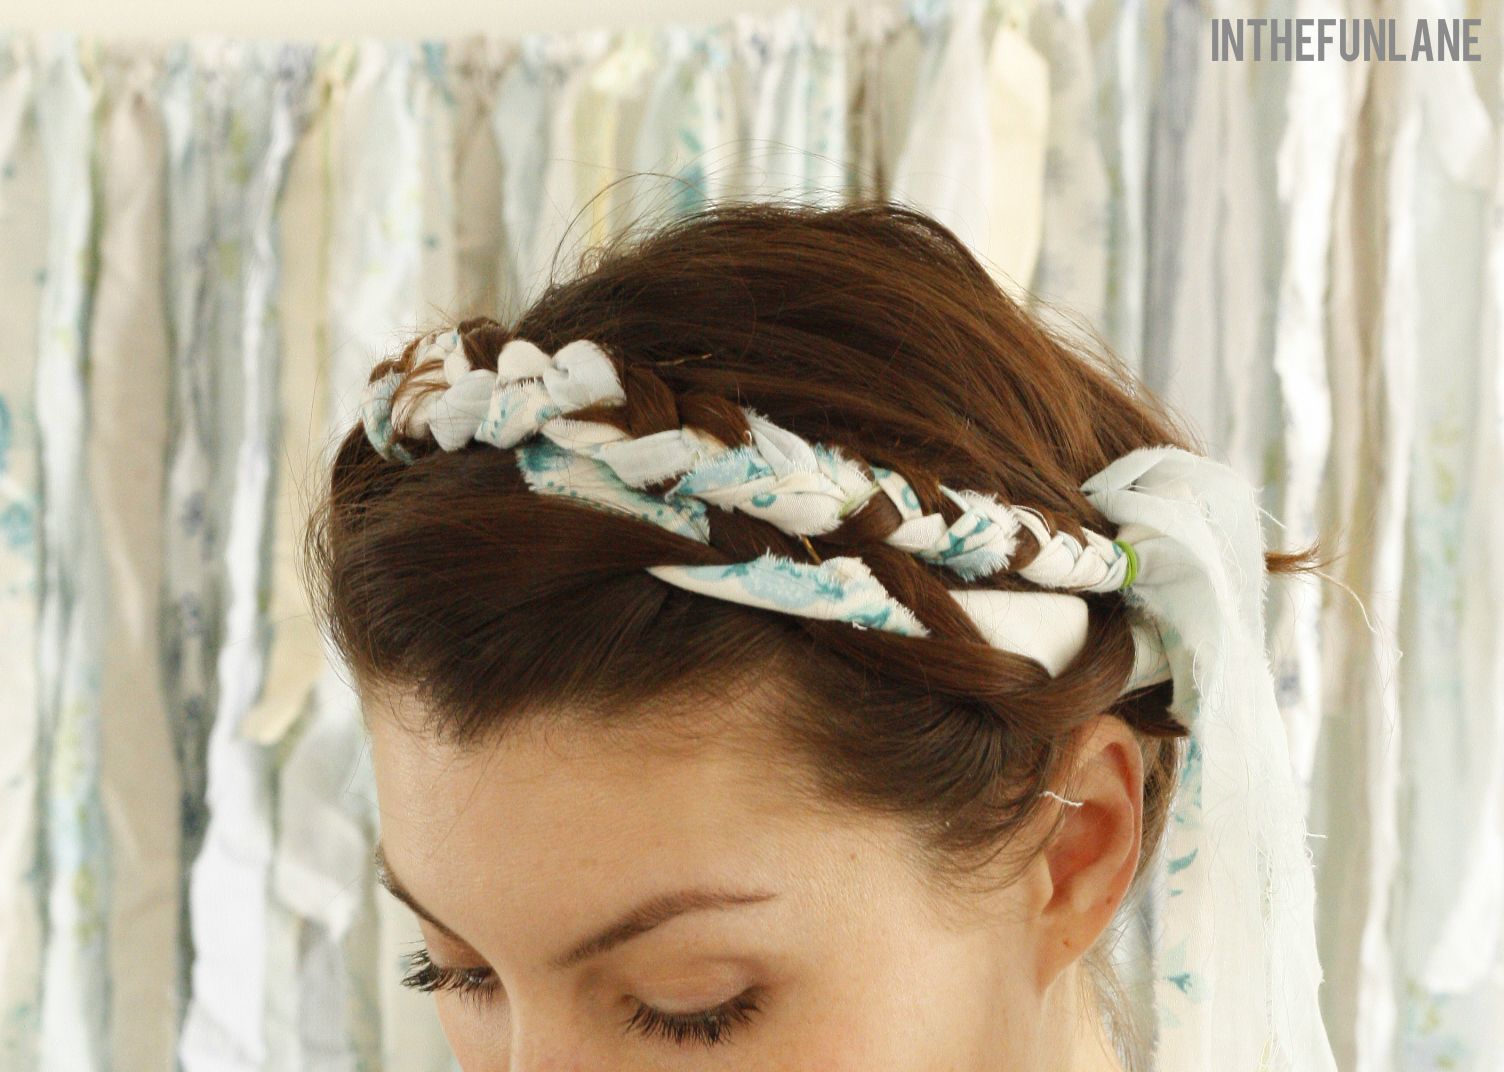
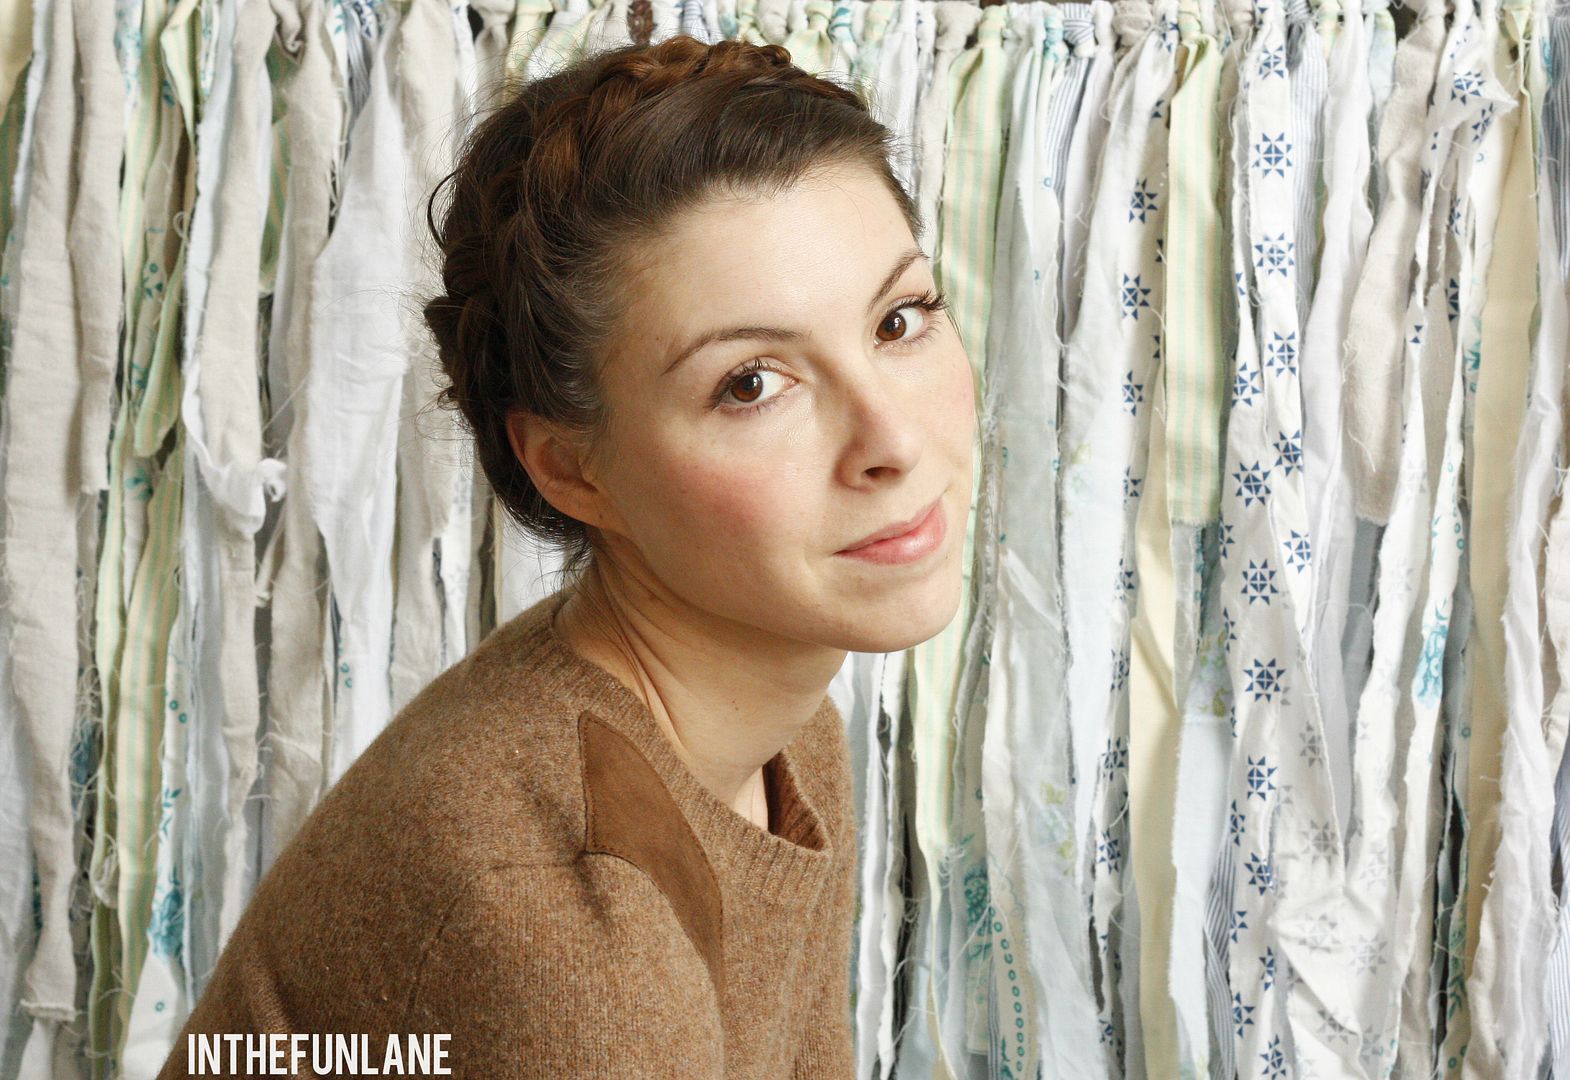
You will braid until you reach the part of your fabric where you stitched the other two pieces. Fan them out and incorporate them into your other 2 hair sections. By this time even your 'fabric only' section will have hair in it as you pull in new sections for the french braid. I like to try and 'wrap' the sections in the fabric so it doesn't get lost under your hair and you can easily see it in the braid. Also, you may notice that my braid appears really neat on one side and that is because I personally prefer to only 'french' braid half the braid, meaning I only pull hair in on one side of the braid. I know that sounds hard, but I actually find it easier! Again, it takes practice and patience if you aren't a natural at braiding keep trying!
 photo _MG_4535_zpsccdbac56.jpg 

On this opposite side just keep braiding around the face, even as you start to run out of hair! This is the beauty of braiding with fabric:
1. Your hair looks extra 'full' and thick because you are adding so much volume with the fabric.
2. If you wrap the hair in the fabric as you go, when you start to run out of hair you can keep braiding the fabric and the hair won't fray out of the braid. This means you can try styles that otherwise only work on really long hair, like this!
 photo _MG_4524_zpse893b920.jpg 


Keep braiding until you feel like you are near your ear again, wrap the braid in an elastic and pin in place. I like the whimsy that the loose fabric gives, but if you want a tidier braid just cut those (making sure you aren't cutting any hair!) and tuck under the first row of braids. 
 photo _MG_4532_zps9ea26cee.jpg

Of course, you will need a handful of pins. And a good ice pack for your aching arms! No matter how many times I braid my hair my arms are always killing me by the end.

 
Blogging tips