Thursday, April 26, 2012

Let's head over to Lexington

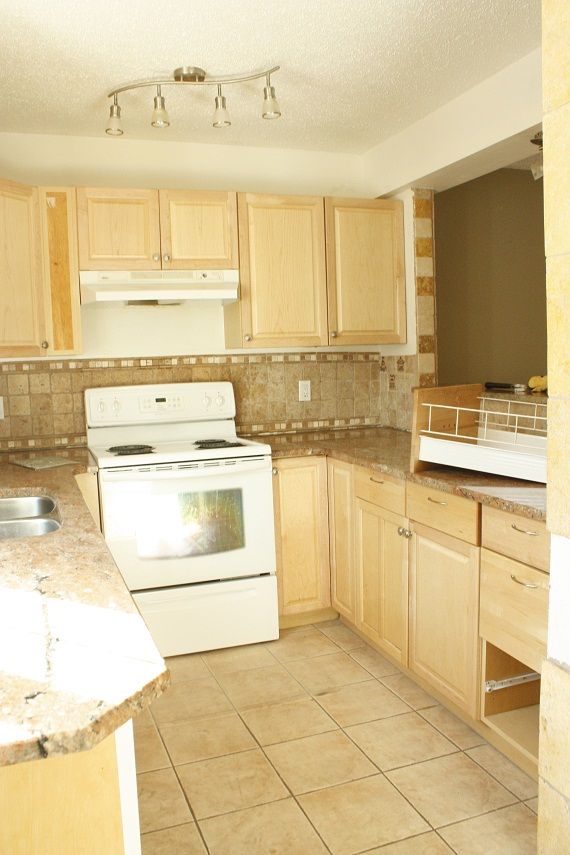
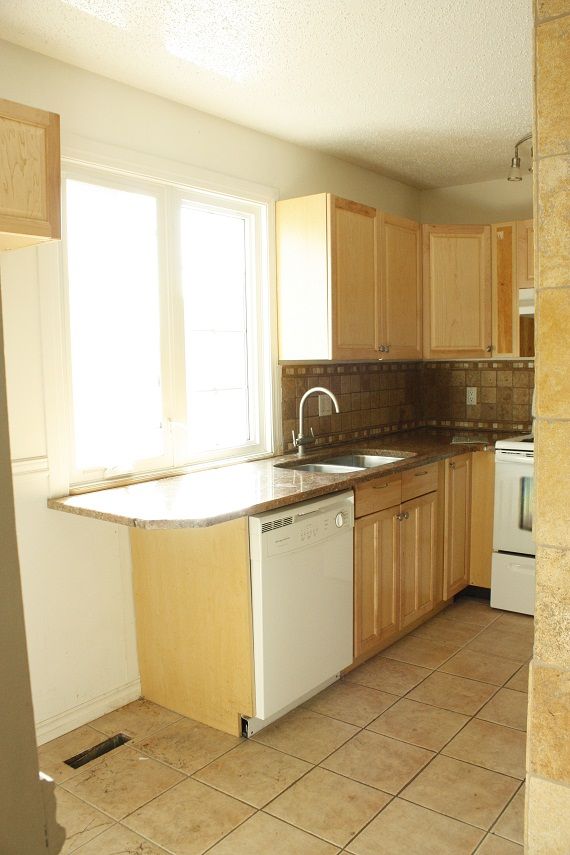
Wow, it is hard to believe my guys have only been working on Lexington since last Wednesday! We shaved a few days off our time frame since they finished the demo 3 days early. This was the progress as of Monday morning and since then things have been going at a fantastic pace (they are laying tile floors right now).
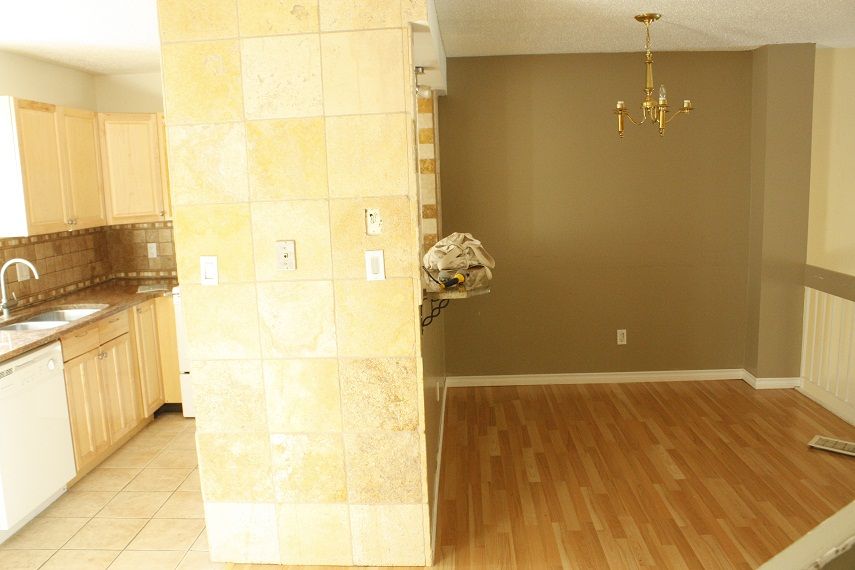
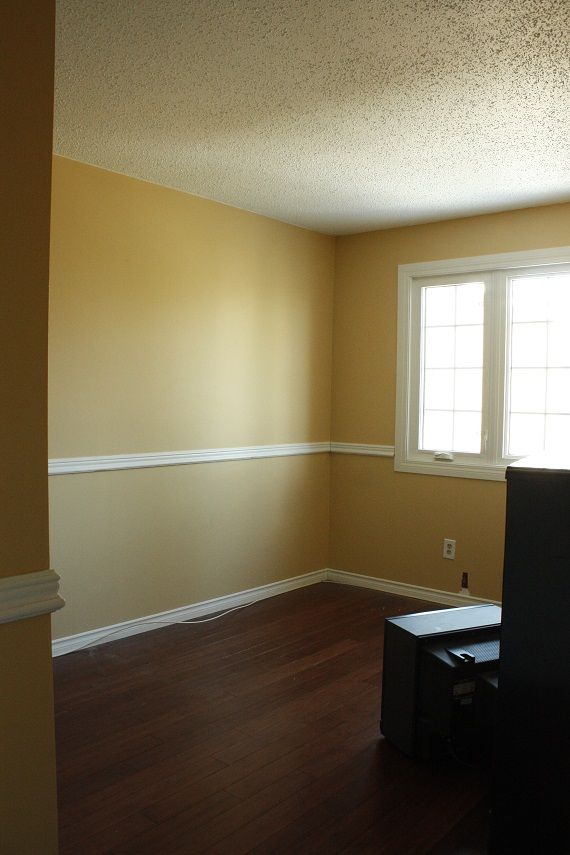
Dining room.

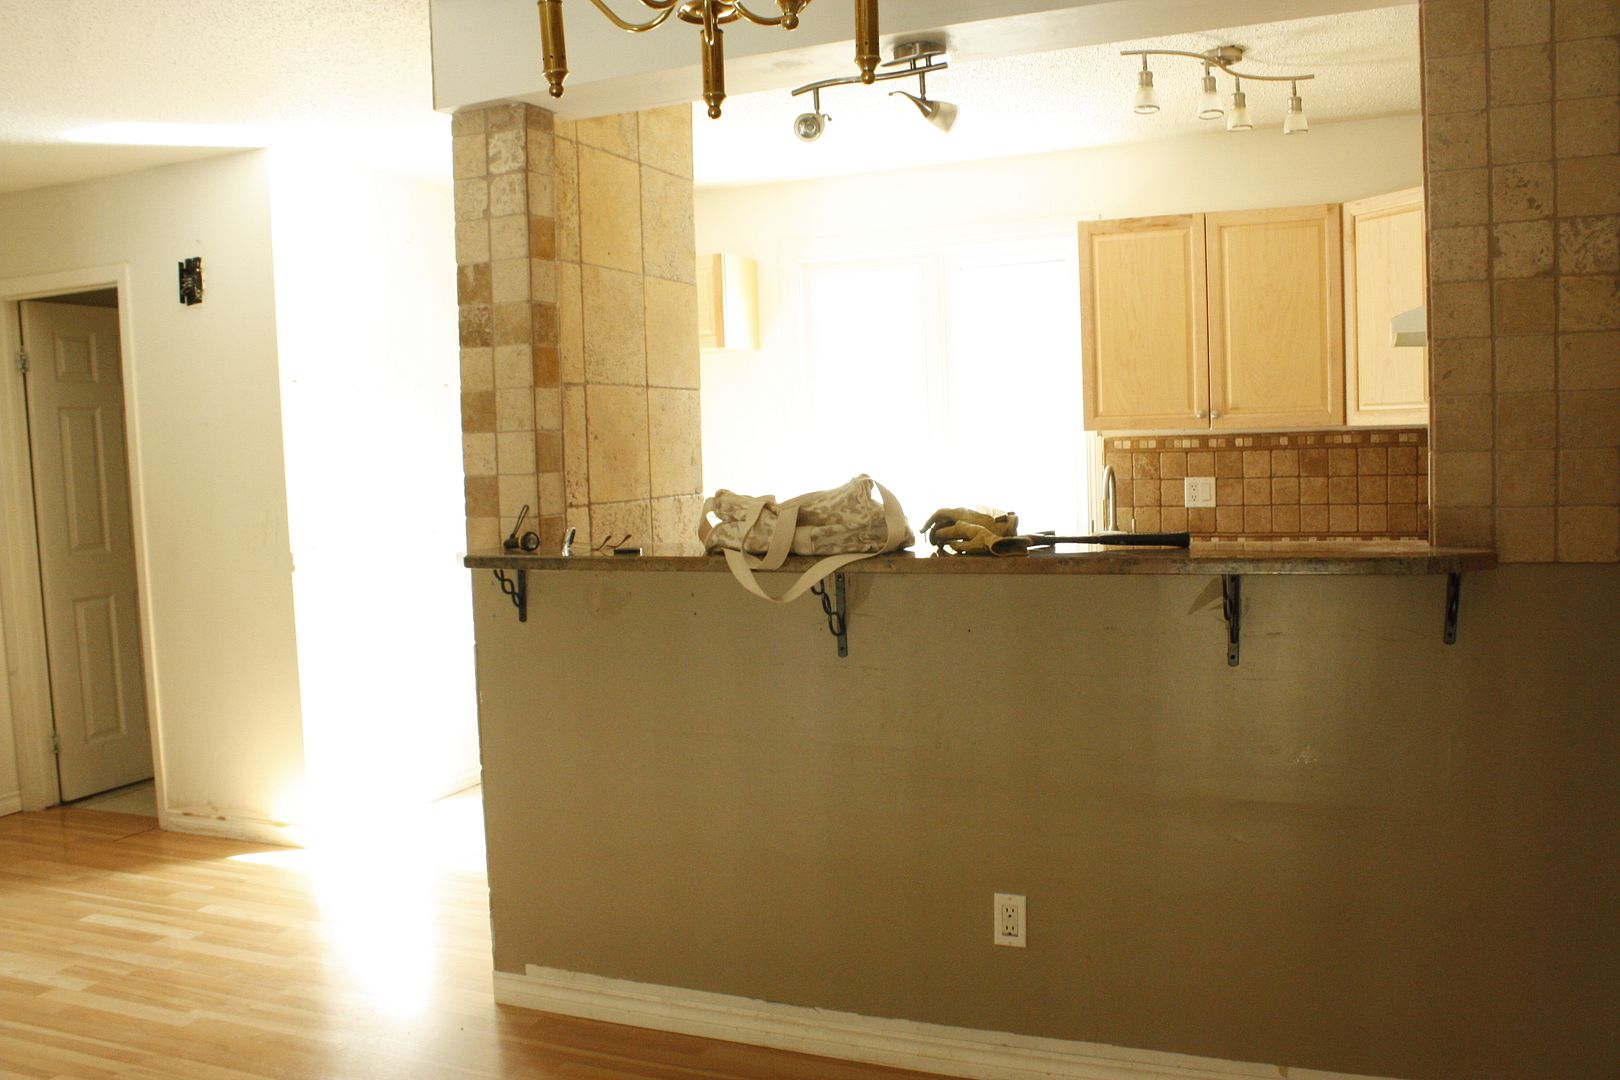
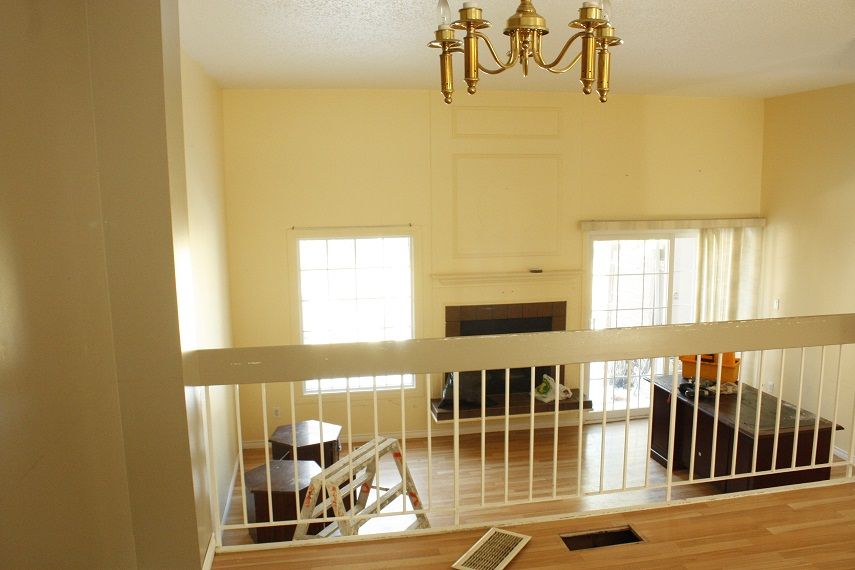
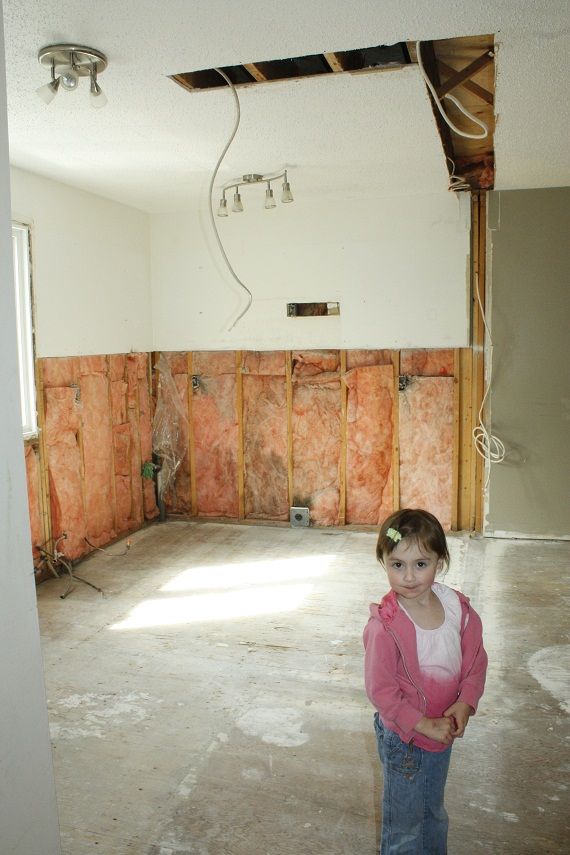
I LOVE the kitchen now that it is open. I think this is the single biggest change and really adds light to the whole main level.
 

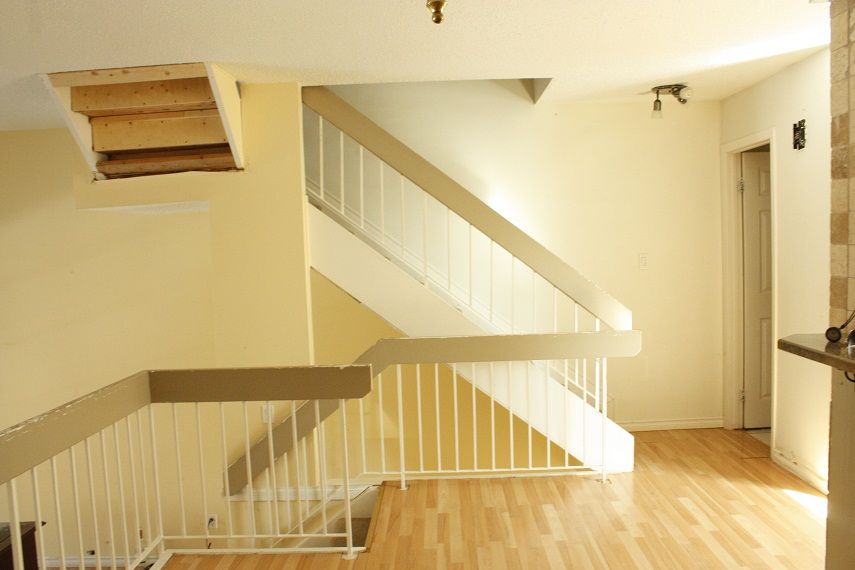
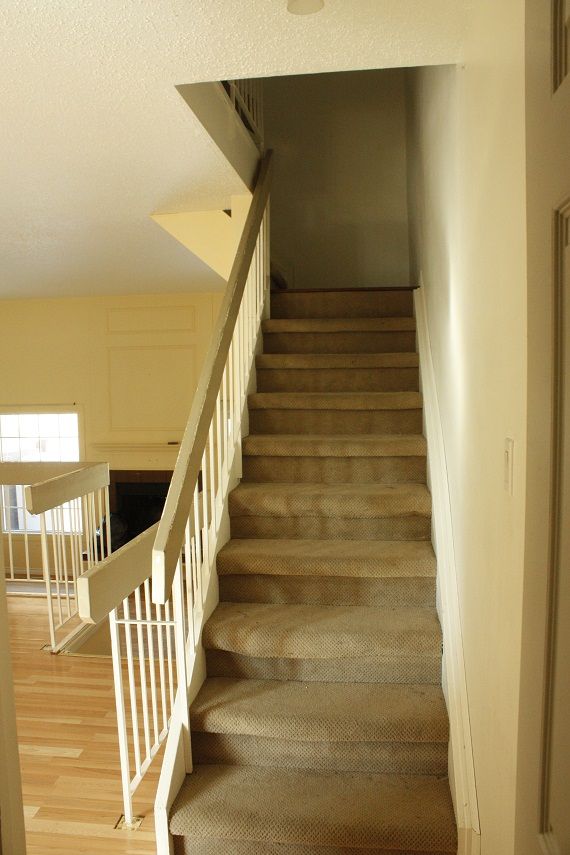
One of the 4 staircases. I have a REALLY cool idea for dealing with the stairs on a tight budget and I am starting on them this weekend (this way I am out of the boys' way LOL).
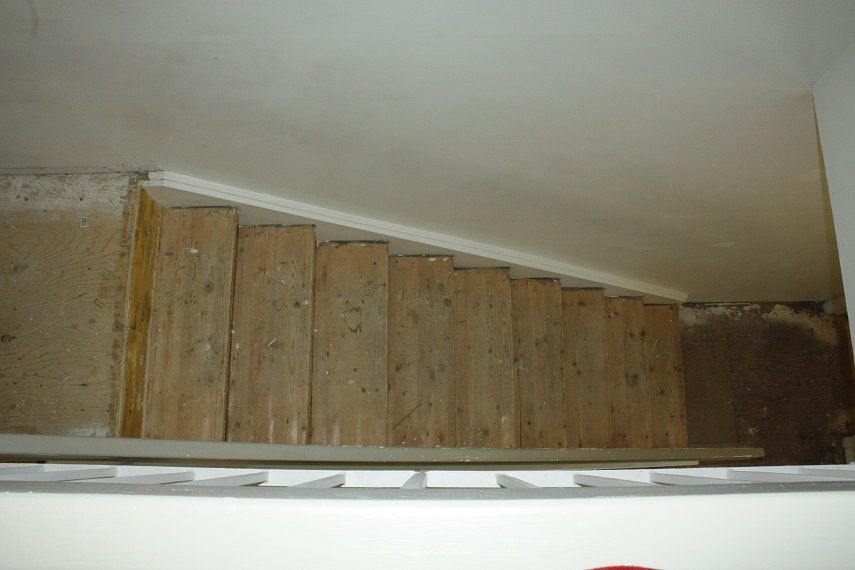
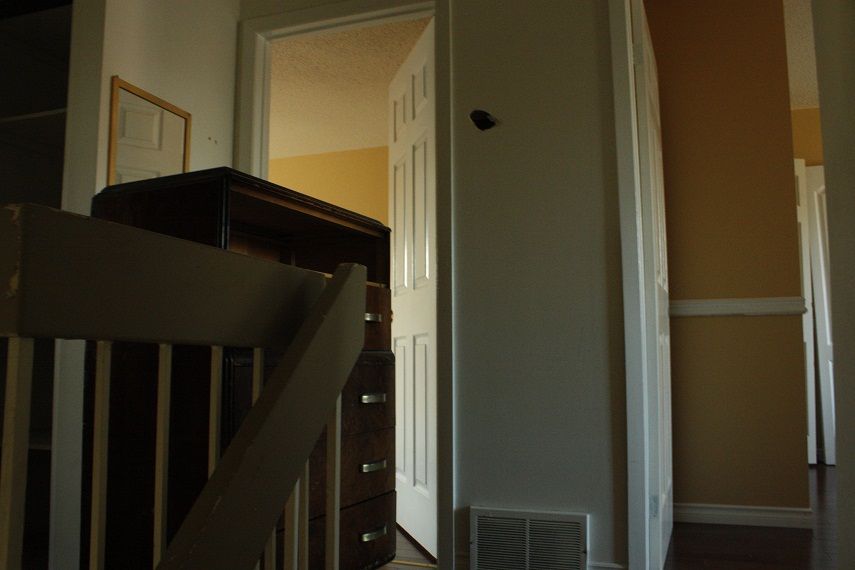
Up stairs hallway.
 

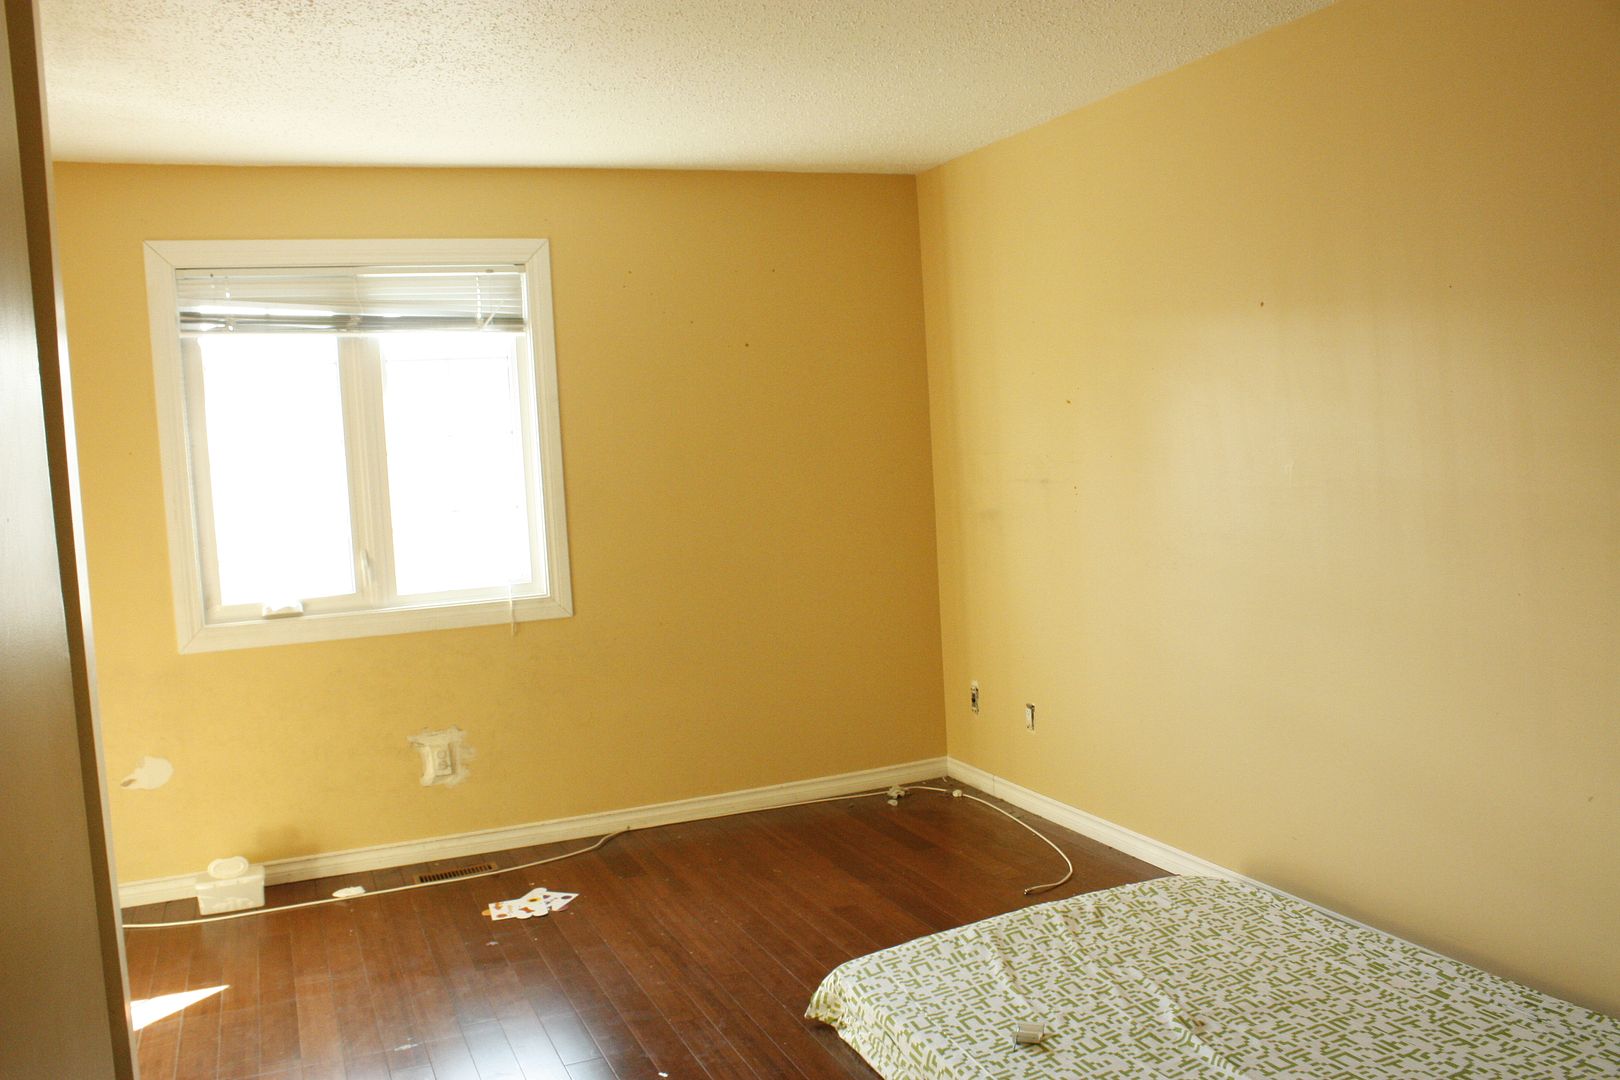
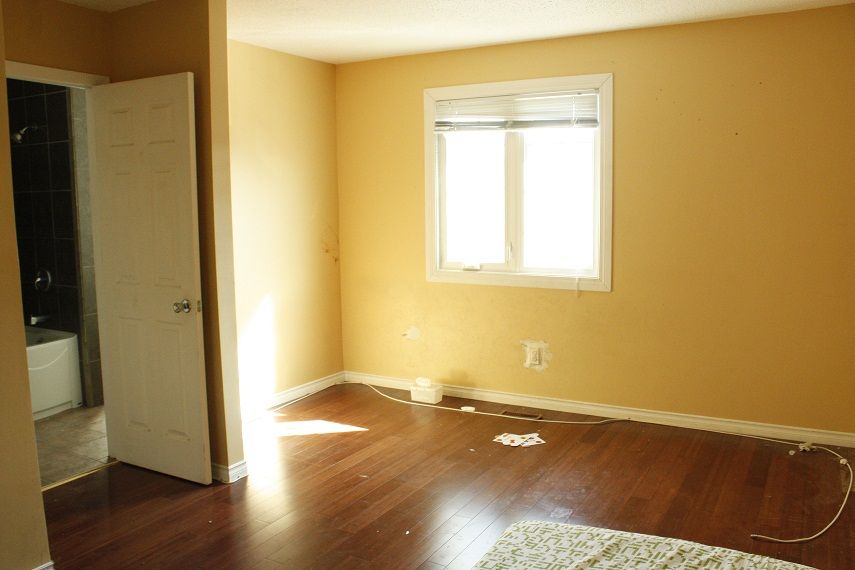
Master bedroom now that the wall is out. A lot of you had great suggestions with trying a pocket door in here but in the end it just wasn't in the budget so we are going to go ahead and drywall it up. The secondary reason this is the best option is that the door in the bath room is currently hung backwards to accommodate the old opening but this way we can hang it on the right side which will show off our pretty new tub tile much better. Not ideal, but one of the tough choices we've had to make.

I ordered all our cabinets from Ikea and am blown away by the price! A whole kitchen for less than $3000!!! The only reason I am confident that this will be a good choice is because my contractor is actually formerly a custom cabinet builder. He knows all the tricks to make it right and look custom, things like custom building proper bases instead of using the feet they sell at Ikea, etc. I am really excited to see how he brings it all together after seeing his last few client spaces. I wish I could give more input on how hard/easy the ordering was but he literally designed and itemized the whole kitchen, I just had to pay for it.

But even with a pro I've had my own changes to make LOL.

No cabinet over the range for lexington! I prefer a nice chimney hood for an industrial touch.

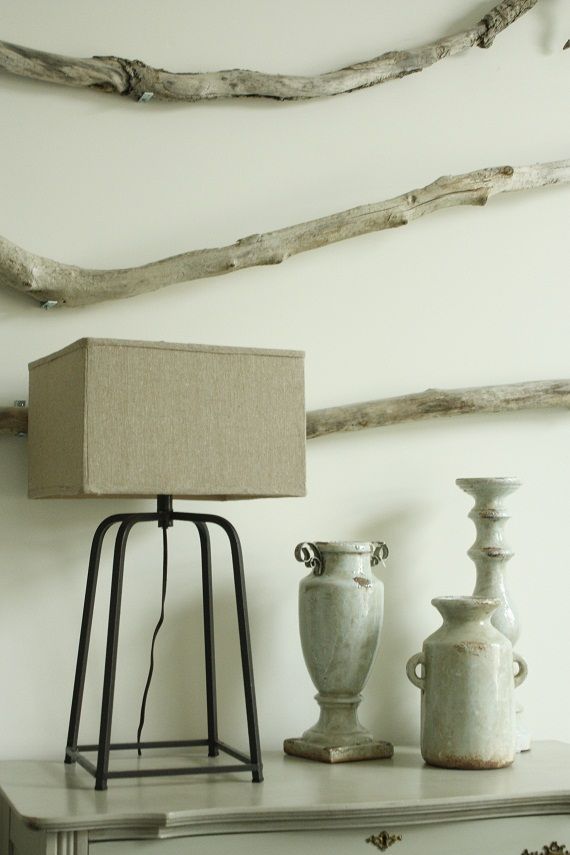
From the moment I started looking for a house last January I cataloged image after image of finishes and products I want to try. I think little variations on the norm will be what sets Lexington apart from other houses for sale in our city. 

The dining room/kitchen level has been tiled already and I went with a beautiful chevron pattern like this.
 
I wanted to translate it into our wood floors as well but that was PRICEY! So we stuck with the tile for now. A lot of cuts, and a bit more waste, but even the installers were blown away by how great it looks! 
 

So what flooring materials did we use? I found super cheap 12x24 tile from Lowe's that runs only $3/sqft and a beautifully worn/aged laminate for the upper level and living room that my contractor scored for only $1.80/sqft. I love the way these materials look together and with some chunky, cream baseboards they will look amazing (I hope!).

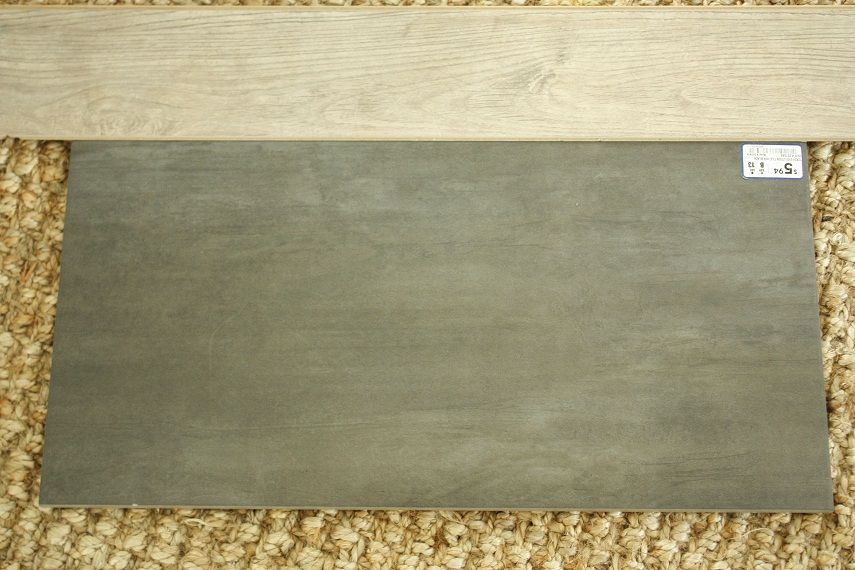
I can't wait to get started on the stairs tomorrow and show you what I have in mind.

Tuesday, April 24, 2012

To dye for

Yesterday Wren and I had to head over to Ikea for some Lexington related supplies (the kitchen cabinets are all Ikea) and I picked up an extra Euro sham to get the outstanding items finished in our bedroom. I also picked up a king sized white fitted sheet in the as-is area for $10.

 
Then we headed to Michael's to grab some fabric dye to make our own custom blue bedding. I didn't see a shade of blue I loved so we picked up both teal and royal blue ($4.99 each, minus 20% with a coupon) so I could blend until I liked the color. The instructions said to use table salt as well, but I did not follow the directions as per the package when it came time to mix the water and dye. The reason was that I did not want a really really strong, overly saturated color. Just a soft hit.

So after adding some dye to the water, mixing it really well and testing on a fabric swatch I liked the tone I came up with.


Time to dunk the sheet! It needed to be stir constantly for about 15 minutes to get a good even color, then I let it sit for 10 more.

One sheet done, and then it was time to do a couple pillow cases I already had at home as well as a white bed skirt I had (which I originally got at Ikea as well for only $16, so if you don't have one and want to try this it is a pretty minimal purchase).

After rinsing them and then throwing it all in the wash machine it was time to see how it all looked. It is rainy and gloomy here today, so the color looks kind of washed out, but I adore the finished product!

The reason I wanted to try dying my own is to achieve a more worn in, faded blue over a new, crisp blue. Next to the linen headboard the ruffle shams are the perfect amount of floppy, comfy blue.

The dresser still needs a fresh coat of white paint, but I swapped out my free, road side mirror for something a little chunkier with this canvas map. I think it adds just the right amount of masculinity to the old dresser.

Now that I've attempted dying fabric at home I think I will definitely be putting this stuff to use again in the future with throw pillows or slipcovers. 

Have you tried fabric dye? what did you dye??

Monday, April 23, 2012

Here I Indi-go

I have always been a blue girl. Of all colors, blue seems to always be the one I am most drawn to, however it is usually in shades of faded, beach blues, robin's egg blue and other fairly happy shades. But a few weeks ago I opened the new Restoration Hardware source book and was totally smitten with their take on indigo. I kind of wondered why I'd never explored much with it, except that at first glance it is awfully dramatic and pretty much the furthest thing from white!


But I was in love! And when I saw these 2 linen chairs on clearance at HomeSense for $140 I decided maybe I should give indigo a go. They are going into the living room at Lexington, but I have plans to bring them into our dining room later (we still need a table after someone bought my last one, and I want to go BIG so I need more seating!).

But even before these chairs fell into my possession I was taking the indigo road in our bedroom. I had my eyes on a beautiful ombre bedding set at Anthro last year but missed the boat when it went on sale. I didn't think much of it until I saw this Ralph Lauren set. It actually appeals to me more because it mixes structure and clean lines with lots of white still.

The duvet retailed for $370 but I snagged it on clearance for $50. I brought it home, threw it on my bed and loved it, but also felt like it was missing something so I decided to implement a 2 step plan. The first step was to track down some new shams.

I went back to the store and found these shams on clearance for $10

Which definitely helped pull it together, but I still have another step in my plan. I need another Euro sham ($16, from Ikea), but I also have a fun project I'll be giving a go this week I can't wait to share.

I am thinking of repainting the dresser as well, since the grey is a little murky next to our headboard, and I scooped up a pile of amazing mirrors at an Ethan Allen auction this weekend I will be giving a makeover for both Lexington and our bedroom. So in short, I have a lot of work ahead of me and not a lot of time for laying out on my new bedding with a good book


Happy voting to all my fellow Albertans!

Friday, April 20, 2012

April Candle of the Month


I don't know if it is the crisp Spring air, but something has sent me into a bit of a preppy mentality lately. Not in the clothing department so much as in the home decor department. I don't even know if it can be described as preppy just based on color, but a deep indigo has stolen my heart!


And nothing really says preppy like Ralph Lauren, right? I have been LOVING his home products lately (you'll see exactly what I mean in my next post), specifically his fragrances. The diffuser I shared yesterday is super fragrant and was only $7 at Marshalls... and while looking for a gift last week I saw this candle in the clearance section at Winners.


Alpine Coast is a really interesting mix of gingerbread, orange and nutmeg. Sounds like a holiday confection, but interestingly I didn't originally recognize the gingerbread until I went back and read the box and now I totally smell that note as I keep it burning. Yet it isn't too food-smelling, just a little spicy with a fruity base.


On another note (fragrance pun intended!), I HAVE to share my absolute least exciting but best recent purchase! I picked up this LARGE cutting board from William-Sonoma and it has literally changed my life. If you have counters you don't directly cut or prepare food on you will fall in love with this thing. It is 18 inches long by 24 inches wide and I can finally fit all my ingredients on the board while also preparing the food! Plus it looks super hefty and cool on the counter. Seriously check this thing out!


The cutting board was a splurge, but my martini shaker was a super save at only $2.50! It was buried beneath a dirty old pile of bent and broken floral stems at a TJ Maxx, proving you need to get your hands a little dirty to get the deal sometimes.

Wednesday, April 18, 2012

Good Girl Gone Mad

Not mad as in angry but used more in the insane context. When we were on our month long sojourn I made it my mission to load up on as many items for staging Lexington as humanly possible. We drove down in Sean's massive SUV but even that kind of cargo space causes major limitations for shopaholics like me (and my Mom). Before we left to head home I was required by space limitations to actually return a dining room table and a large piece of canvas art.

Never the less, I did get ALOT home. Enough to fill many many posts. But I'll save some of it for later. Not at all shocking is that most of it has been incorporated into our own house instead of patiently housing it in the basement until the dust has settled at Lexington...

I scooped up 2 of these oddly industrial/modern/textural metal lamps. The square linen shade had me at Hello! They were super scores at TJ Maxx for $29 each. I can't wait to place these in the master suite, but one will grace my living room till then.


The set of 3 reproduction pottery items also came home with me. I found them at local furniture store Mathis Brothers on clearance for $8-$10 each. After combing through so many amazing furniture stores I realized that I tend to focus on smaller items, so I've made a very concerted effort to expand my scale and look for bigger groupings/items.

Also from the clearance aisle in TJ Maxx, these greige ceramic urns rang up at only $4 a pop so I brought 'em both home.


Sean was the mastermind behind the pretty Spring blooms. Well played Mr. Baker, well played!

I can't remember if I shared my cute little tray table before we left? I found it on clearance as well for $25 at Home Sense and it is the perfect touch of texture for the corner in here. I also relocated the shiny chrome lamp from our front door in here so it picks up the nickel sconces.

The rope jars (which I believe may also function as taper holders) came from Home Goods, but I later saw them again at Cost Plus at a nearly identical price. The Ralph Lauren reed set is scented in Desert Sand and I am OBSESSED. I forgot about it a week after I set it out and spent a good half hour tracing the cologne scent I was smelling while watching TV... and to think I'm not a natural blonde.


One of my only purchases since arriving back home, these teal striped pillows which came from my beloved SuperStore on clearance for $3 each. I bought 6 in total for the sectional and our kitchen seating area as well. Makes Wren's cozy TV time that much cozier by the looks of things, and I didn't even realized she color coordinated herself to them until just now. Funny girl.

Tuesday, April 17, 2012

Succumbing to Succulents


I was in Restoration Hardware just last week when I spied these glorious succulent urns. I loved them, was ready to take one home...


The only problem is that they ranged from $180-$250. Holy plants batman, that's pricey!!


I figured why couldn't I make my own? Specially because succulents are the most realistic fake plants out there.


I tracked down some nearly identical succulents to the RH version and even counted out how many they had in their display to get the same effect. The faux plants ranged from $4-$5 each at Chintz & Co. and I picked up 9 to play around with. I also needed some dry floral foam and 2 different kinds of moss to get more of a natural, uneven look. The planter I had already, but I picked it up about 2 years ago for only $10 at HomeSense so the entire project came in under $50.

I packed in the foam first. Don't worry, if you want to try one as well it doesn't need to cover the entire area.


Next, Wren and I had a messy but fun time gluing in the moss. If you want to just use one variety that would look just as good, but I thought I would go for the more is more technique here.

I wanted it to look slightly like a mound of moss, not entirely flat.

After playing around for a few minutes I settled on a simple, not too full look.

Not bad for a fraction of the cost!!

And the best part is that I had more than enough to a second planter with another container I had laying around!

So 2 arrangements for $50... sure as heck beats the wallet emptying alternative at RH!
(specially because I empty my wallet there plenty enough as it is)

Welcome to Lexington

I am SOOOOOO excited to be sharing this adventure with you guys FINALLY! I have hinted at my plans to do something big since before christmas, but didn't want to bore you with all the pre-purchase details. I hooked up with a fabulous local realtor and she totally understood my vision for what I was looking for and where I wanted to go with it. I originally wanted to start small, with something around 500 or 600 square feet so I didn't feel overwhelmed. But she found me this really cool townhouse and after I did a brief tour I was sold!

You may be wondering about WhiteBerry and the truth is that I am still busy, working away at it but primarily dedicating myself to working on custom pieces for clients versus finding my own and selling them. I still believe in it and think it is pretty much the ideal job for a young mom looking to work at her own pace, in her own home. But as much as I love painting furniture, my true passion has always lied at the end of the process. Staging furniture, taking photos... and it was ALWAYS more than furniture for me. It was about creating a room, a look, a life style. So I thought long and hard about it and decided it was time to take my talents to a new place. New challenges, new experiences and learning new skills. I want to approach every house I work on like my own, focusing on details and going for a look that isn't as common here. No, we are not quite finished our own house... but a bigger pay cheque will help facilitate some of these final renos!

We purchased the house in foreclosure, but the owner had rented it out so our first week of work was strictly cleaning out all the trash and furniture they left behind. I got the keys the week after we got home so just two weeks ago. And in that time we've also sourced all our materials, exluding a handful of items. The house itself is very cool, and is almost like an old brownstone. It is 3 stories tall and has a lot of character. Let's start our tour, shall we?

Welcome to the deceptively nice kitchen. The reality? Most of the cupboards were broken or damaged by poor install (can you see which ones are mismatched?). The granite is not only hideous in color, but also badly cut and installed. so it is all coming out and we are starting from scratch!


This cut out and wall will be entirely removed and I think an island would be much better suited to the room.

The door on the far left is our powder room.


And it looks like this right now. The scary part is the vanity which I couldn't really get a good shot of, but it was so poorly installed that they didn't realize the door jamb would block a couple drawers from opening so it is basically useless. Full gut for this room.

This is a view of the kitchen/dining room from the bottom of the stairs leading up to the bedrooms.


The living room is my favorite room. It has super high ceilings, beautiful trimwork (who masks that by painting it the same color as the walls????) and opens up to the patio/yard. I didn't load the right photo, but it also has a stair case down to the front door/garage.


Here is the staircase situation. Budget restrictions are going to require leaving the old railings but they'll get a full makeover.


Up we go!


The upstairs landing is actually really spacious, you just can't see it with all this junk in the way.

Door to the master, let's go in!


it is a good sized master with lots of light.


We will be closing up the doorway to the bathroom (which can also be accessed in the hallway) and taking down that little dividing wall to open up the room.


This bathroom was such a disaster I could hardly bring myself to take a photo. Maybe the last owners were vampires, no mirror and sheets covering all windows make me wonder...

Bedroom number 2.

All the closets are getting full makeovers.


And last but not least, bedroom number 3.

Also getting a closet makeover.


So that is the general layout and look of the house as I bought it. I am super duper excited to show you what finishes and materials I have settled on, and I am even more excited because my crew will be starting demo today, ripping out all the floors, kitchen and bathrooms! I hope to have it all done by the beginning of June so it will be quite a ride until then and I'm going to need some input and help from you.
 
Blogging tips