
Thanks so much for your patience! Life got a little crazy this weekend and I had a few small touches to add to this post. You'll notice this is a really photo heavy post, but as the saying goes a picture is worth a thousand words so I figure I just saved myself roughly a week worth of typing~
We are going to pick up where we left off after Class 2, with a freshly painted piece! Today's class as well as next week's will cover optional treatments like distressing and glazing. I rarely use more than one of those techniques on any single piece but of course the fun part is trying new things and taking chances so make it how you love it! Next week will be our final class and will cover distressing as well as the final steps of sealing things up nicely, but this week we will be chatting about glazing.
Some people use special waxes or products for glazing but make no mistake, things don't have to be as complicated as they look! My "glazes" are simply watered down paints, in any paint color. So put your thinking caps on because glazes don't just have to be used to make things look old!
Our first project is going to be taking this antique dresser and giving a rustic grey finish.
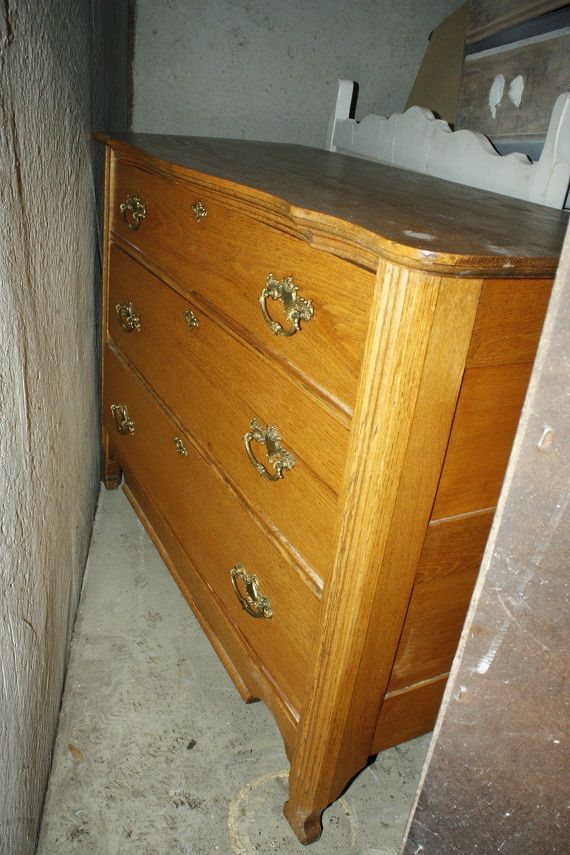
To get it looking like this!

It's not hard, but it does add nice dimension to a piece. I tend to be pretty light handed with glazes but again, make it as dark or dirty looking as you like!
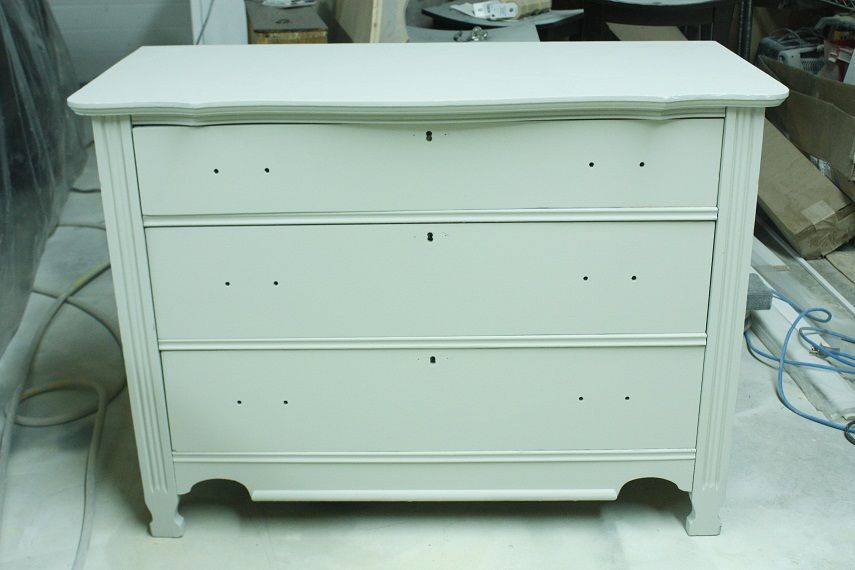
Our dresser after last week's class.
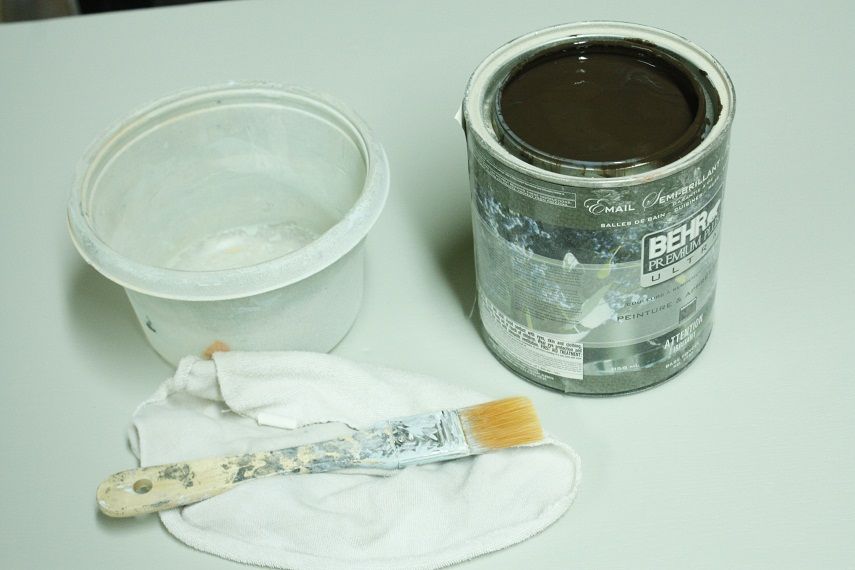
The tools are simple and cheap. An old bowl with water, a brush, a rag and some dark paint. For this dresser I used a dark mocha brown to give it some real patina.
The real skill is knowing how and where to apply the glazes realistically. For the most part real dingy pieces collect the most grime in indentations. So I like to take my brush, dip it in water then take a quick dip in paint. Then I messily get into all the corner and crevices. I like to hit these spots first then leave them just like this while we go work on smooth surfaces. Don't worry, we won't be leaving it like this for good!

After getting all the corner areas I dry my brush off on the rag. For our smooth surfaces we will be dry brushing. It is a pretty standard technique but can take a little practice. You gently dip just the tip of your brush in undiluted paint then tap off the excess on the rag. This leaves very little color on the brush as you can see.
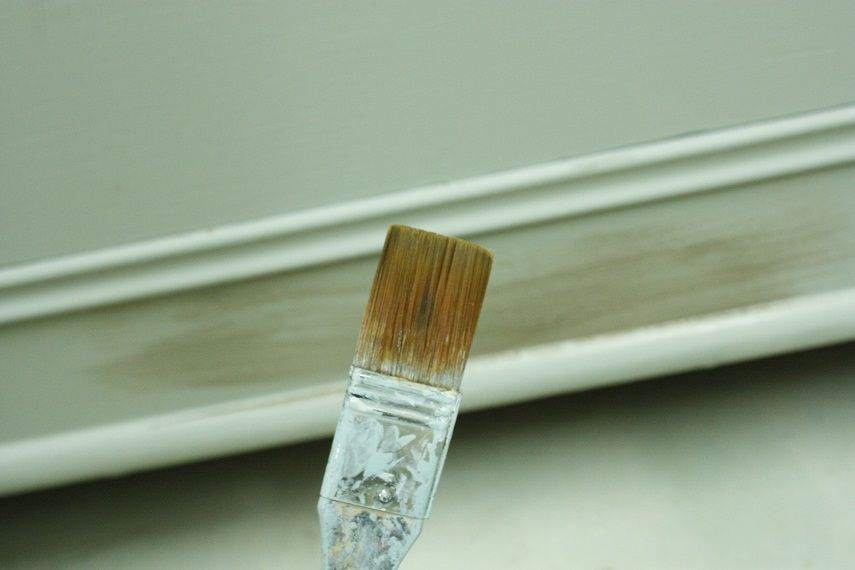
I recommend brushing along with the grain of the wood for the most realistic finish. I like to dry brush then wipe with another dry rag, repeating as necessary to layer the effect.
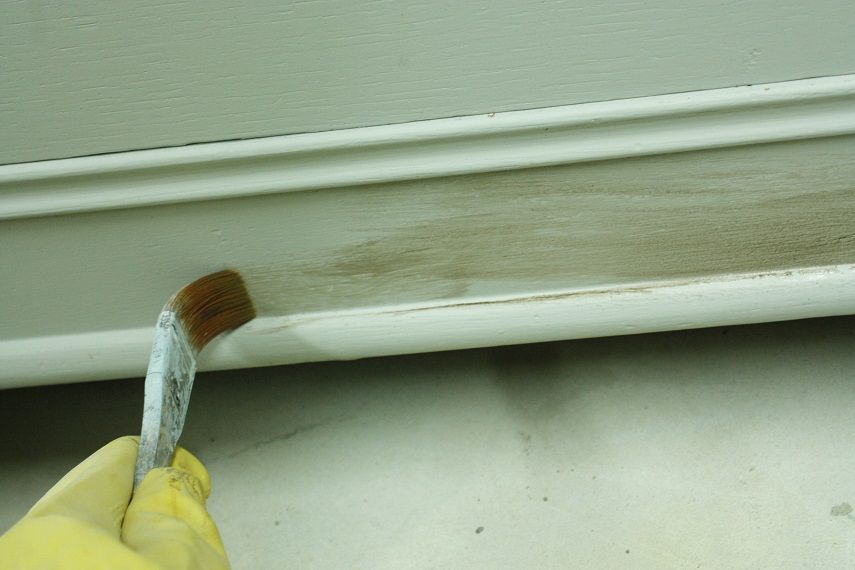
After a few passes with the brush, then rag.
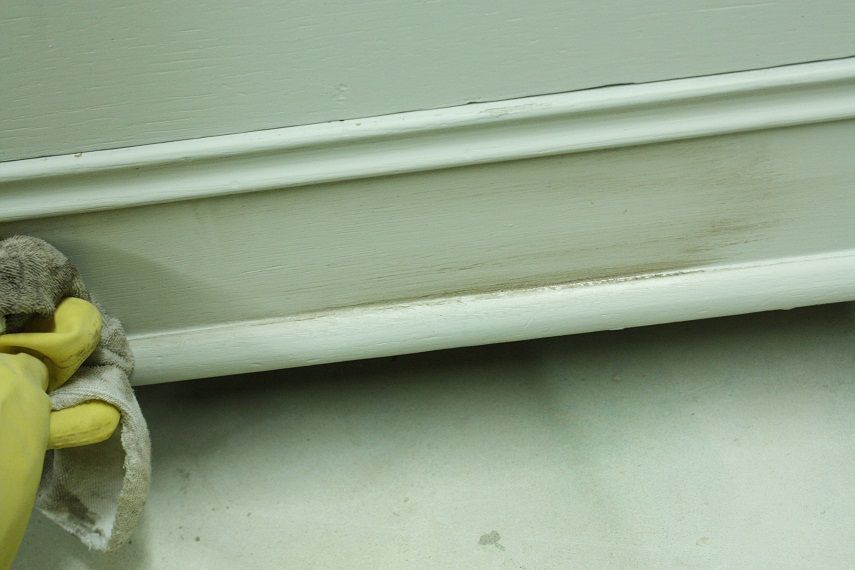
Keep working over your surface, creating an even finish. I do like to build up and work the finish further along areas that would naturally see the most use or see the least cleaning. After building up the finish you can still work with it if you aren't happy. I felt that it was just a smidge too dark for me here.

So I simply made the rag a little damp and gently wiped.
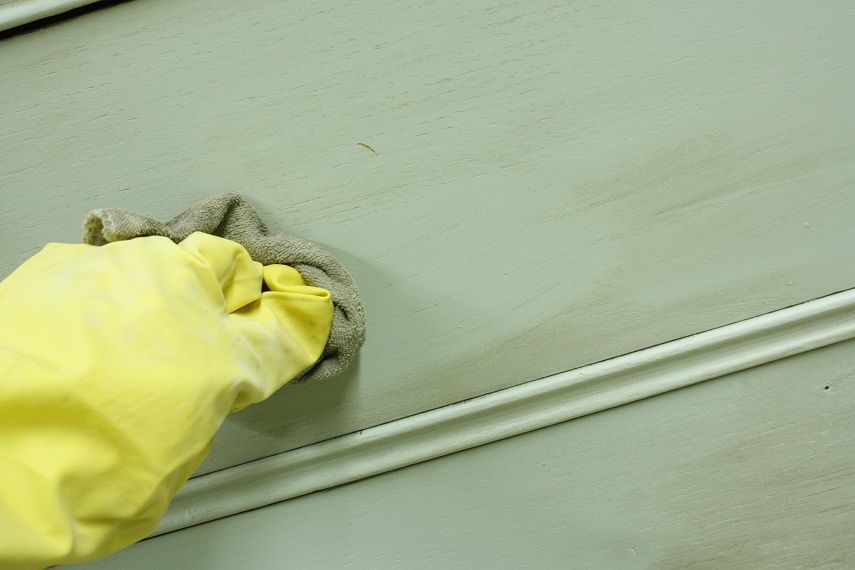
Much better now!
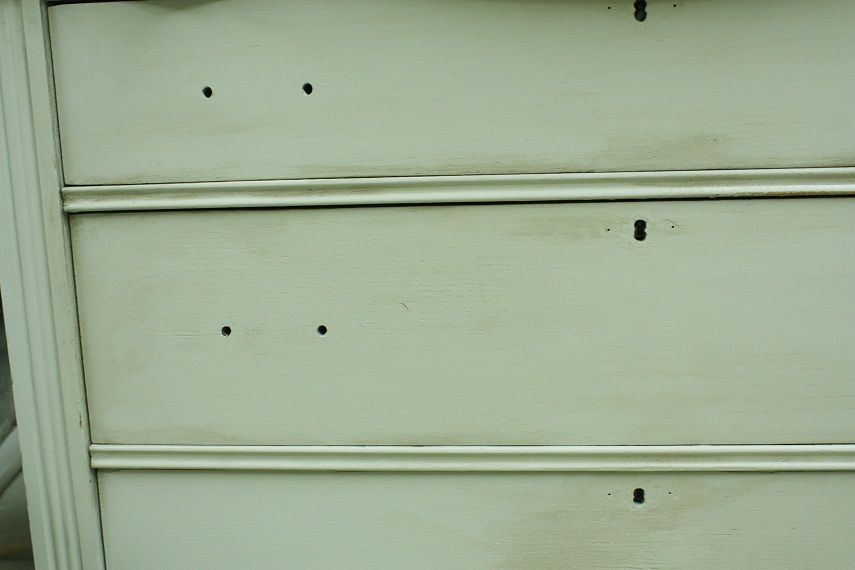
Once you feel like you are happy with all your smooth surfaces take a lightly damp rag and wipe with the grain on your corners, etc. that we first applied the paint to. Since the paint was diluted it should still be somewhat wet, if you are working on the smooth surfaces and start to see it dry too quickly then take a little break to wipe down these areas before they dry.
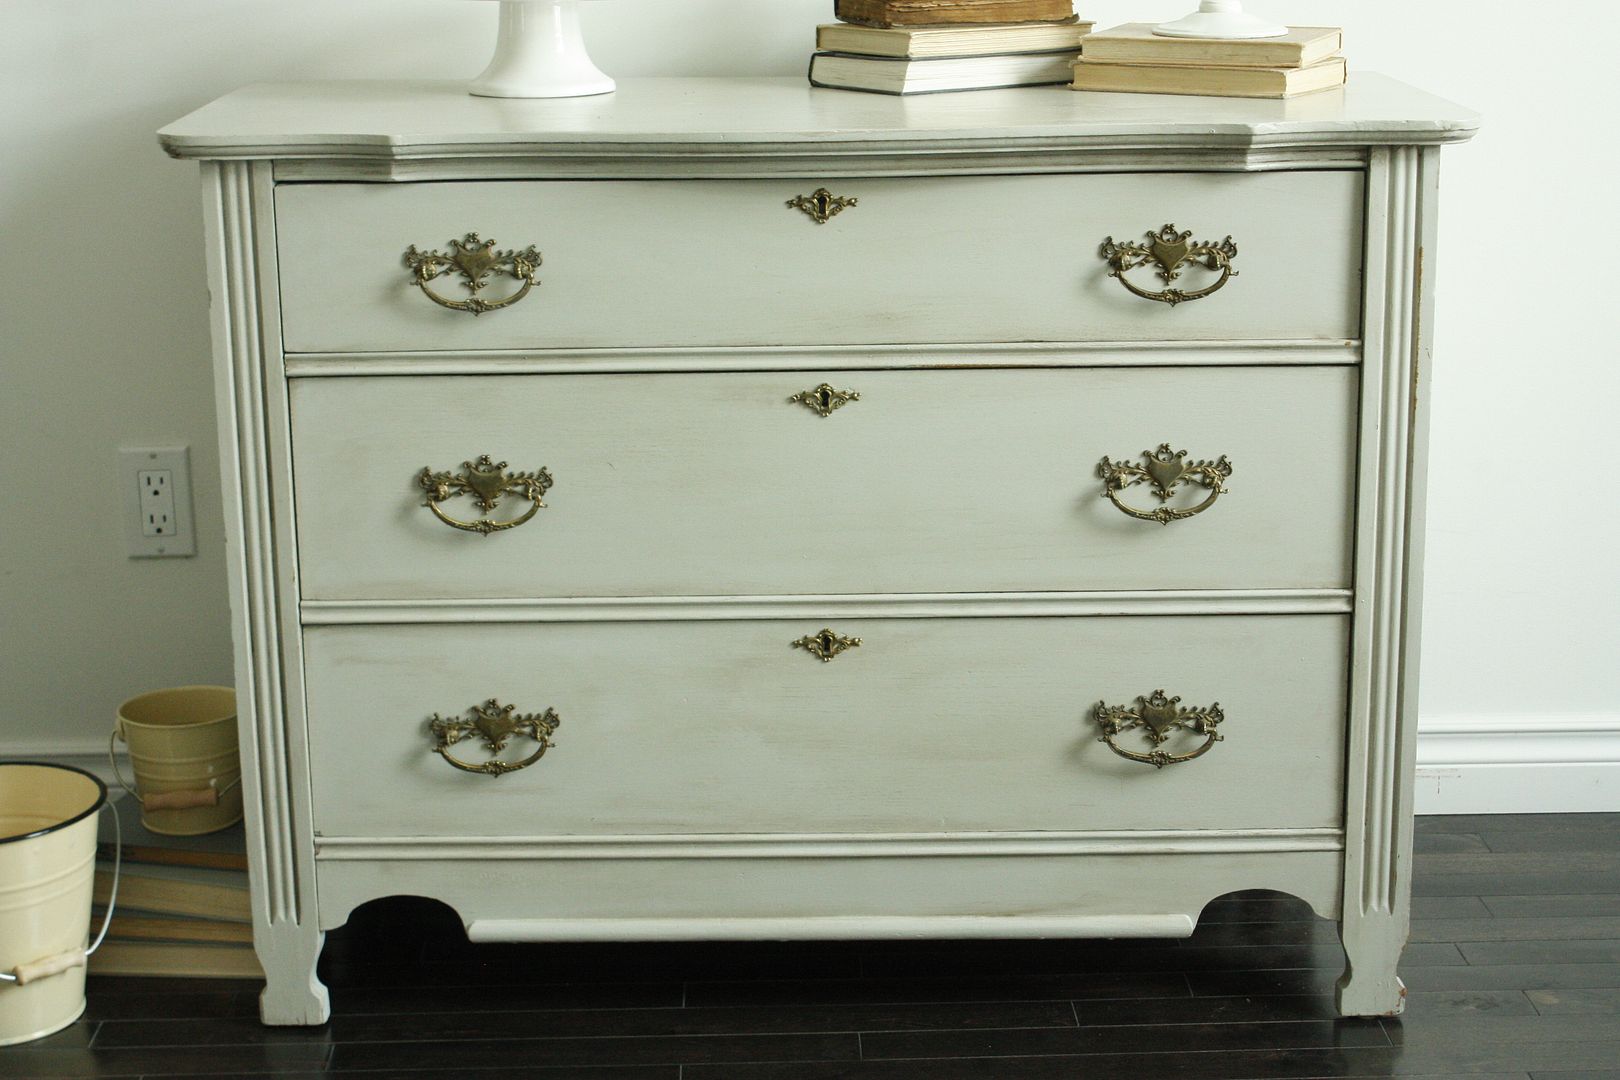
Hardware back on and all sealed up!
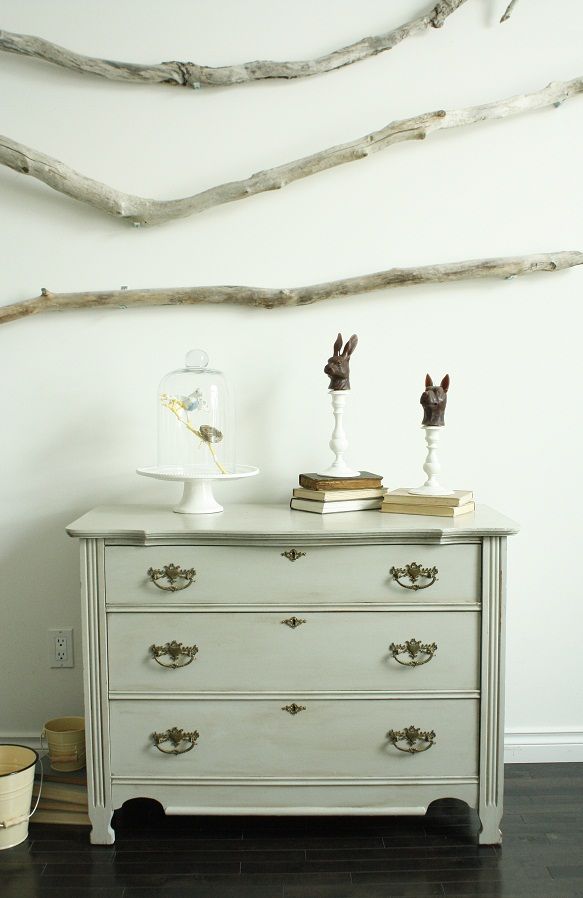
The grey and brown tones compliment the brass nicely.
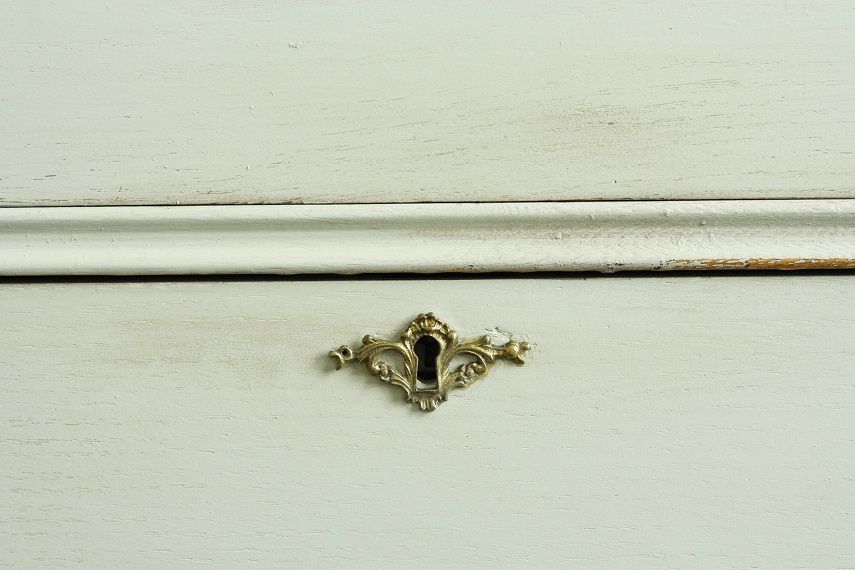
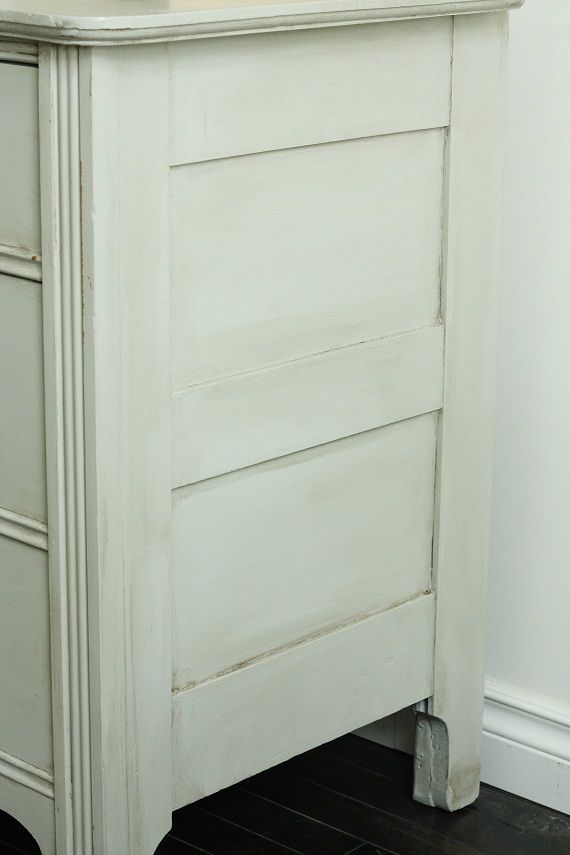
A successful glaze in my opinion.
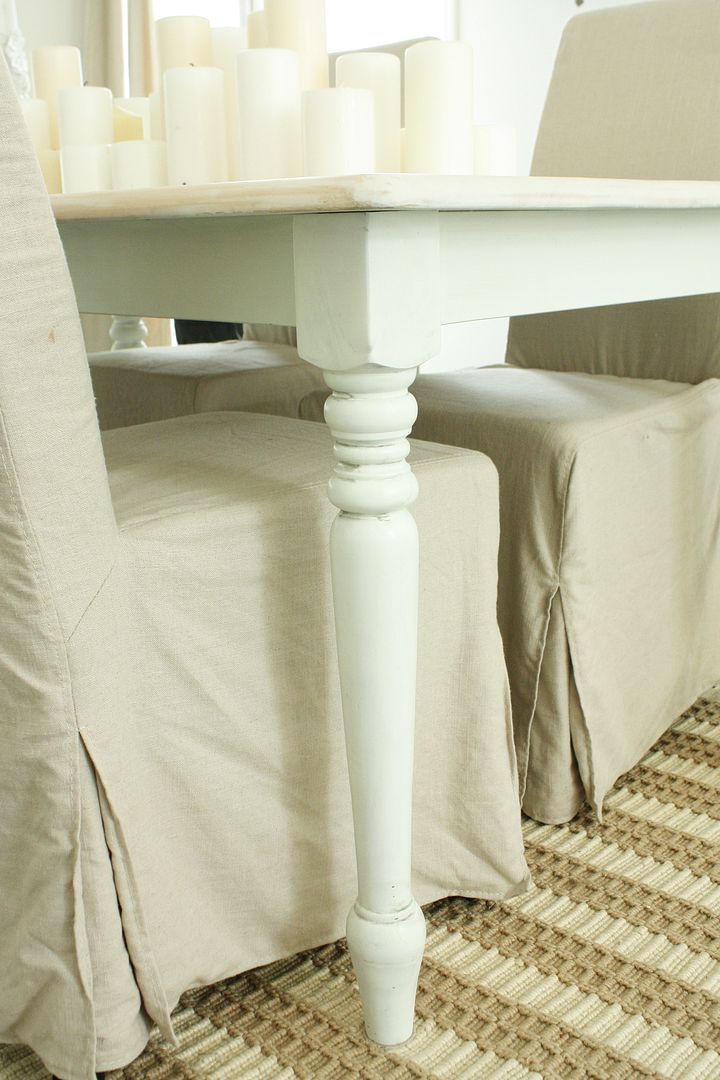
The other type of glazing I occasionally do is directly on wood. This table is both glazed on the painted legs as well as the wood top.
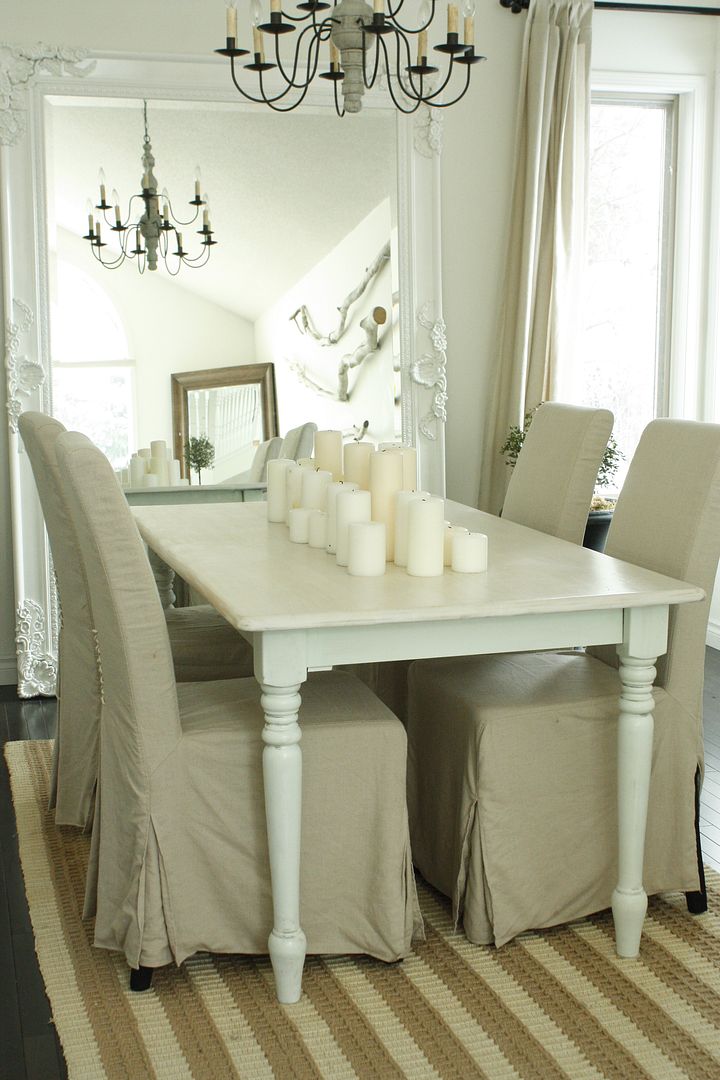
I like glazing wood with grey/white for a soft finish, but love the warmth that wood grain offers.
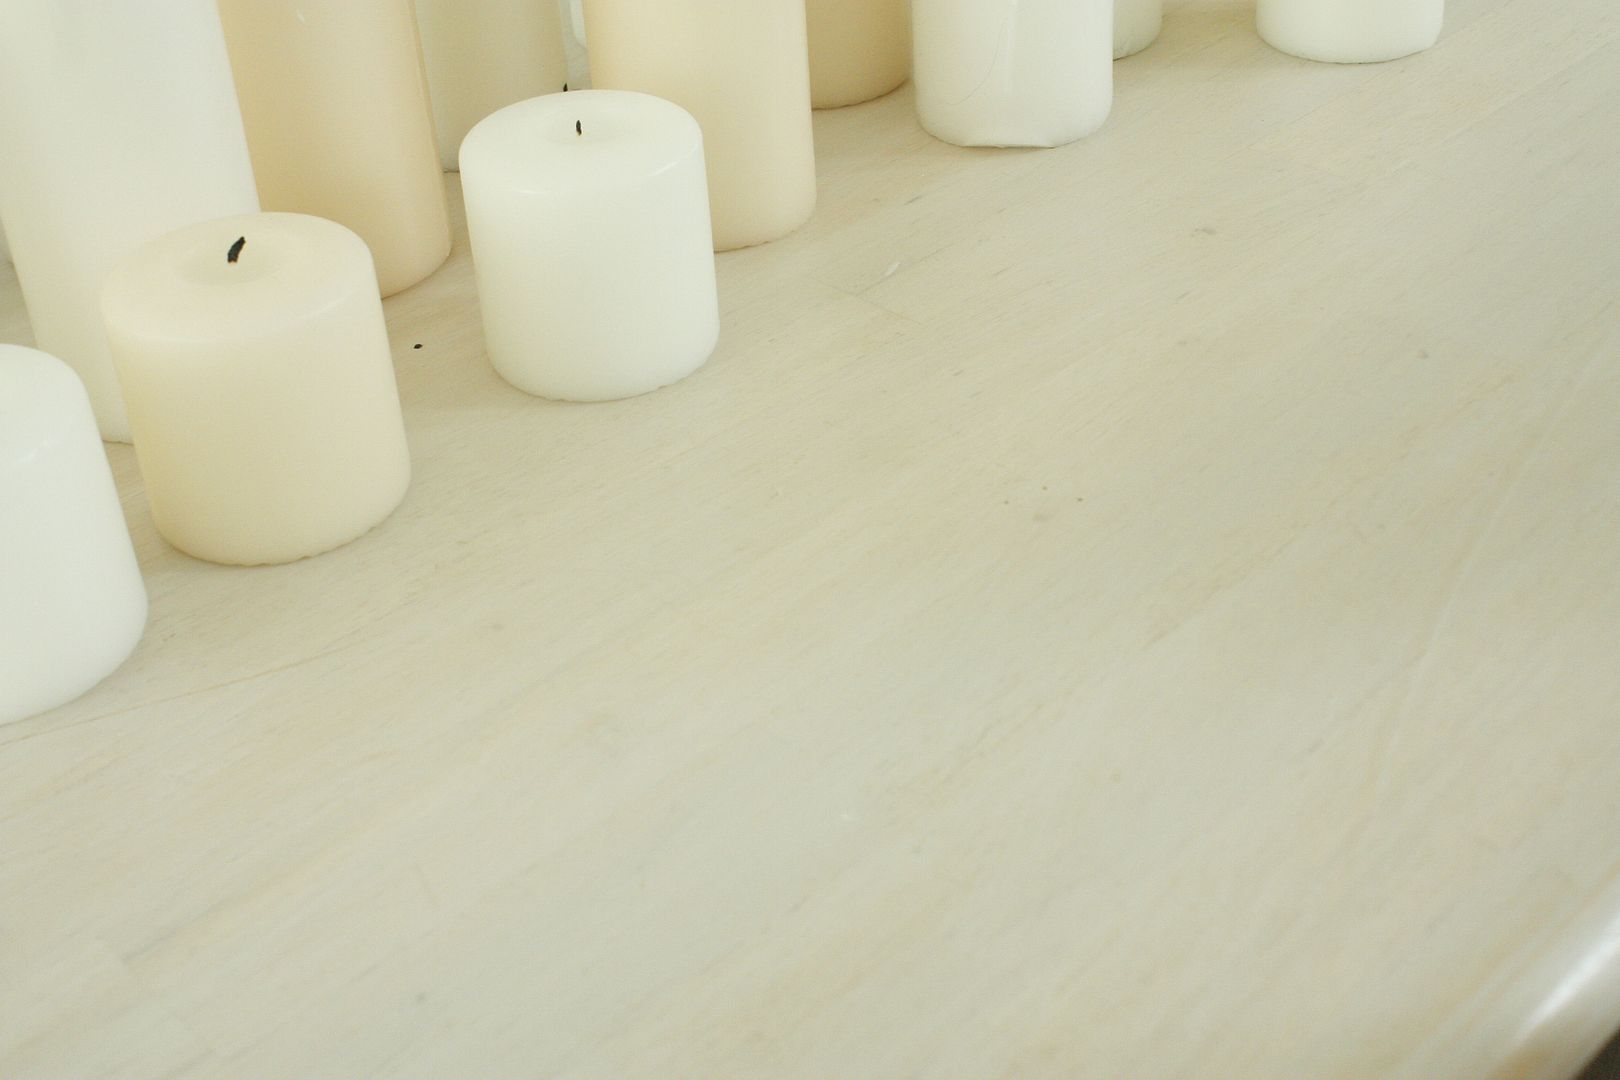
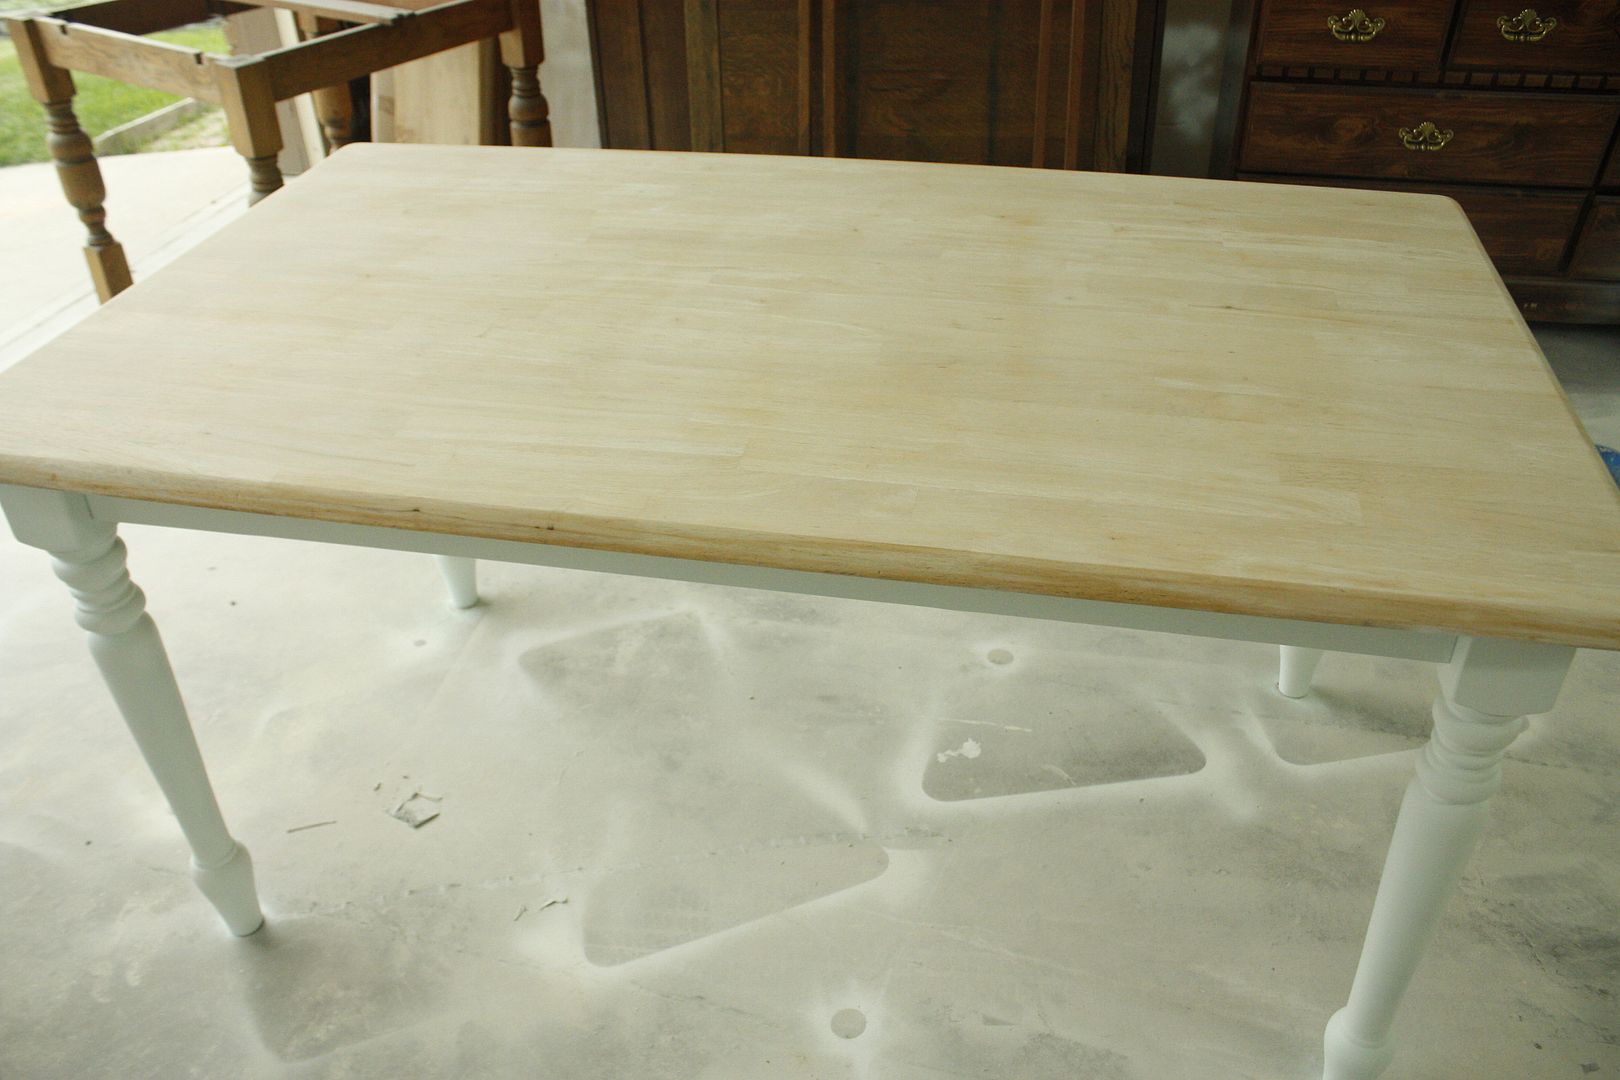
Glazing directly to wood is fairly time consuming due to the fact that we need to completely strip any paint/lacquer on the wood. This table was about 16 hours of stripping. You can sand or use chemical strippers, but I prefer sanding for the smoother finish.
Stripped on the left, lacquered on the right.

All stripped, and legs have been painted a soft teal.
For this glaze we will approach it the same as we did with the dresser but instead of dark brown we will alternate layers of white and very very light grey. Alternating colors in layers gives real tone and depth to your final finish.
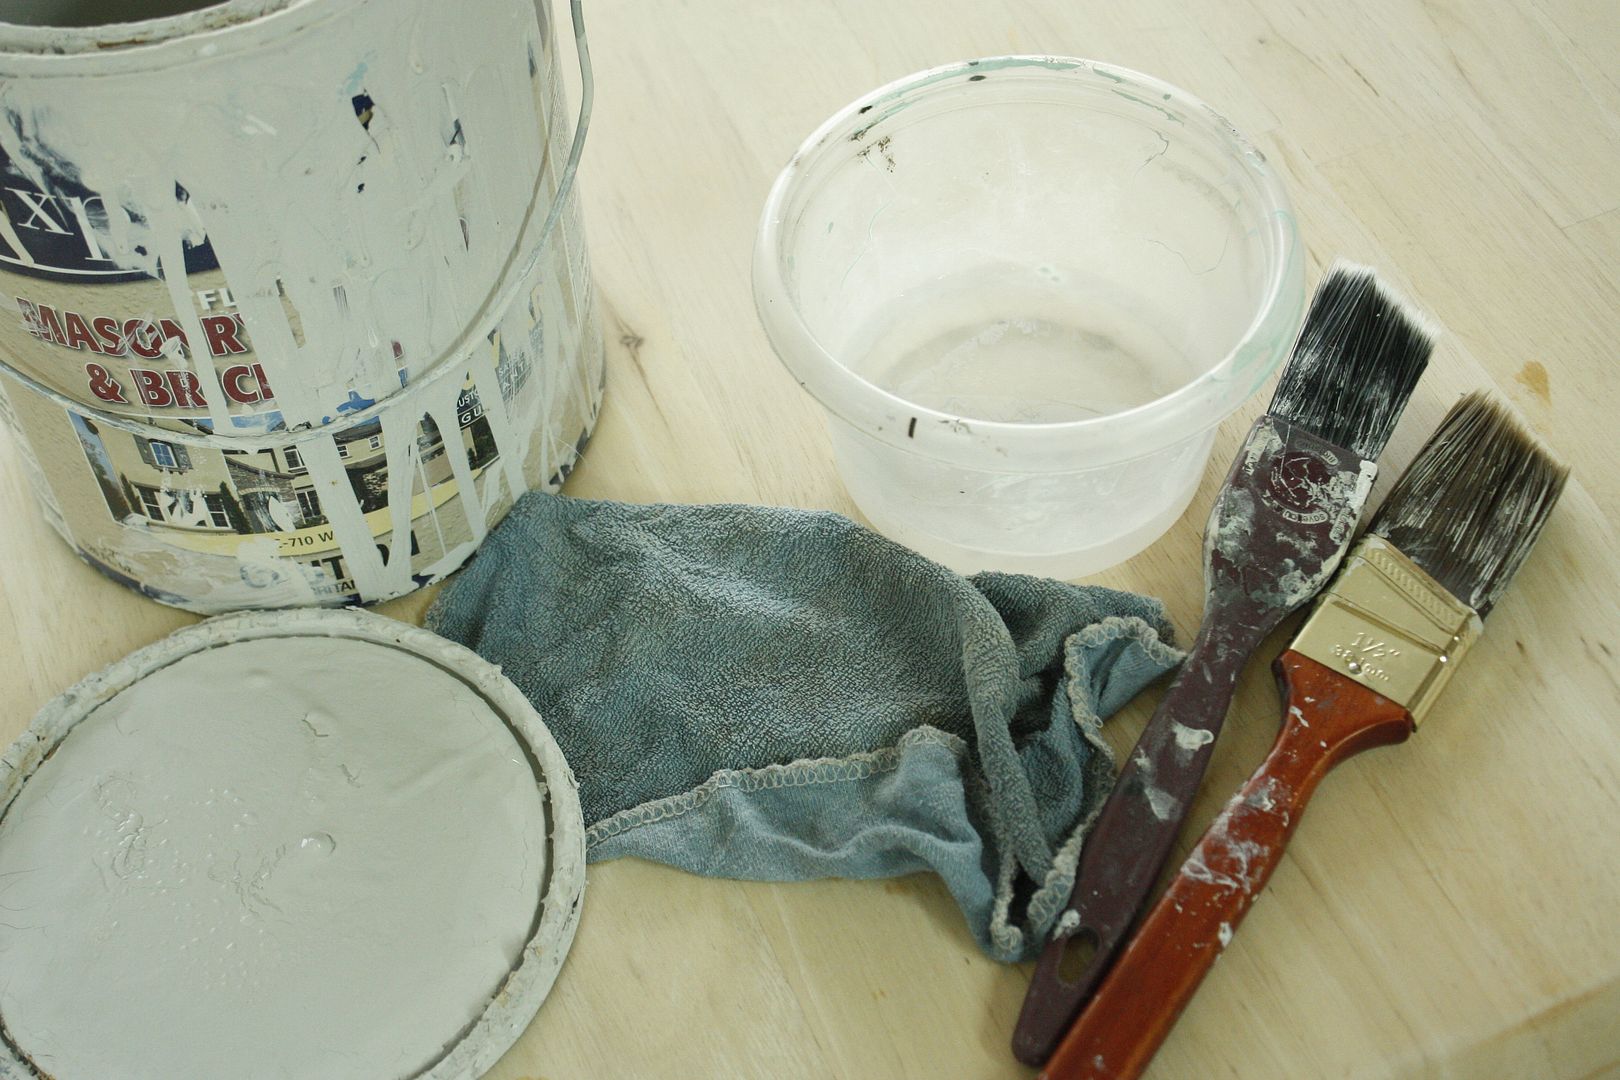
We want the wood to absorb the paint quickly so I dip the brush in paint then quickly in water. This also helps it brush on smoothly in large areas.

Again, work with the grain of the wood.
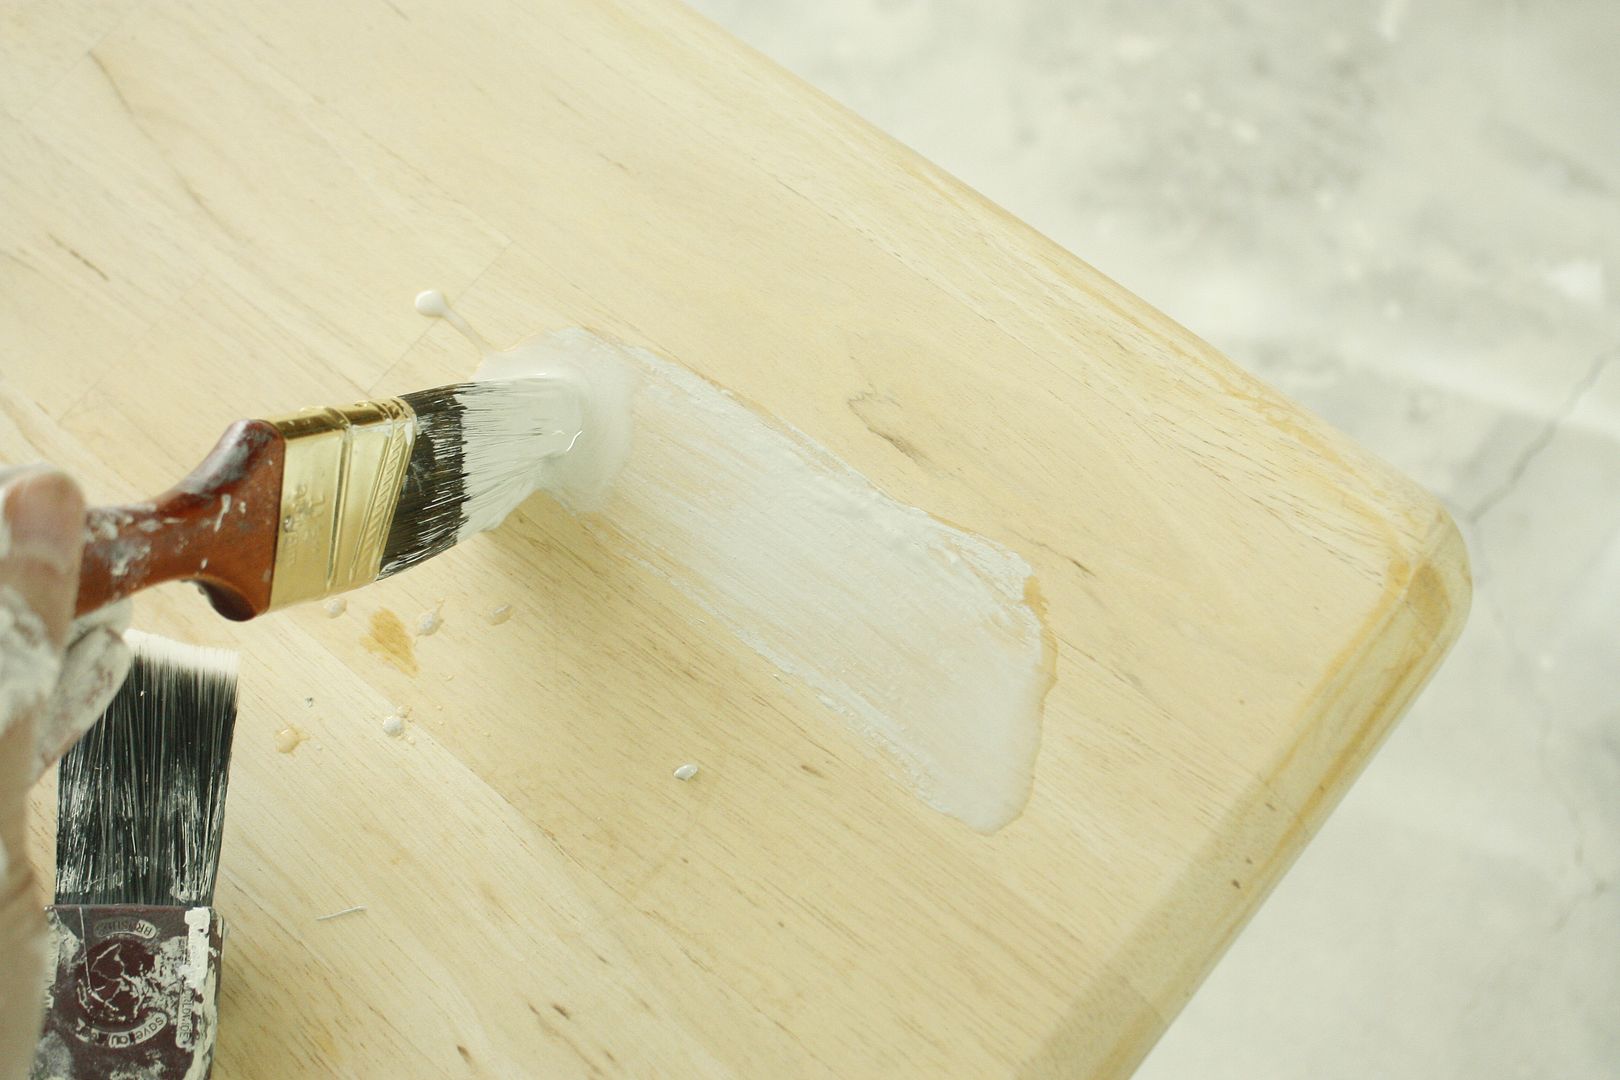
After a pass with the brush let it set (I usually just move on to another area while it soaks up)

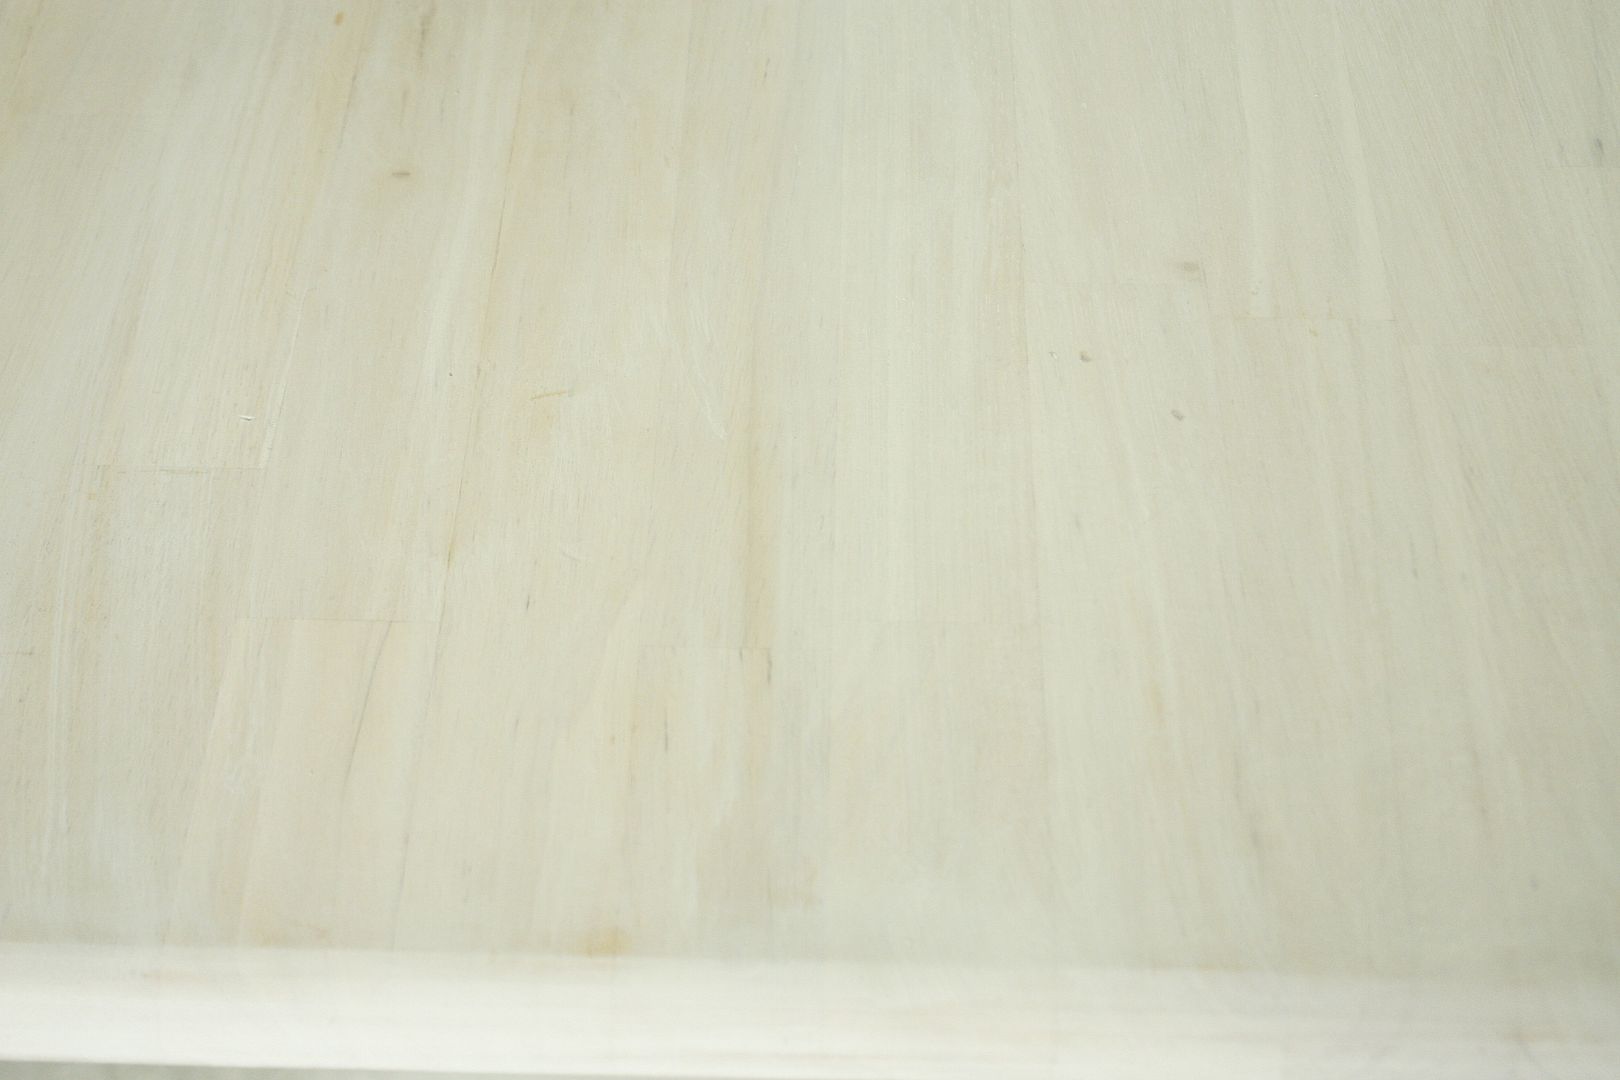
After a layer of white, then grey I wipe every thing down with a damp rag to help blend.

I still like the warmth that is visible, but you can build it up as much or little as you like.
For the light teal legs I wanted the glaze to compliment the surface.
So we used a darker grey in the same color family as the light grey we used on the surface.
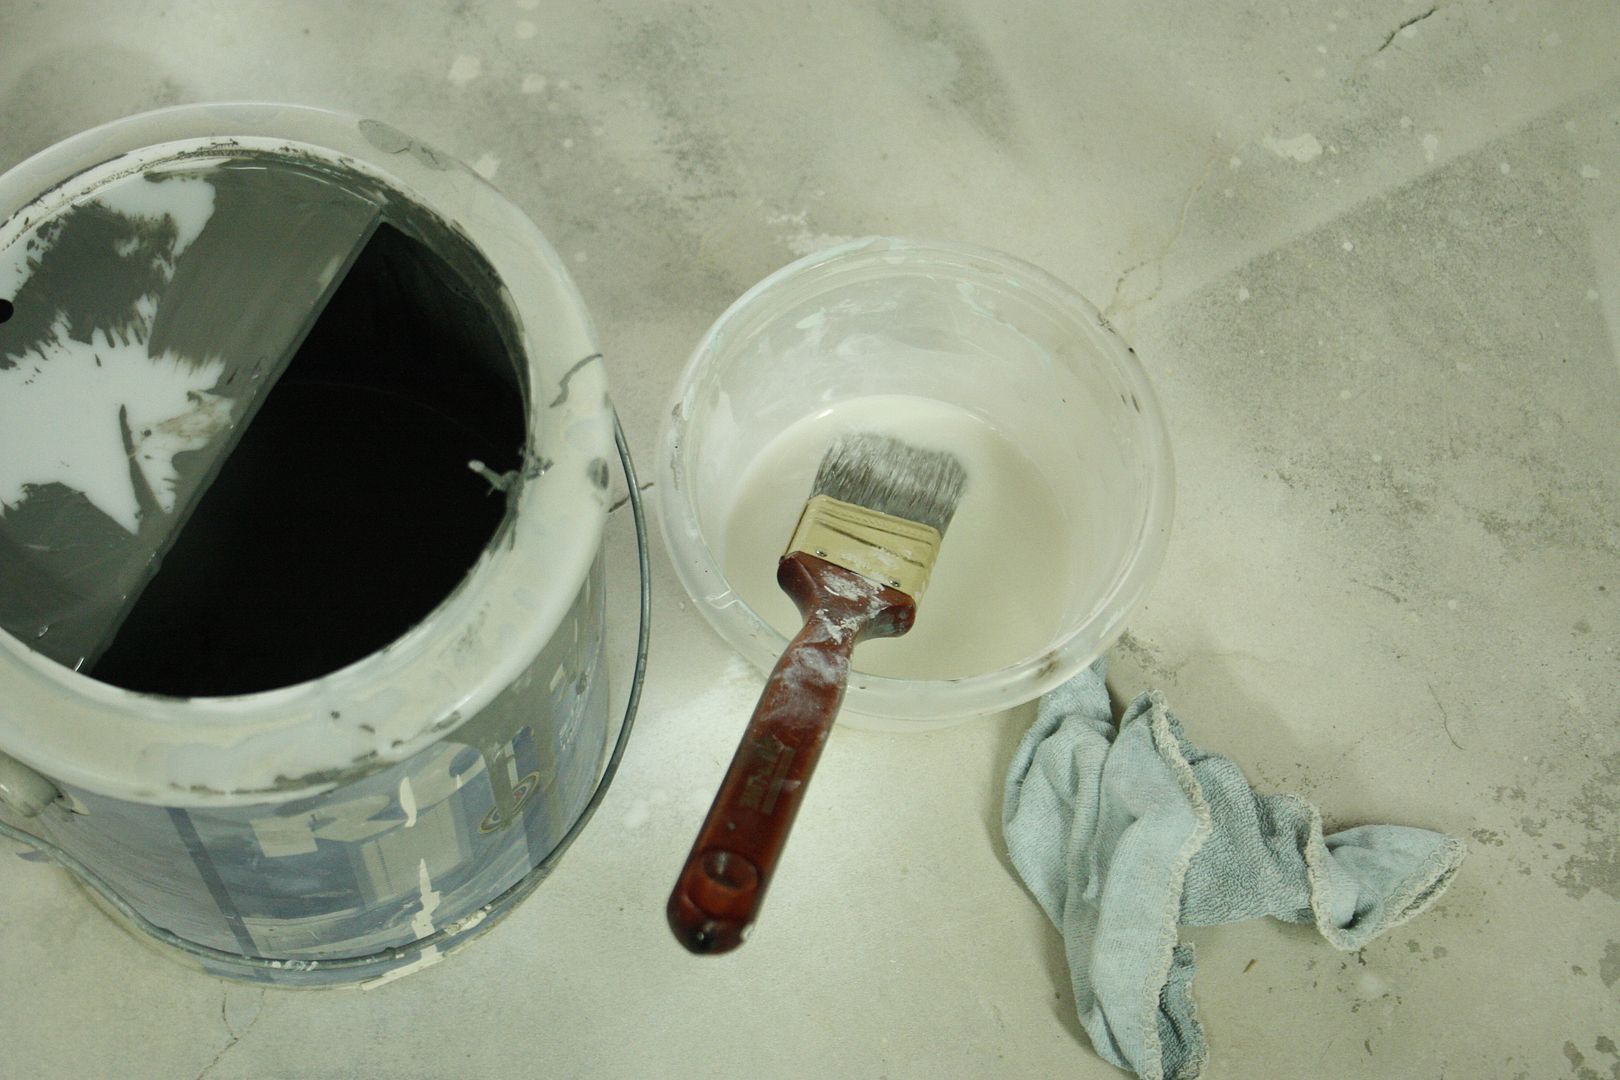
Again, we apply liberally in recessed areas.
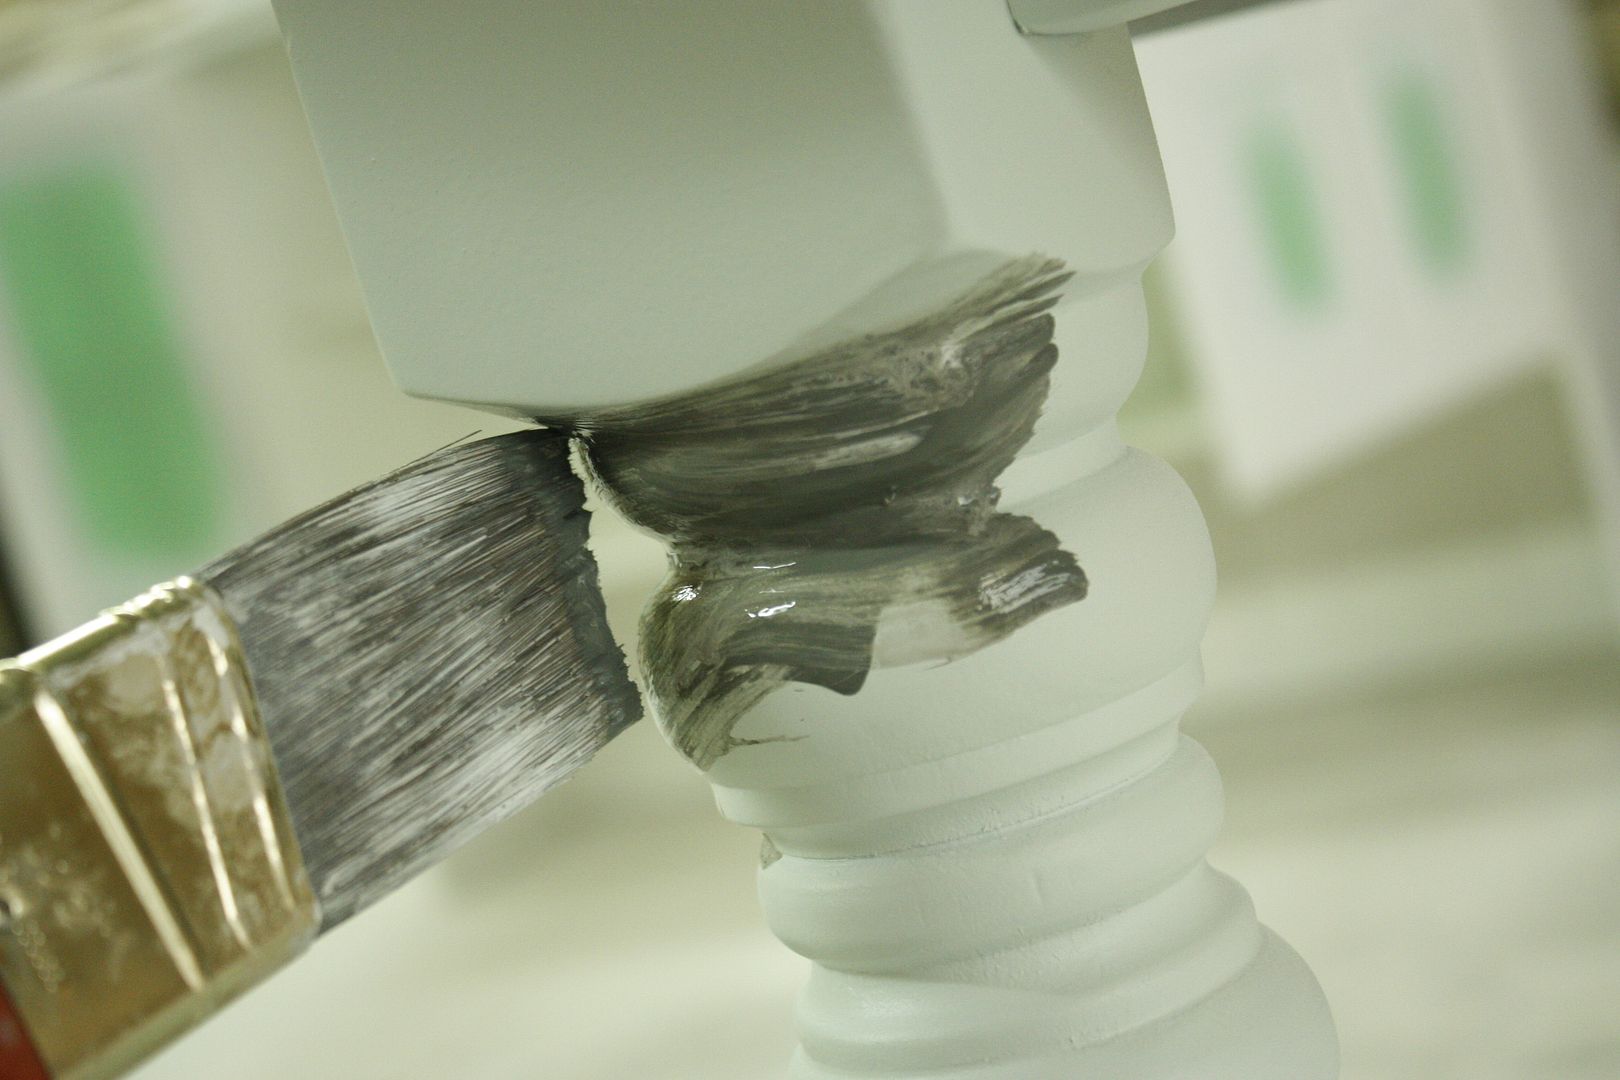
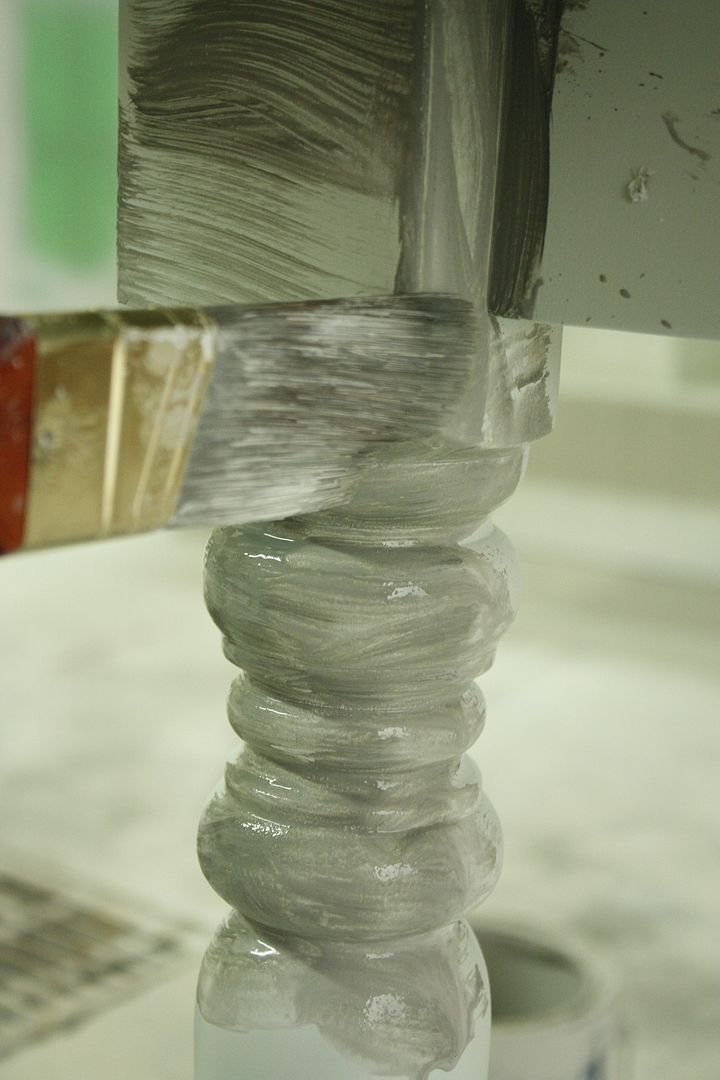
Then wipe away.
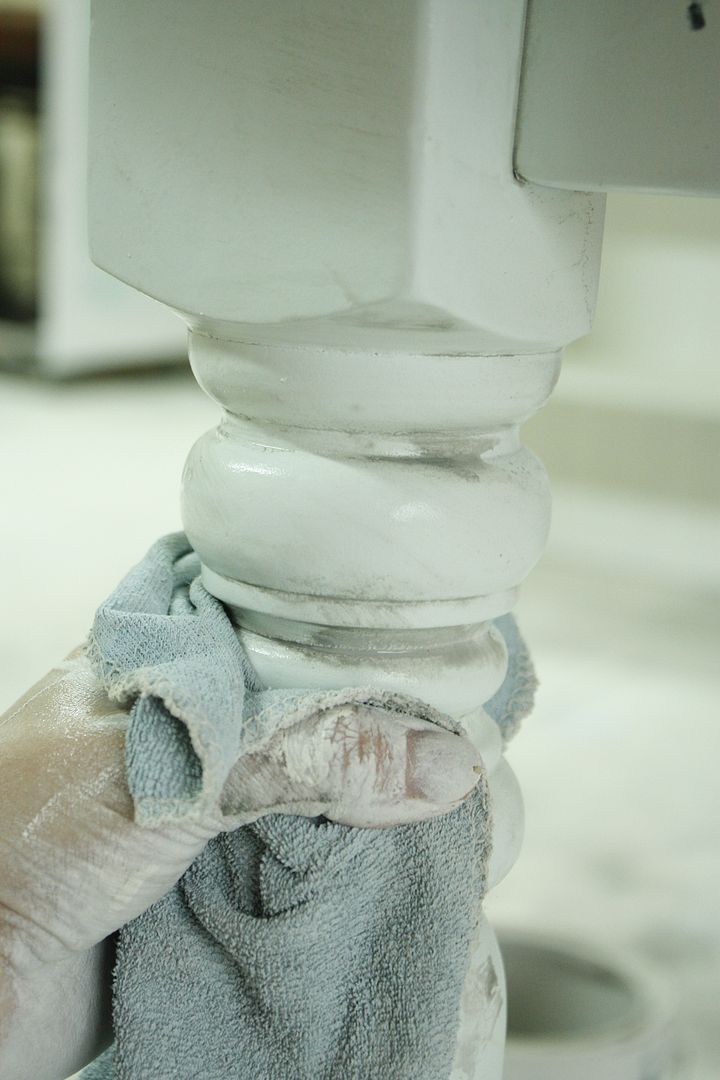
I prefer working up with the finish, building in layers over applying in thicker layers initially. It is more time intensive but so much more realistic and subtle in the end.

How are all your Paint Perfection projects coming along? Don't forget we will be having our link party in just under 2 weeks!!!


13 comments:
gorgeous!
It might sound weird, but would you mind doing a post on clean up? Cleaning brushes is such a pain!
Also, what about hardware? How do you recommend cleaning old hardware and how do you make sure new hardware (if placed somewhere different than the original) is attached symmetrically?
Love how the maple topped table came out!
Thank you so very much for sharing! I think this is the trickiest part to painting furniture. Trying to get those finishes right is tough! I of course pinned this awesome tutorial!
I have a question- I hear a lot of people say they they use a dark stain- usually mahogany over top the paint layer. Do you use that? How is it different from glaze?
Thank again for doing this series, I really appreciate it so very much!!
Becca
This is the most AMAZING post on this subject I've EVER seen. Can't thank you enough. Eager for next class. You've sure got the 'touch' creating BEAUTIFUL pieces. I've been planning to do a dresser and my research stops here. Thrilled and excited to begin thanks to YOU
Beautiful! You are very talented. Thank you for sharing. I want to paint my white bannister. What would you recommend? I think it would be too much work to strip it..can I paint over the white paint with a dark mahagony color or a grey with some glazing? I would love your advice...thanks again!
shabbywhitesandmuddyboots.blogspot.com
What a great tutorial! Both pieces look amazing. I always wanted to try glazing something with white, but wasn't sure how to go about it. Unless I missed something it seems like you didn't even need to use a mixing glaze. I love this. Thanks again!
I love the table! I wish I had an eye for re-doing old furniture! I just can't see the potential in pieces sometimes. Does the glaze (like the grey one you put on the table legs) just dry on it's own after you wipe it? Also, about how long is the drying process? Thank you!
sarah2e2004@yahoo.com
So you have painted the piece with FLAT paint -- and then you add streaks of color with a glaze, much of which you wipe off -- but doesn't that leave the piece flat? Doesn't it need some more final finish -- a polyurethane coat or something? Just curious.
I appreciate your excellent instructions but am left with a question: So you painted the piece in FLAT paint. Then, for color highlights, you applied a glaze, much of which you wiped off. Doesn't that leave the piece, finally, flat in finish? You don't give a final coat of something more "finishing" -- like polyurethane or something? I just wouldn't think that flat paint on a piece of furniture would hold up well. I'm probably very wrong.
So you have painted the piece with FLAT paint -- and then you add streaks of color with a glaze, much of which you wipe off -- but doesn't that leave the piece flat? Doesn't it need some more final finish -- a polyurethane coat or something? Just curious.
Thank YOU so much for this tutorial!
Holly - this is a great tutorial -THANK YOU! quick question: Did you need anything else on the table top? Was there a final sealer or wax or anything since that is such a high use area? thanks! -renee
Post a Comment