Wednesday, June 30, 2010

Doors and drawers and Wolves...OH MY!

A sweet reader by the name of Brandan recently commented asking if I could share client transformations, especially the colorful ones. Maybe I will round up all the pictures I have of colorful ones (because I always email photos before pickup for client approval)... but I think it would be a full time job to try and include them in blog posts. At the beginning of the week is when I tend to attack my pile of jobs, and by the end of the week my garage looks like this. None of these things are mine, and actually belong to 3 different people from JUST THIS WEEK.
This week there are lots of random doors and shelves that came from an armoire so large that the owner had it disassembled before arriving. So 4 doors, 3 side panels, a top and bottom and 24 shelves later it looks like I run an assembly line of sorts. Also mixed in are coffee tables, 3 dressers, a bed frame, a kitchen table and a glass display cabinet. And as soon as this all clears out it will start to pile back up before the beginning of next week when the cycle starts over again~

It just so happened that this week everyone wanted white!

And I have to tell you that I nearly lost my life just taking these 2 photos. I am still shaking just thinking about it. As I was standing there shooting the last shot I heard a strange sound. I had a bad feeling and so I slowly turned around to see a WOLF standing about 12 feet away. My heart started racing and I didn't know whether to run for my life or play dead!
I decided to bolt for the front door and sure enough he charged after me and I just managed to slam the door within miliseconds of him catching me. Sean couldn't see him at first and was wondering what the heck I did to myself (I was sobbing hysterically at this point). When he opened the garage he saw it and make a noise to scare it, causing it to run away. He insists that it was some sort of husky or something but I am 100000% convinced it was a wolf.
So if you see a news report about an escaped wolf from the zoo or something let me know so I can prove to him that's what it was~

Modern Bird Giveaway

I am really excited to share today's giveaway with you guys! When Modern Bird offered to giveaway not 1 but 2 of their pieces I was blown away because each piece is a custom piece of art! It can be anything you like.


In case you haven't previously heard of or seen them, Modern Bird Studios creates personalized, modern art from your photographs. Each work is a one-of-a-kind, original studio piece created with a combination of digital, hand, and painting processes on an Oak composite. They take your photograph, and break it down into a two-color image, which results in abstract shapes that make up the form and then choose two contrasting colors to create the painting. The result is a marriage between technology and traditional painting to create a totally hip urban-style art piece.
We will be drawing for 2 of their custom pieces (a value of $215 EACH), to enter all you have to do is leave a comment on this post! For additional entries follow Modern Bird on Twitter and leave another comment informing me you are a follower, or become a Modern Bird Friend on FaceBook, also informing me in another comment. So that gives you 3 chances to win! The draw will take place on Monday at 8pm pacific.

Unfortunately this contest is only open to the lower 48 States and Canada (sorry international friends!) due to shipping restrictions.
But if you don't win and still have your heart set on a custom piece Modern Bird has kindly offered a 15% off code for everyone on any size or style for one week following the draw. Simply enter the code FUNLANE.
Thanks so much to Modern Bird for their generosity and GOOD LUCK to everyone!!

Tuesday, June 29, 2010

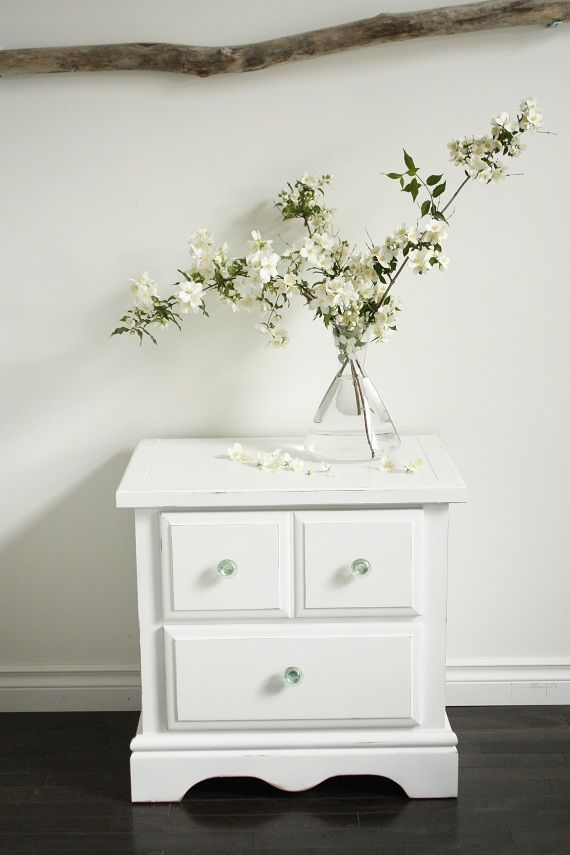
Pair of White Nightstands

I am sure you have been wondering why you haven't seen any new transformations lately? I think it has been over 2 weeks since I shared anything new, and it was almost exactly 2 weeks ago that I had a client booked in who actually brought a moving truck to drop off her items (definitely a first here!). I have had a blast working on her items, but I literally had the garage completely packed. I am REALLY thankful we have had wonderful weather so that I could utilize the yard for work space otherwise I would have been sunk! I am also thankful that I limit the number of clients I take, even when I would love to say "Sure, bring it on by!" because all of last weeks clients got pushed back slightly, but thankfully I was able to catch up over the weekend and I ended up only a day or two behind schedule... and this week's clients will be right on time.

But back to the project at hand. I really love finding sets of things, whether it is chairs, tables, etc. so I had to scoop up these night stands. I actually bought a whole set, including a giant dresser but that was custom painted for a client months back while these have just sat collecting dust.


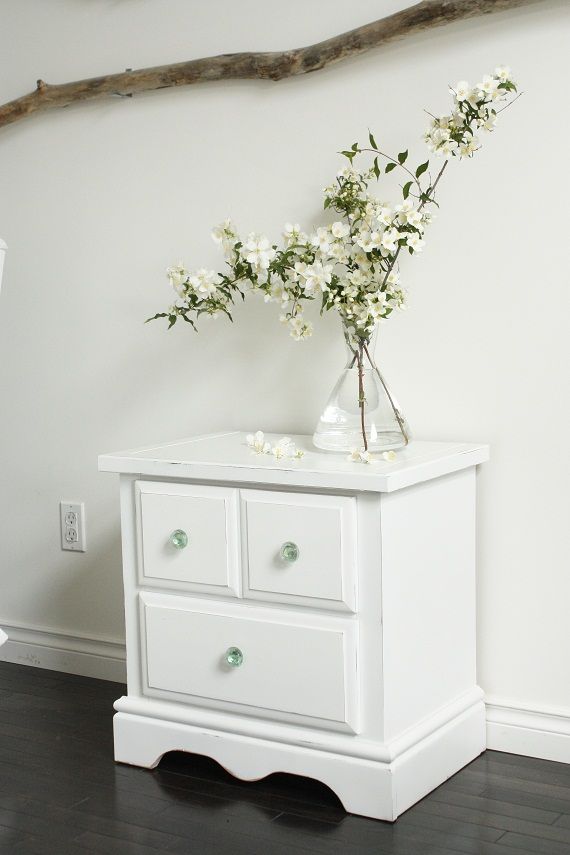
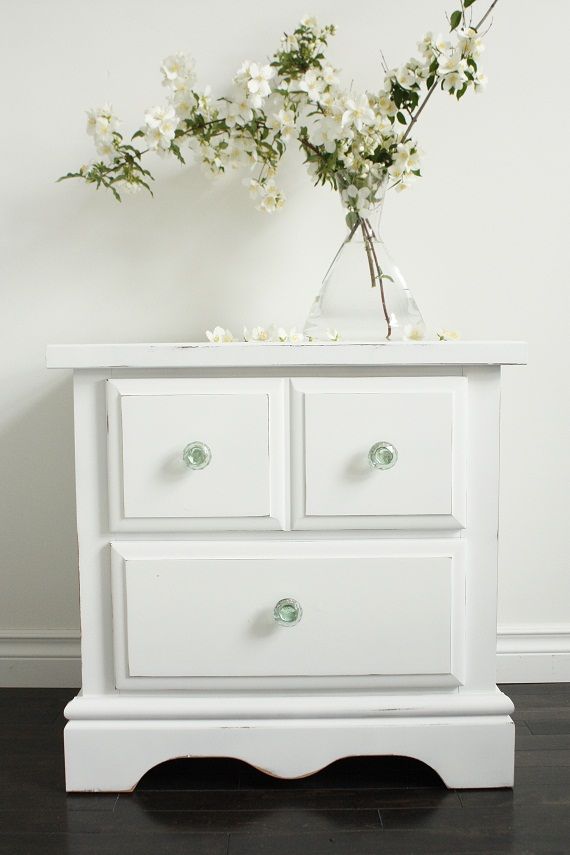
I love the simple clean lines of these guys so I kept the paint a clean white.


I added some of the sea-green glass knobs I scored at Anthro back in January. It is definitely cottage season and I have been adding a lot of beachy touches lately.


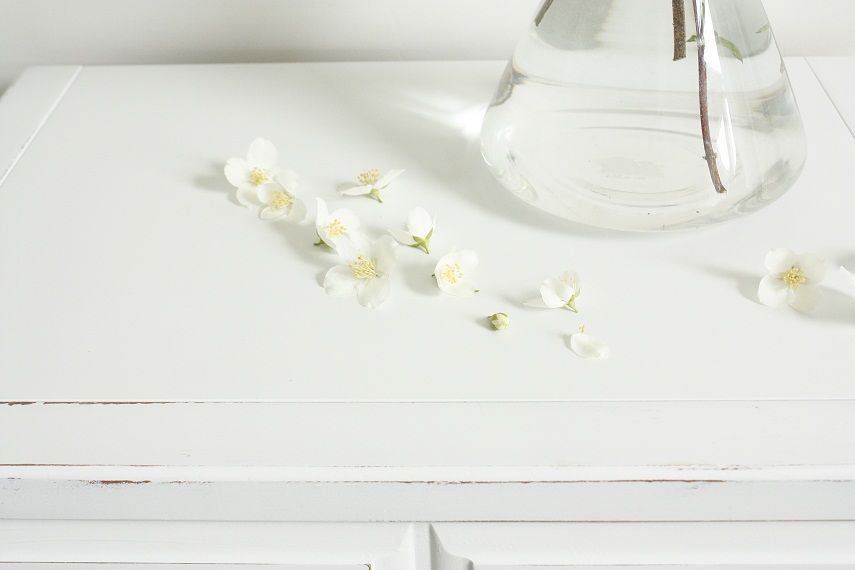
With just the slightest hint of distressing to keep it from feeling too perfect.


I am so lucky that our yard always has flowers that are in bloom. I have multiple glass jars and vases filled around the house at all times... but at the back of my mind I am reminding myself of those January days when I look out to nothing but snow. They seem forever away but I know they will be here sooner than I like.

But for now I will try and enjoy every minute with my blooms.

Monday, June 28, 2010

Domestic Ease Launch

As I am sure most of you already know, every Monday I am a design editor for the In The Nest section of Domestic Ease. We are a lifestyle website that touches on everything from cooking, to kids to decorating. Since our launch in February we have offered a giveaway every week, all you have to do is comment (as many times as you like!).

This week we have a very exciting event as we are launching the community forum portion of the site! If you have been eyeing something at Pottery Barn you may just want to wander over and either leave a comment or join the forum because we are giving away a $500 gift card this week! You have 1 entry for every comment~

Good luck and hope to see you on the forum!

Sunday, June 27, 2010

Secrets of caulking and painting trim

Before we bought this house I probably couldn't even tell you what to use caulking for, besides the tub! But after installing hundreds and hundreds of feet in new baseboards in trimwork I think I have become somewhat of a pro. Not only because I know how to do it, but because I have mastered a system that allows me to completely caulk and paint an entire room in under an hour. So of course I want to tell you all about it~

Remember how we were (or I should still say "are") renovating our laundry room? I promise that it will be a pretty good reveal in the next few weeks... we are WAYYY behind schedule for several reasons, one being our vacation, the other being that our cupboard took several weeks to get here and then once we opened it up to assemble it we discovered that it was broken into multiple pieces. So we had to continue the waiting game until just recently.
But besides our cabinetry we are pretty close to finished!

And now back to the caulking tutorial...

The first thing I have learned is that painters tape is your best friend for this job! Not only because it keeps the caulking straight and tidy, but because if you weren't aware silicone is a big fan of right angles. When you just drag your finger through it over time you see it start to pill and wear away, and using tape to make a clean line will prevent that!
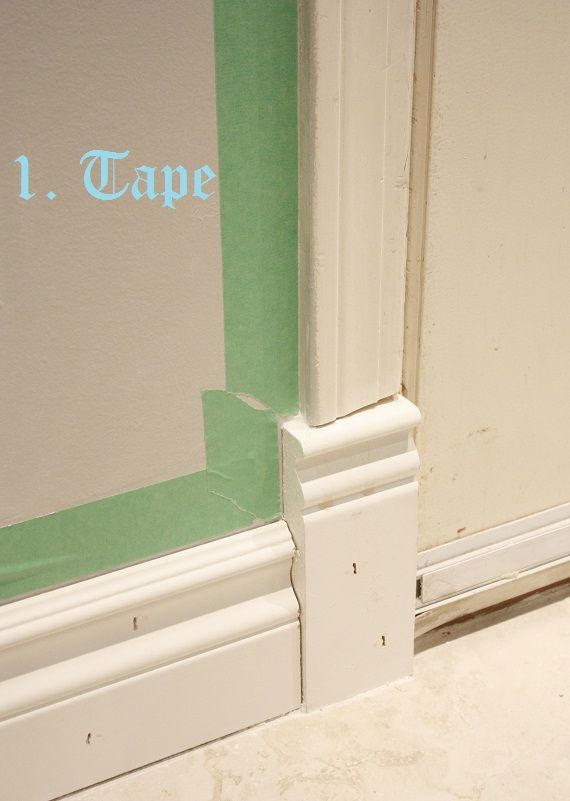


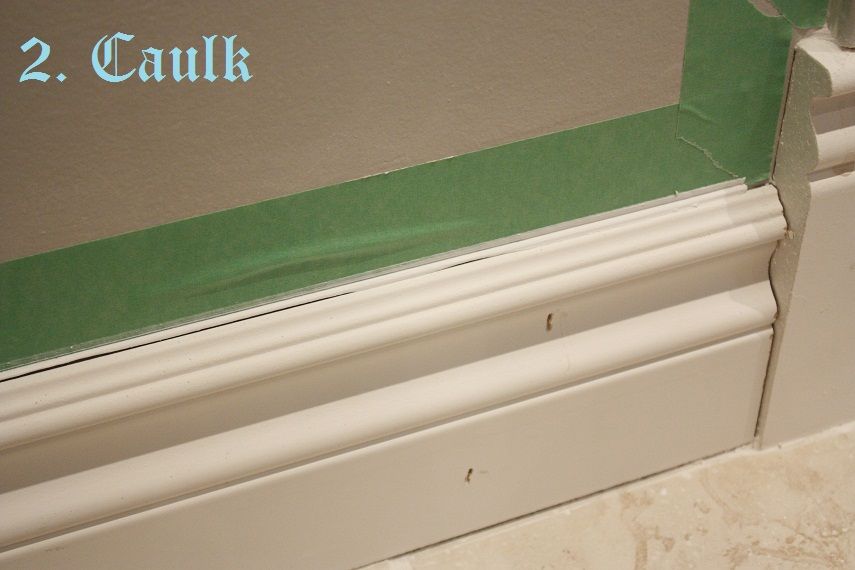
The next step is to run a small line of caulking along the top of the baseboard.
The wet rag is another trick of the trade, when you go to run your finger through the caulking you will get a MUCH smoother finish if you have wet fingers. So I keep an old rag on hand.


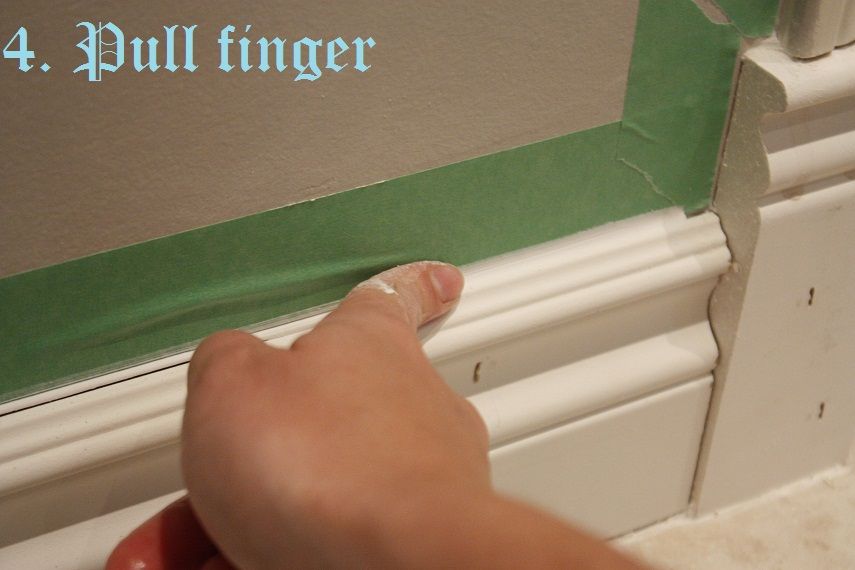
Yeah, yeah, I can already hear the teenaged boys laughing at this one! There are multiple tools on the market for applying caulking, but I really haven't found anything better (or cheaper) than my finger!
This is where my system really starts to save some time. After you have filled all the nail holes and done the top of all the baseboards I tape off the floor. This lets the caulking start to set, but not completely dry before we paint.
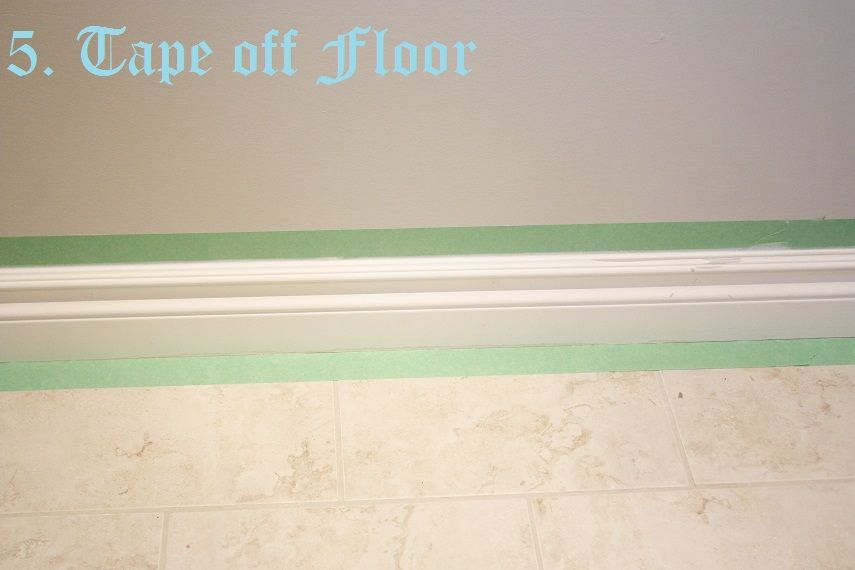

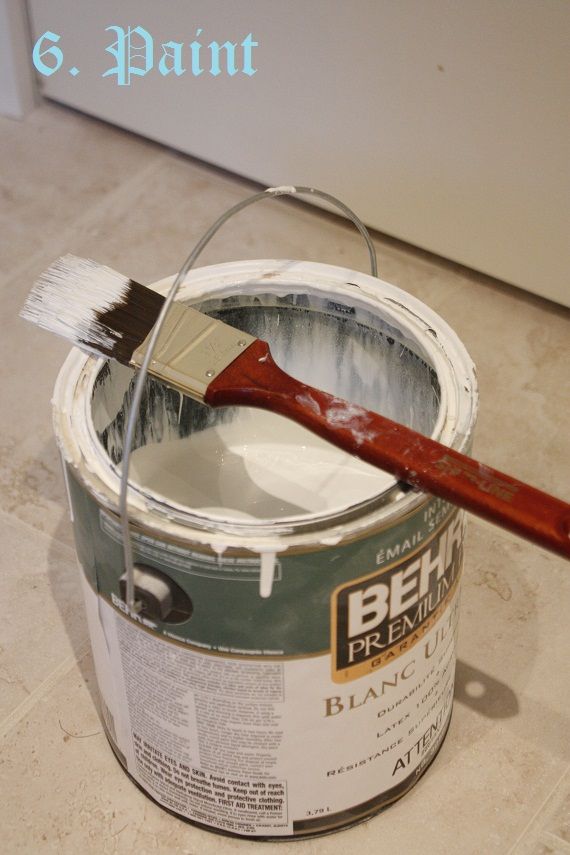
Because the caulking is not solid yet, I ALWAYS use a high quality brush with nice soft bristles. Harder bristles will ruin that nice finish we have. I like to use Mirage White in semi-gloss for all our trim work, but you can use any color.
Now I let the paint start to get tacky, but not completely dry. If we waited until the paint and caulking were dry the tape would not come off well and the finish would not look clean (trust me, I've done it!).


And last comes my favorite part, the big reveal! Because we didn't wait to let the caulking dry and then re-tape everything it literally took only 55 minutes from start to finish to do the WHOLE ROOM!
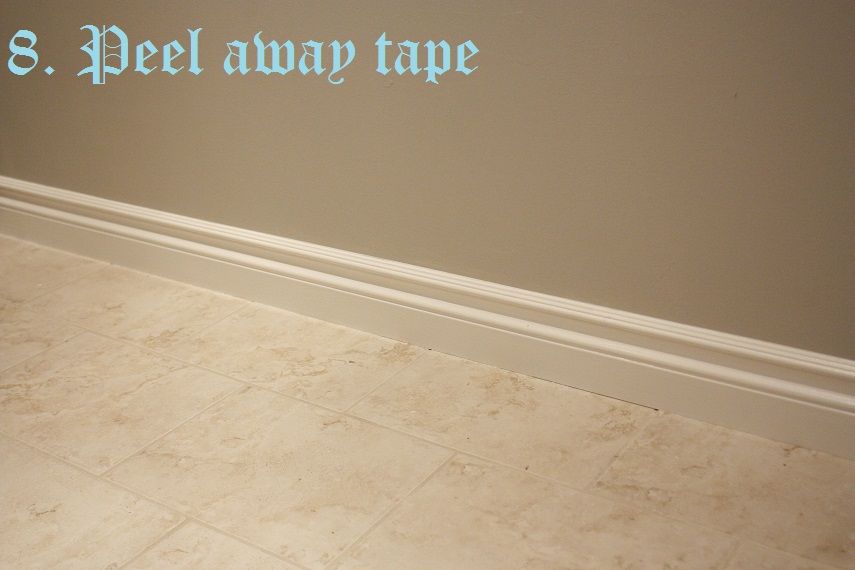

Some times with older dry wall you may get some of the wall paint/plaster peeling away with the tape, but I just go back with a touch up brush and the wall color to fix those little patches. With the exception of this door frame (which sees a lot of moisture as it is the door to the garage) all the other tape peeled off perfectly with no peeling!

Hope that was helpful to some of you, and will maybe inspire you to update your baseboards or trim!

Thursday, June 24, 2010

Fresh Coat Friday!


Hi everyone! Thanks so much for dropping by our first ever Fresh Coat Friday! I know some people are not familiar with link exchanges so this week I posted all the emails and linked back to the blogs they came from (thanks for sharing!!), those without links are from readers who are not bloggers. If you want to participate by email feel free to email me any time, or just add the url of your blog post with your latest transformation at the bottom of each Fresh Coat Friday post so we can all stop by and say hello! I love getting a chance to see what all of you are up to, as well as check out your blogs so I think the links are a nice way to get to know everyone a little better~

For all our participants, feel free to grab a button for your blogs to show you were featured!

And now on to the good stuff, your freshly painted projects:


Kari was on the hunt for a versatile way to stay organized, so she decided to add a hutch to an already painted dresser she had recently transformed. After hunting for a wood hutch with no luck, she settled on this steal from Liquidation World. You would never know that they weren't a a matching set now! And I love all of her teal accessories.


Aren't Stephanie and her ottoman adorable? She was out driving with her husband, Paul, when she saw this amazing piece of furniture just laying on the side of the road! Like all of us, she screamed to stop and the rest is history. I only dream about finding such beauties on the side of the road!! Great work (and amazing upholstery skills) Stephanie~


Rachel did a wonderful job turning her grand parent's old dresser into a fun, modern sideboard. I cost virtually nothing since she used a can of paint she had laying around and updated the old hardware with a little elbow grease and some paint. I love the shade of blue she used!


Whenever Peg needs to take a little break and unwind she now has the perfect spot! She scooped up this chair for the cost of a cup of coffee and turned it into a fun, whimsical getaway. The animal print is too cute, Peg!


Sarah's email made me smile because I LOVE the dresser she refinished, the shape, the style, the hardware. You can really do no wrong with pieces like this. Not only did she give it a whole new look, but she added a huge batch of WOW factor! I have actually done a few client pieces in this color and they always look stunning. Great transformation Sarah!!


Donna is a designer by trade and she did a wonderful job on transforming this unique corner chair. Doesn't it feel so "zen" now? What a wonderful find!


Laura originally planned on re-staining her cute little table to match the rest of her living room furniture, but I think that fate dealt her a good twist when the stain didn't go well and she decided to try white. It really stands out now and is the perfect contrast to her beautiful room!


I always love hearing about FREE transformations, and Becky's chair is a real score. Can you believe a co-worker gave it to her? Who would let such a great find go? Becky gave it a fun new look with a fresh coat of paint and this adorable fabric. I doubt she will be giving this away~


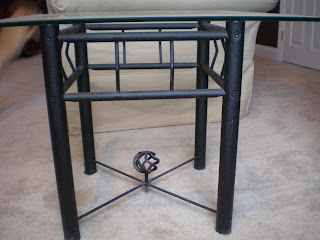
Barbara totally blew my mind twice! The first time was when she told me that she scored this table brand new from Salvation Army for $50! Then again when I saw her transformation. I love the modern lines of this table, great work Barbara!


Breeana has taken this table and dresser from junky to funky. I love the addition of baskets in the dresser for added functionality. Love it all!


Rebecca took her transformation skills to wrought iron. For a mere $6 in paint she really lightened up her attic bonus room.


April took her creativity to a new level, a smaller one! She transformed this old jewellery box with some paint and paper for a fun new place to store her little treasures.


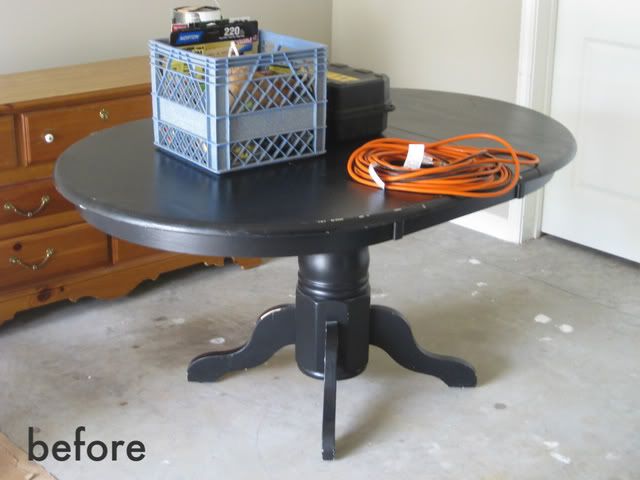
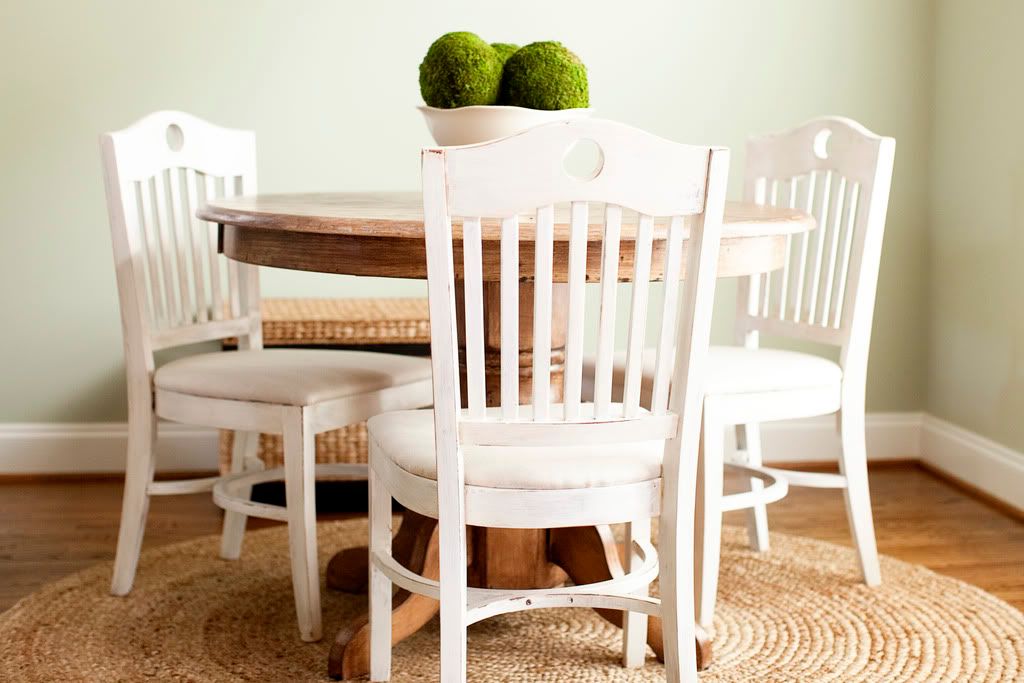
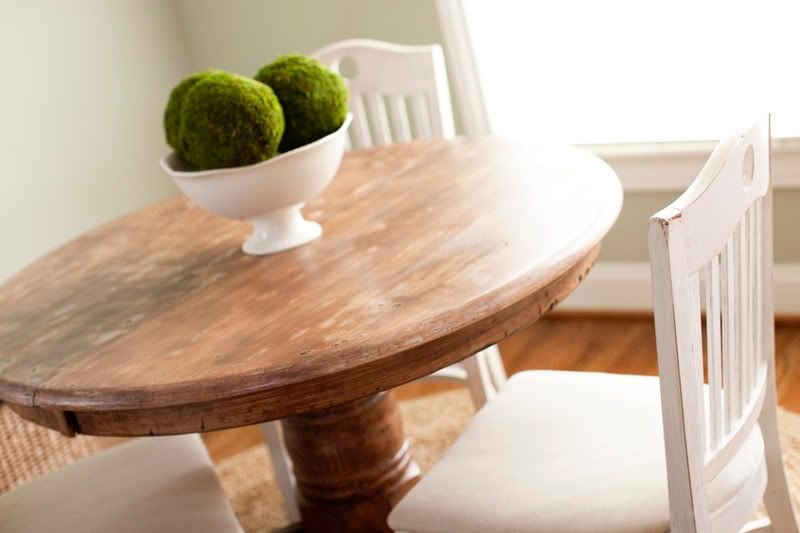
Kristen worked a TON of magic on this old painted table and chairs. They look just like something out of a potterybarn catalogue now!


Jill just finished this wonderful buffet recently. She did a wonderful job making it look fresh and new. I would love to snatch this one up from her!


Shannon sent along this transformation she completed for a friend. For an added touch of whimsy she papered the top and protected it with a cut piece of glass.


Blogging tips