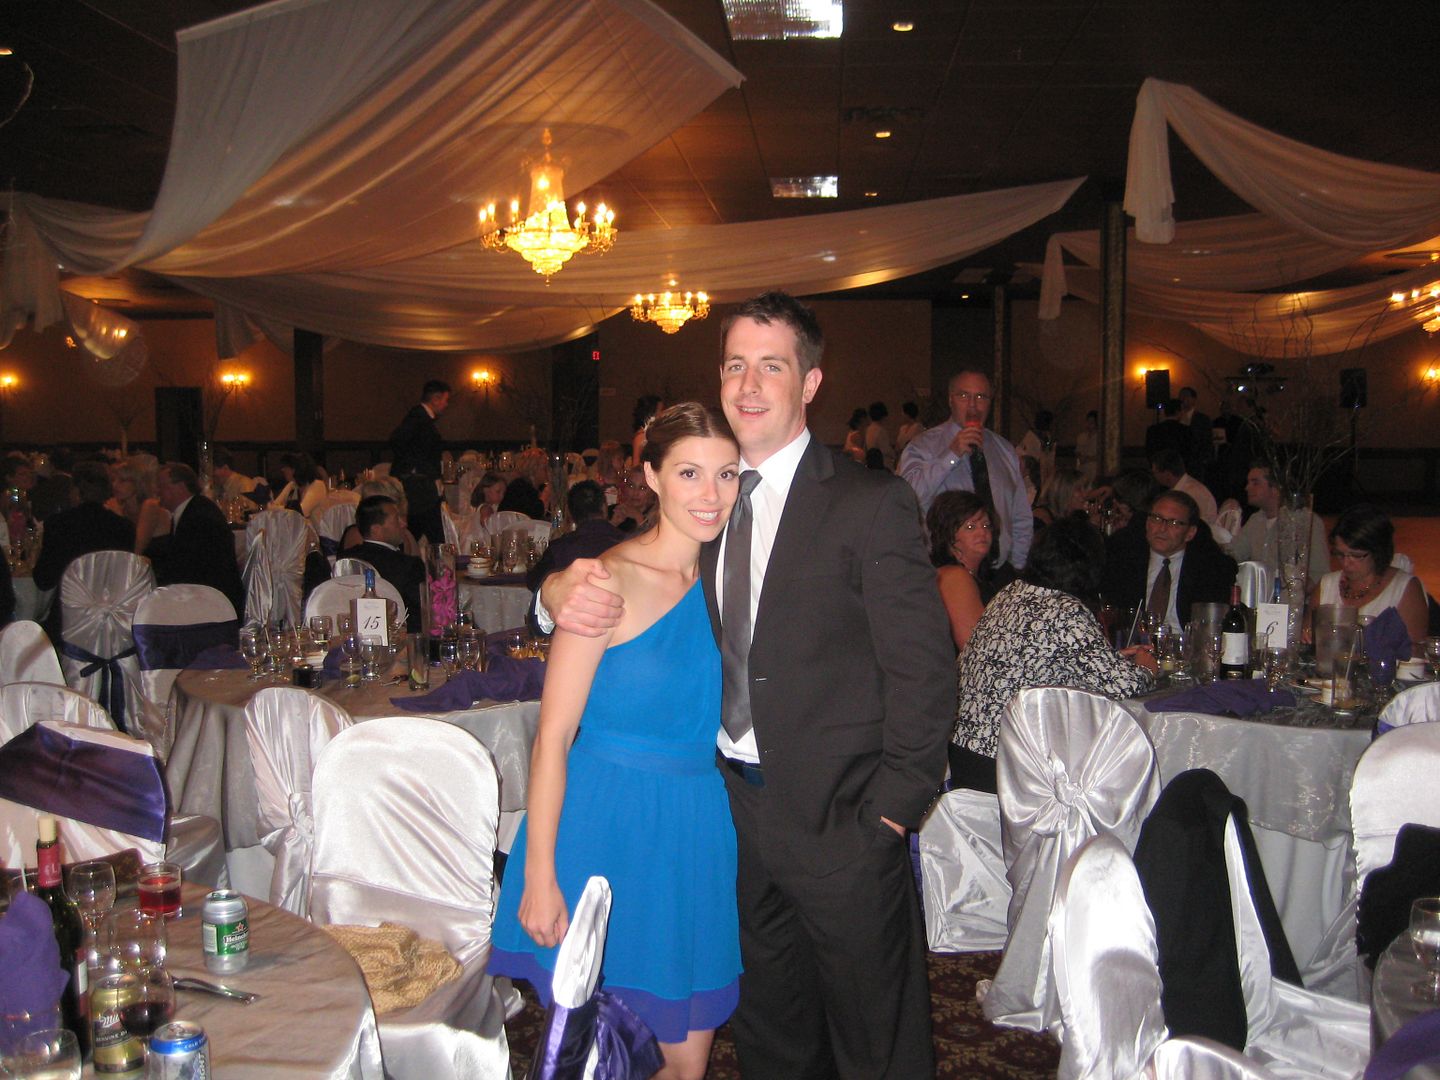
Did you have a great weekend? We sure did! Friday and Saturday morning were hectic with WhiteBerry pick ups, but Saturday afternoon and evening were fabulous! One of our oldest friends married his longtime girlfriend and Wren was off on her second sleepover at Grandma and Grandpa's till Sunday.
Me and my handsome Date on Saturday:  (we stayed up until 1pm which is crazy talk for old folks like us!)
 (we stayed up until 1pm which is crazy talk for old folks like us!)
Today my handsome date is on a little road trip, picking up our new kitchen appliances
*doing my crazy happy dance*
Well, new to us anyways... but Mr. FunLane has expensive taste in refridgerators and ranges and if that is what it takes to get this kitchen gutted then I am not going to argue! Specially because we all know I would get about as far as removing the knobs and maybe a drawer or two. Swinging heavy mallets, ripping out walls and chipping up floor tiles just aren't my forte.
But deciding on cabinets and colors and finishes are so I am chomping at the bit to get through the messy part and on to the pretty stuff.
And speaking of pretty stuff, you guys had some great questions about the laundry room. So let's talk about what you want to know and how to do it! I am answering them in the order of request, as you can see they don't go in the proper time-line... but as baby calls I am limited on time tonight. So here we go!
Q: How did you get the beadboard seams to match up so perfectly?
A: Vertically it is quite easy to match up the seams with just a long strip of caulking, but horizontally it is a little trickier! We decided to use wall-filler instead of caulking, and since it isn't subjected to any wear and tear we didn't worry too much about it. Where the two panels meet up we took the putty spatula (probably not the technical name) and did a generous filling. While the spackle was still wet I dragged a fine edge along the bead board grooves to get the spackle out and let the remaining portion (on the raised, flat areas of the beadboard) dry. We simply sanded those areas later! It made a world of difference to find an edge, like the back of small paint brush or pen, that fit perfectly into the groove.
Q: Do you make your own laundry soap? I've never seen a front loader take powdered soap.
A: I am not to sure about other brands or models, but we have samsungs and it has different compartments for liquid soap, powder soap, bleach and fabric softner so I am assuming it is ok to use it LOL. But definitely check out your model before switching. As for making soap... I am still working on making dinner more than once a week . But it sounds really cool!
Q: Exactly what legs did you get at Ikea that are tall enough for the counter over the washer and dryer?
A:I really don't know the name, but ALL the legs we found in Ikea-Work (the mix and match, build your own desk section) seemed to be alright. They are adjustable, you can tell the bottom of our legs look just a smidge wider and if you lift that little cover you can rotate the foot a few inches shorter or taller. The kitchen and closet folks couldn't help us out, so definitely check out the Work area! The counter top did come from the kitchen area and is the beech wood surface.
Q: Where did you find the lights?
A: The lights came from Home Depot in a box set of 6. I love the box sets because they come with pretty much everything you need! The real challenge was for Sean to convert the single ceiling outlet to 6 seperate ones. They are really helpful at Home Depot with walking you through it and we also picked up a Home Depot book on electical which made it much easier. But if you have any doubts definitely call a professional.
Q: What kind of Beadboard did you use?
A: We used the large sheets for this project. In Wren's room we used the interlocking narrow slats and just felt they would be too heavy for the ceiling and much more time intensive. Plus it is MUCH cheaper to use the sheets.
Q: How did you attach the beadboard to the ceiling?
A: This was a BIG job and definitely the toughest part of the reno! Before putting the panels up we had to find the studs. Since you can't see your markings when you are holding up the sheets we had to mark the walls were we knew the studs ran. As we discovered through much strain, even the best stud finders have a tough time through both dry wall, spackled ceilings and then beadboard. Once we had the beadboard up to the ceiling one person held it up while the other screwed in to the studs. Afterwards we also used a nail gun to tidy up the edges and keep it nice and smooth, but the nails alone would not hold it up.
Q: Did you take down the drywall/spackled ceiling before putting up the beadboard?
A: Nope! We are too lazy, plus we liked that we could also nail some areas for added support. But a lot of the ceiling did get ripped out when we wired the pot-lights, which made me realize how much of a dirty and hard job taking down the rest of the drywall would be!
I think that covers all your questions but if you have any additonal ones I would be happy to edit this post to include them!


12 comments:
you look stunning as always doll.
Holly, you look STUNNING in that dress!
Thanks for the tips! You guys are a cute couple. :)
Awww yall look so pretty (and handsome)!!!!!!
1am!!! You go girl!! I have a hard time winding down at night so I am normally up until 1am! =(
Glad you had a good night out!
Thanks for answering the question about the IKEA counter and legs. I looked at those, but I guess my machines are taller than yours (BUMMER!). I haven't come up with another solution, although we did hang shelves just above, but I'd rather have the counter top too.
You guys look adorable. ;-)
I'm impressed with the ceiling job. I want to do a haint blue beadboard ceiling on my patio but I'm way too lazy to take on that job.
Love your dress! Where did you get it? :)
I'm so happy to hear you just covered the spackled ceiling!! That is a way easier solution than taking it down!!
You look like a doll...Is there any chance you could share where you purchased that dress?....just stunning ! :)
Stella
Thanks so much ladies!
The dress is from forever21. I wish I had a full body shot because that photo really doesn't do it justice. It was only $35, but I did have about $30 in alterations done to make it a little more fitted in the waist and bust but it was well worth it!
Hope you can find one!!
Shoot! Today I woke up at 12PM!
Holly - What a beautiful photo of you and your husband. You look gorgeous and what a pretty dress. That is a great color on you!
Post a Comment