


Scrap week has officially kicked off! All this week we will do various projects/decor that incorporate that stack of remnants we all have shoved in a drawer or bin somewhere. You know, those pieces you always feel bad about throwing out and tell yourself you'll do something with someday? Today is that day!
This project is as simple and easy as they come.
Mummified Monograms
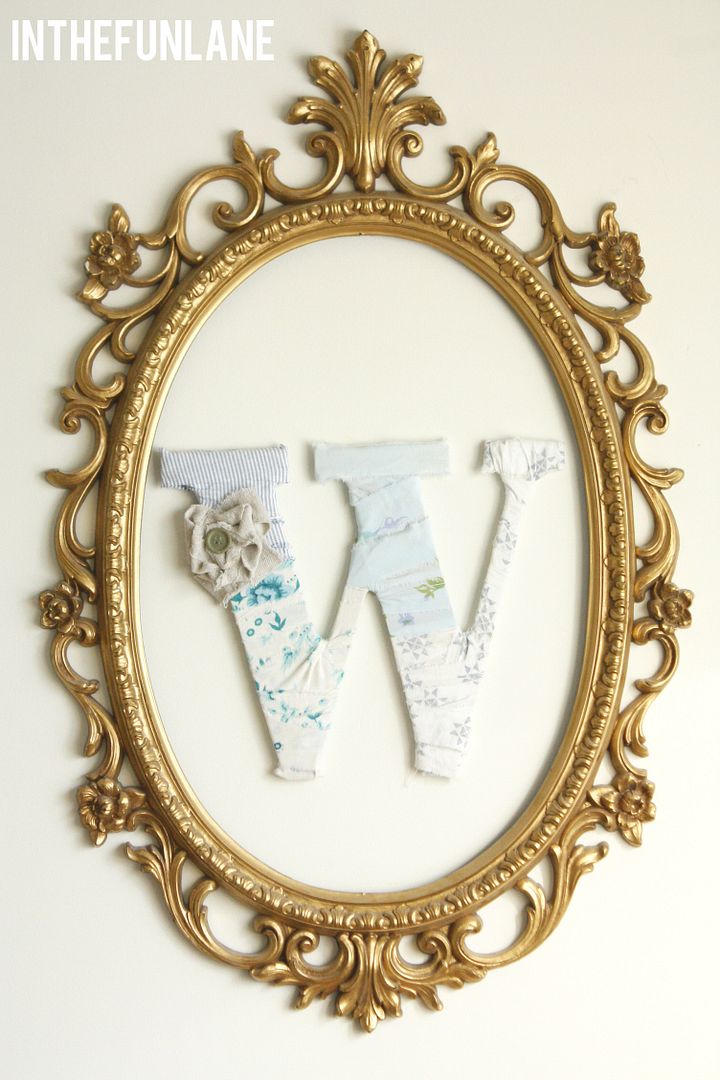
This would be adorable at a birthday party, bridal/baby shower or even as a gift. But I decided to simply make one for Wren's wall.
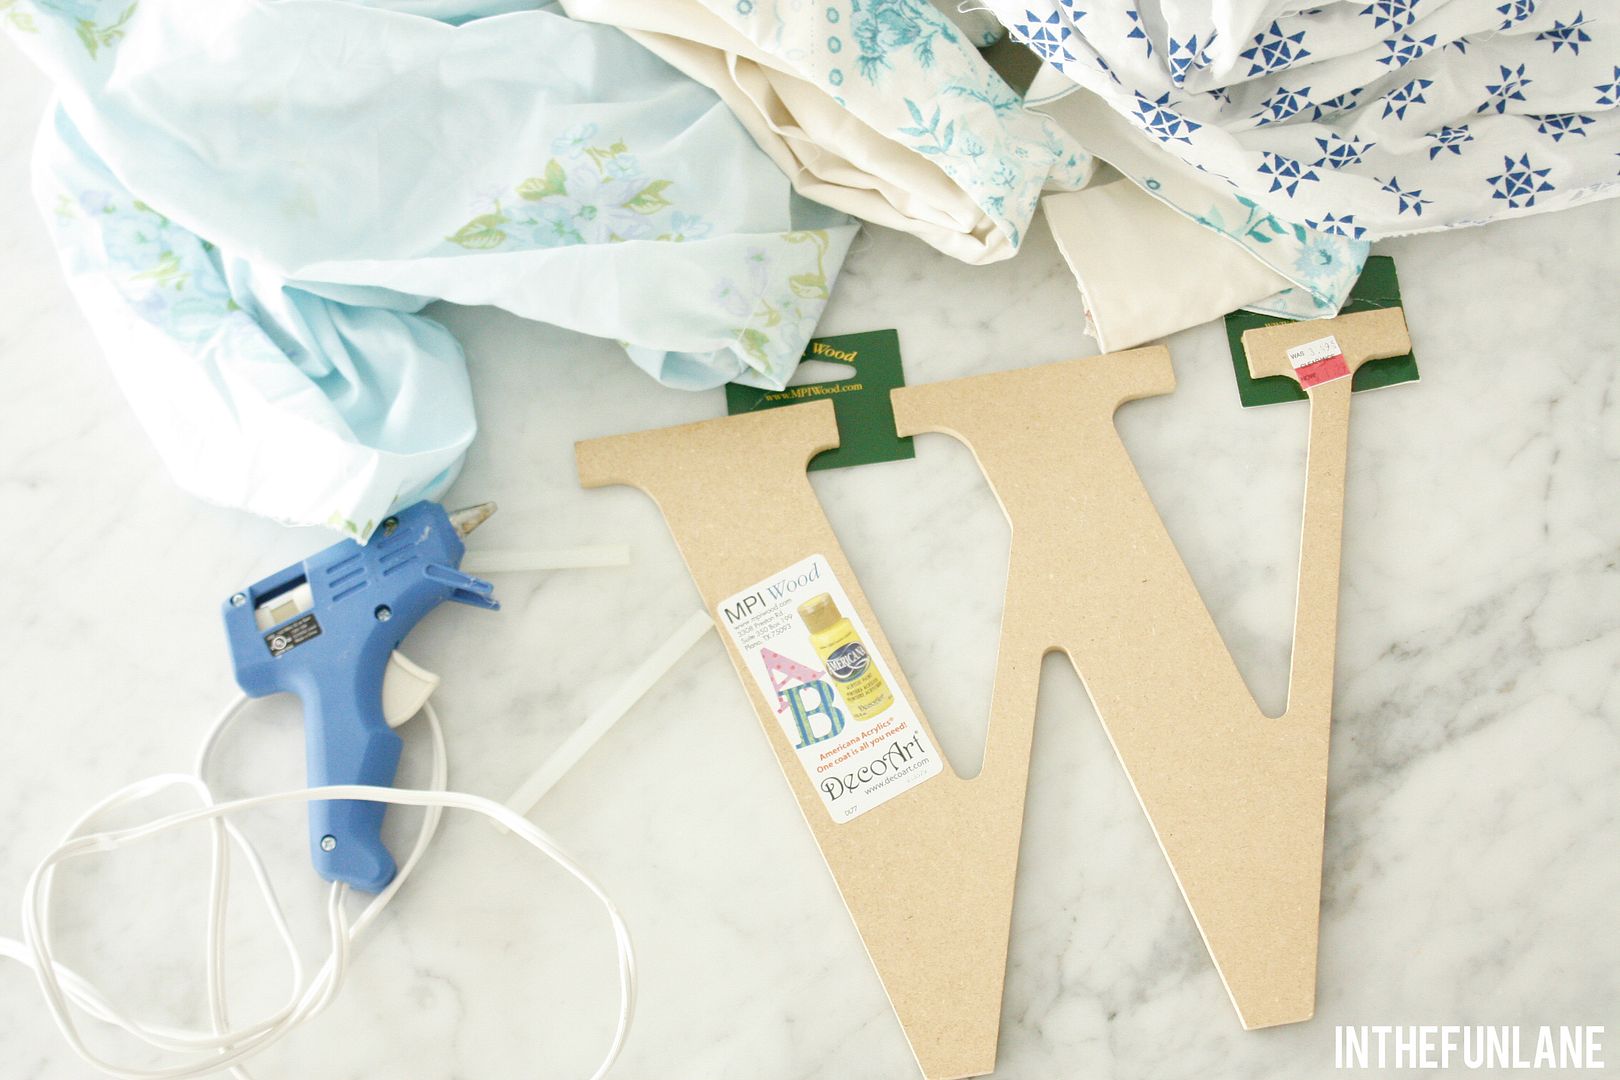
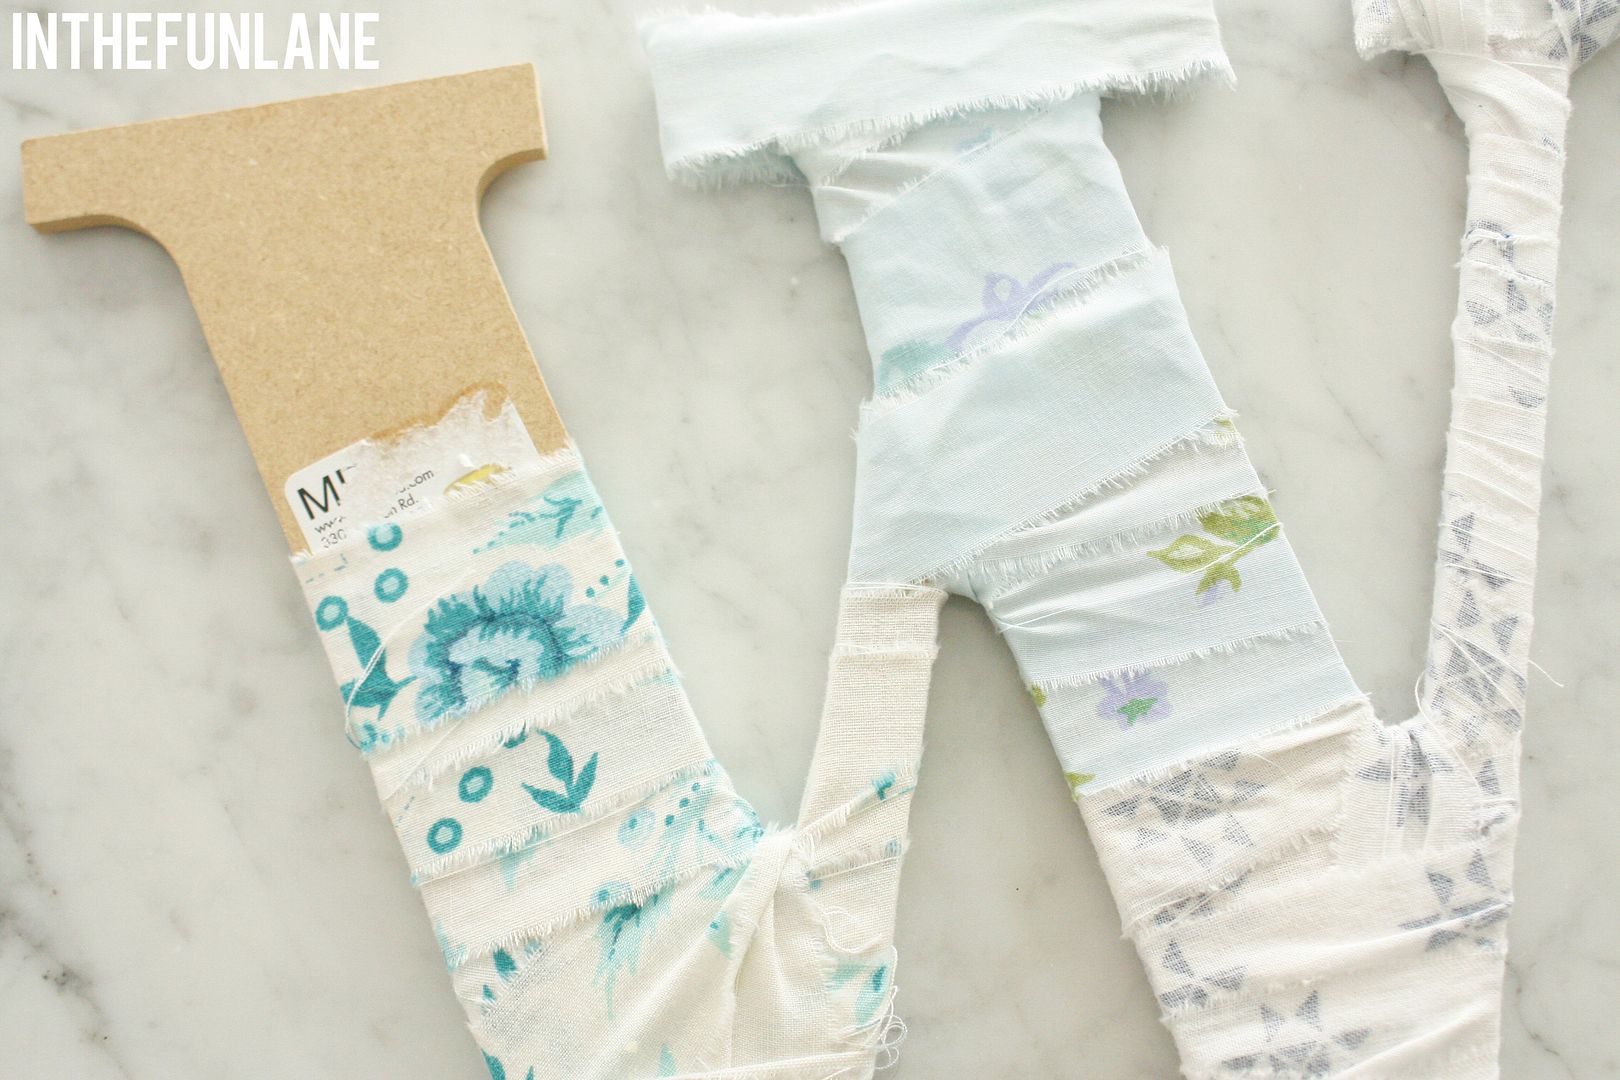
All you need is your stack of remnants, a letter, and a glue gun. I found this letter on sale for $1.25 at Michael's but you could even cut one out of cardboard or foam-core if you wanted to do it even cheaper!
Thankfully there is no right or wrong way to do this so you can wrap you letter entirely in one fabric, or do a pattern in others. I did four lengths of fabric from a couple old sheets I had used on other projects. I didn't even cut the strips, I just tore them by hand into 3/4 inch strips. This guarantees a straight line and the perfect amount of fraying.
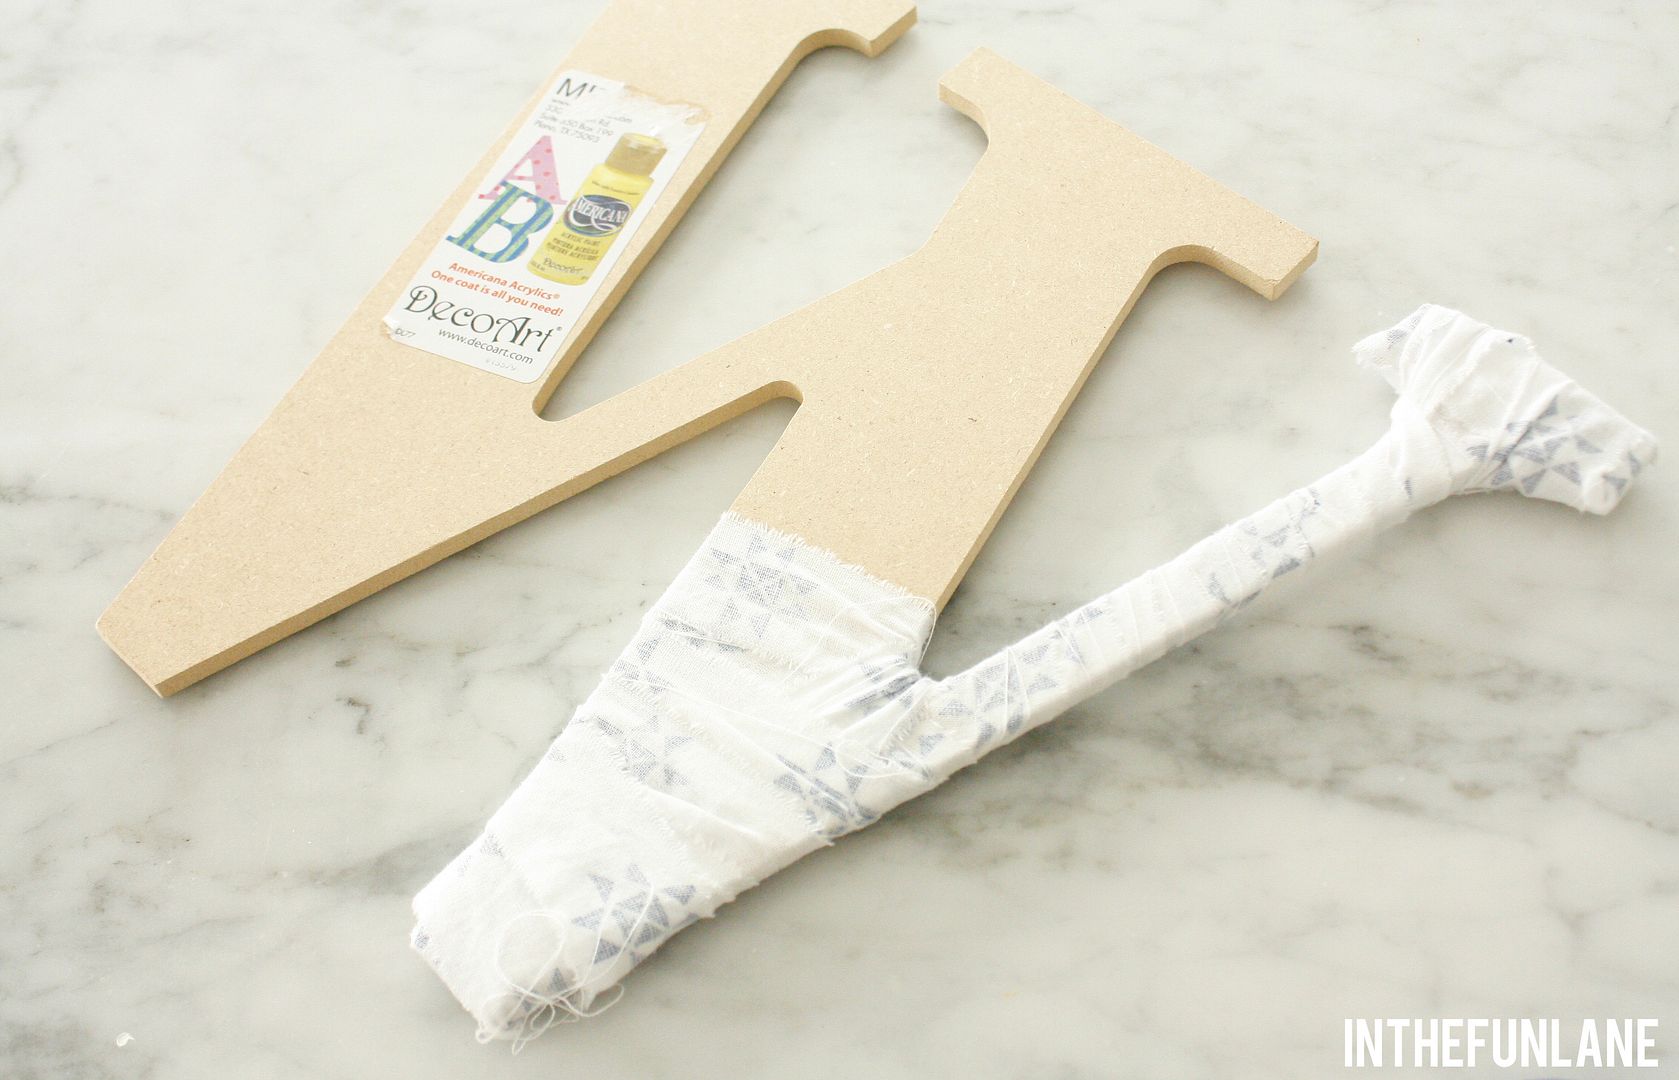
Just remember to glue only on the back side of your letter for best results.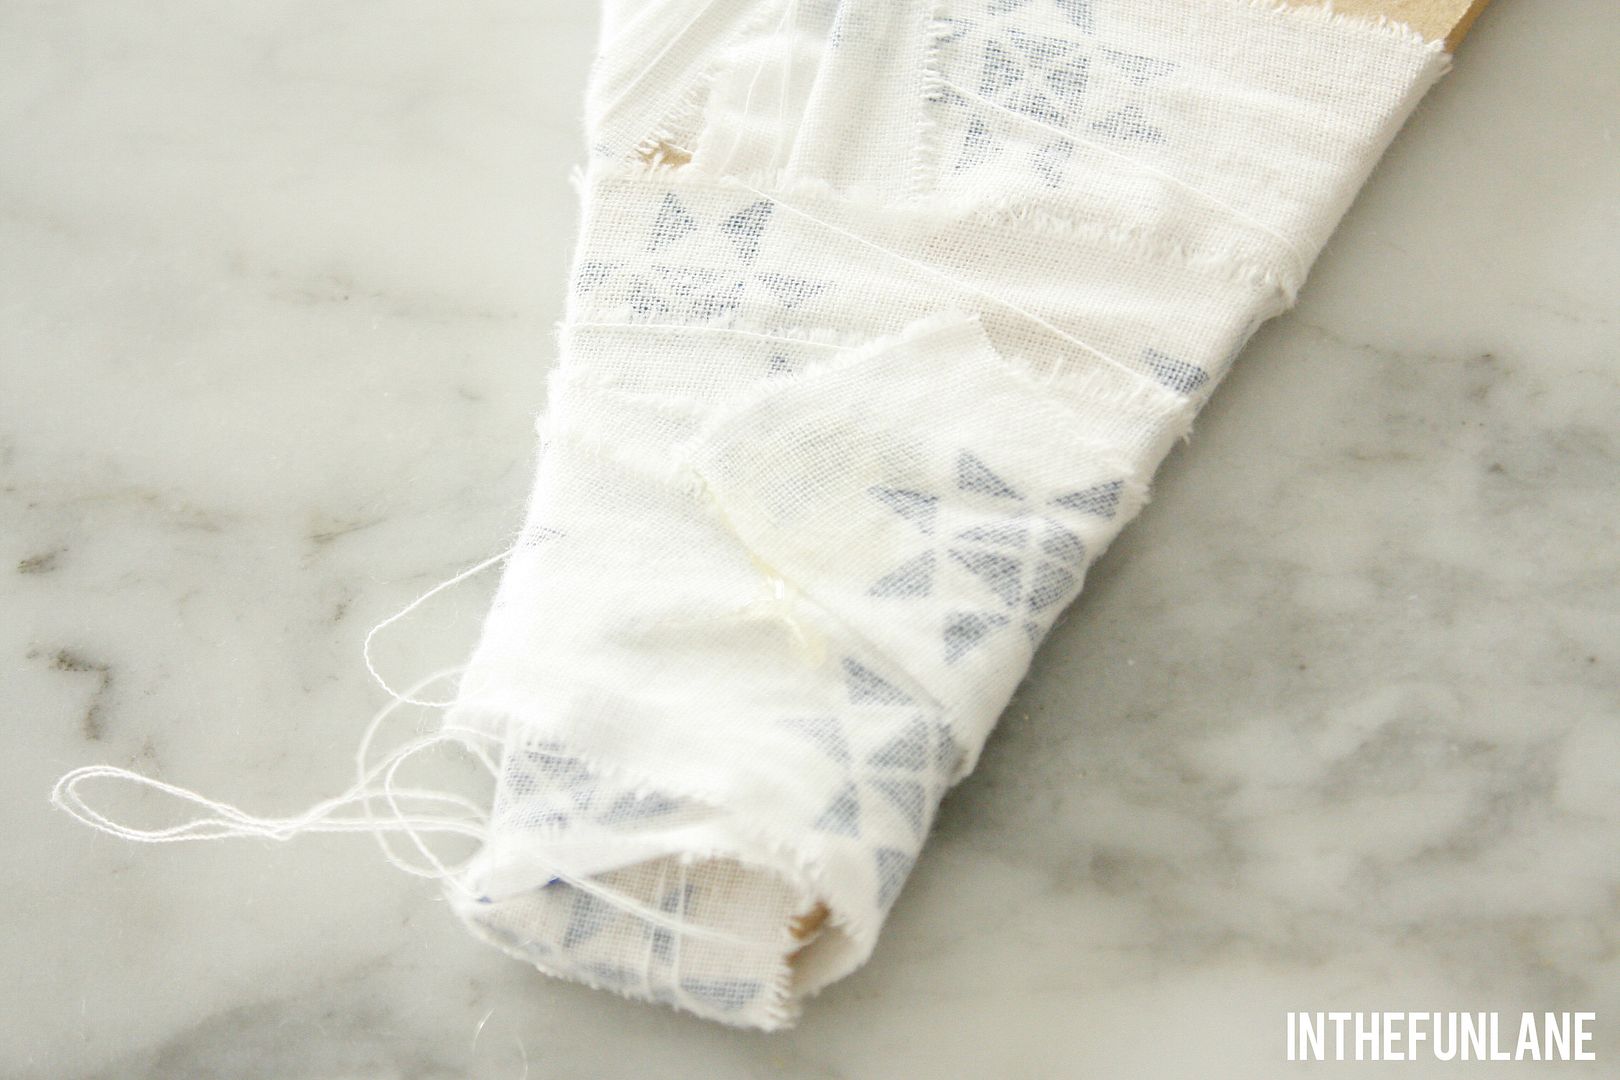
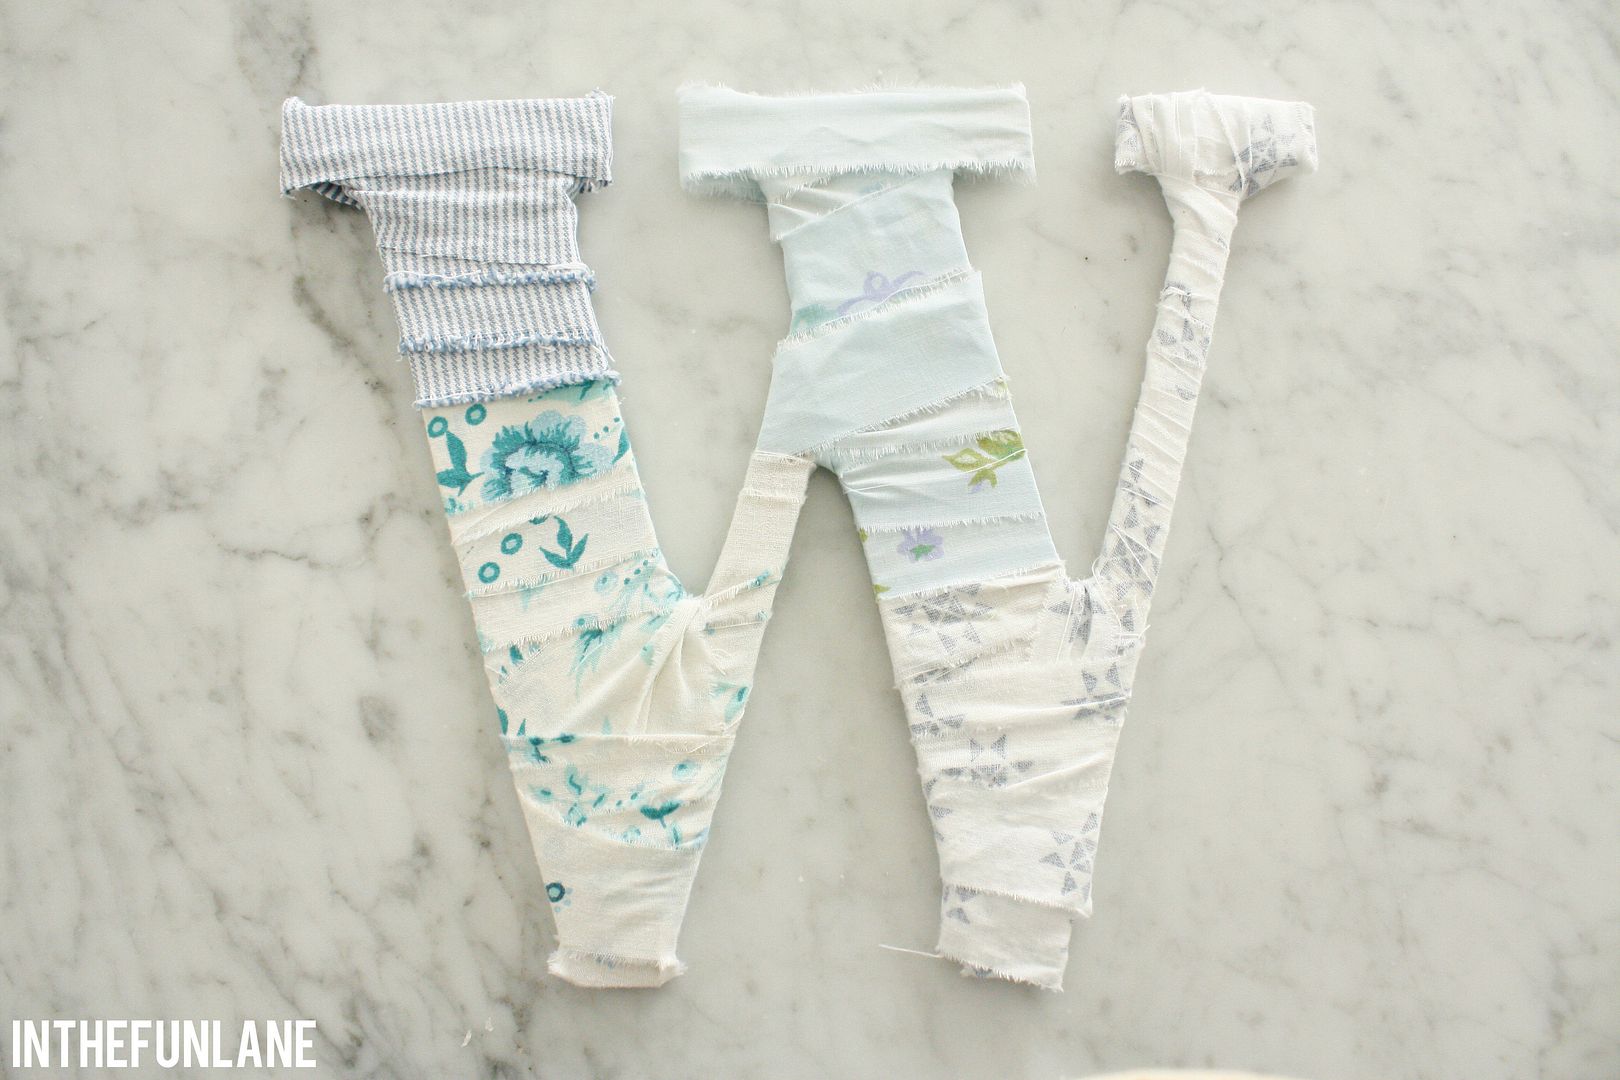
Just keep wrapping till your done! Seriously, easiest project ever.
To jazz it up a little I wanted to make a little rosette to embellish the letter. All those cute rosettes you see around are so easy. I whipped one up in 5 minutes, and I'd never tried my hand it until that moment.
Cut a little circle out of a fabric in the size you want your rosette and then tear another 3/4 inch strip out of the same fabric. This should be about 14 inches long.
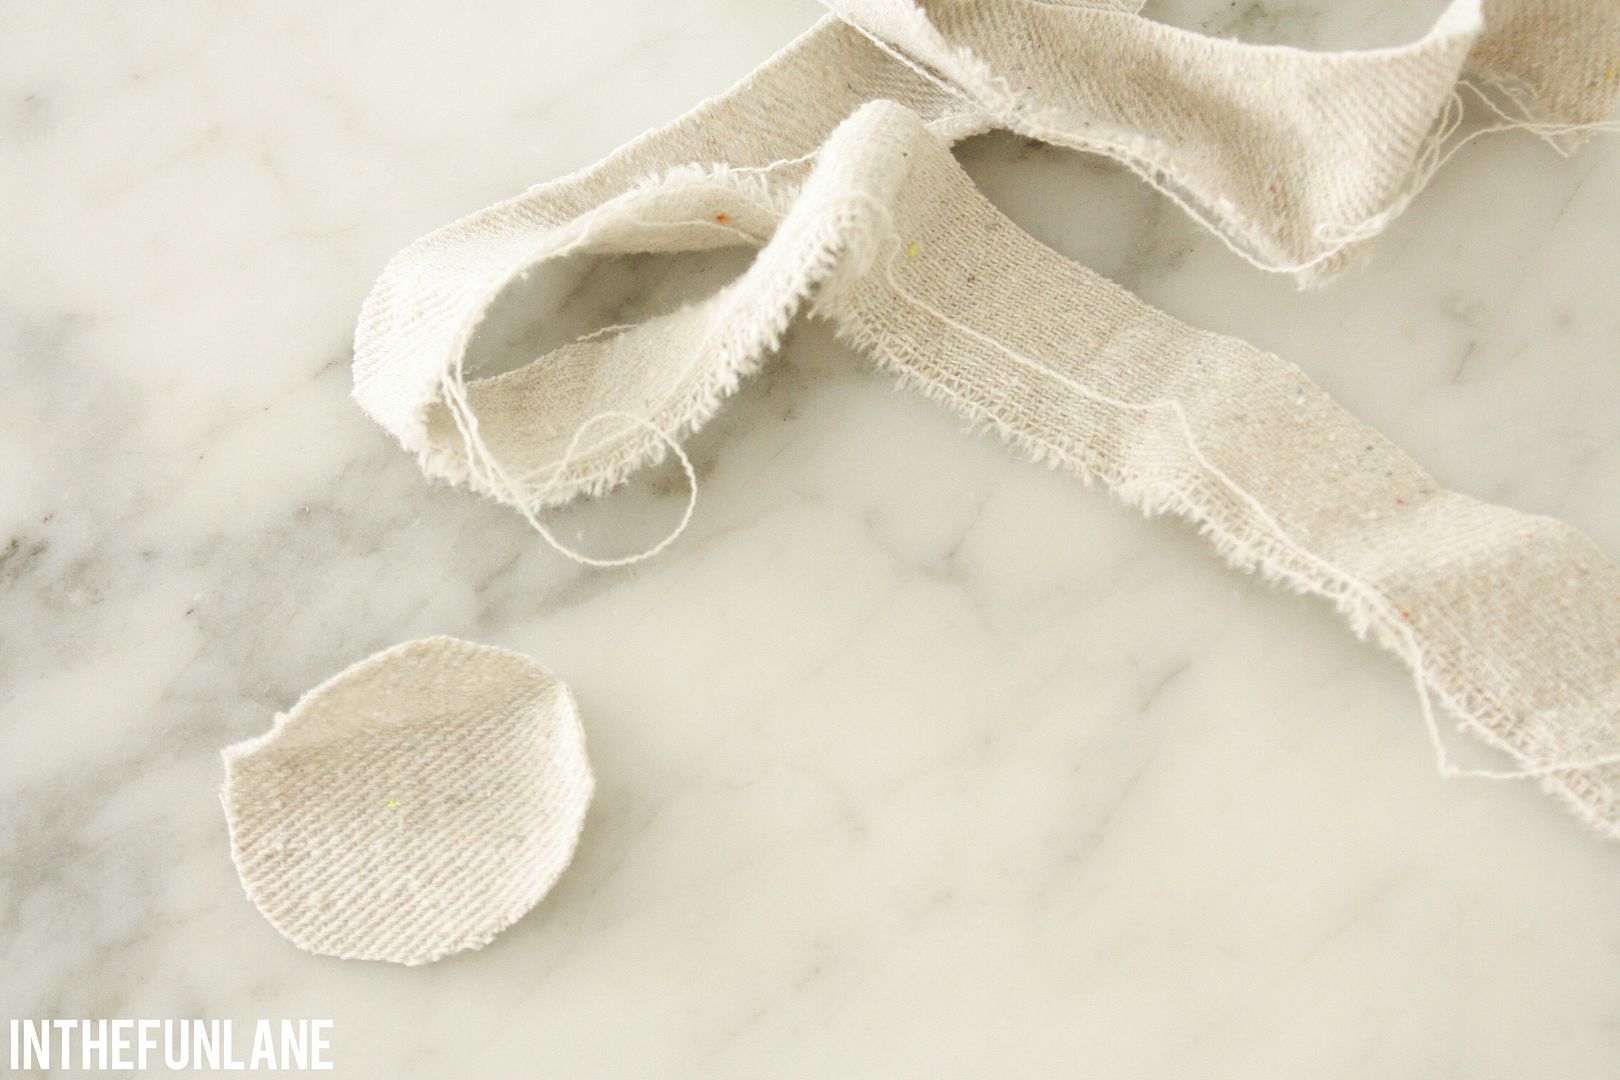
Starting from the inside, I just put a dab of hot glue down on my circle and do a 90 degree fold for each petal. Just keep twisting and folding around until you work your way out and think it looks about right!

I glued an old button on my flower to top it all off, but you can do a couple more flowers or other embellishments.

Wren helped me hang it up in her room and I think she picked the perfect spot for it: over her craft table.

And don't forget to try one of the projects shared this week or come up with your own and share it on your blog so we can see your handiwork in our Blog Party this Friday!!!


9 comments:
So beautifulll!
So excited to try this. Thanks for sharing. I think this week will be AWSOME
What a great idea! Can't wait to join the fun Friday!
Jamie somuchbetterwithage.com
Such a sweet idea for Wrennie! Ooh this is just the kick in the arse I need for making use of my fabric scraps. ::brainstorming::
Absolutely adorable Holly! I adore the fabrics you choose!
Such a cute idea! I can't wait to see the other projects!
xoxo
Stacey
Five Minute Style
I love this so much, Holly! I can't wait to see what other projects you have to share with us :)
Brilliant! I created a fabric bunting banner for my daughter's birthday and now I know what to do with all those scraps post event and what a terrific keepsake from the party for her. Thanks for sharing, you are inspiring...as always! : ) BTW, I am making ruffle-style handcrafted party hats for the birthday girl and all her guests. I purchased 2 yards of fabric, but you could use scraps around the house too. I will share pictures after the event.
Oh I love this! What a sweet anthropologie-ish craft.
Post a Comment