


If you follow my instagram feed you already know that last week I got all bundled up and headed out. To do what, exactly? Dig in an old barn of course!
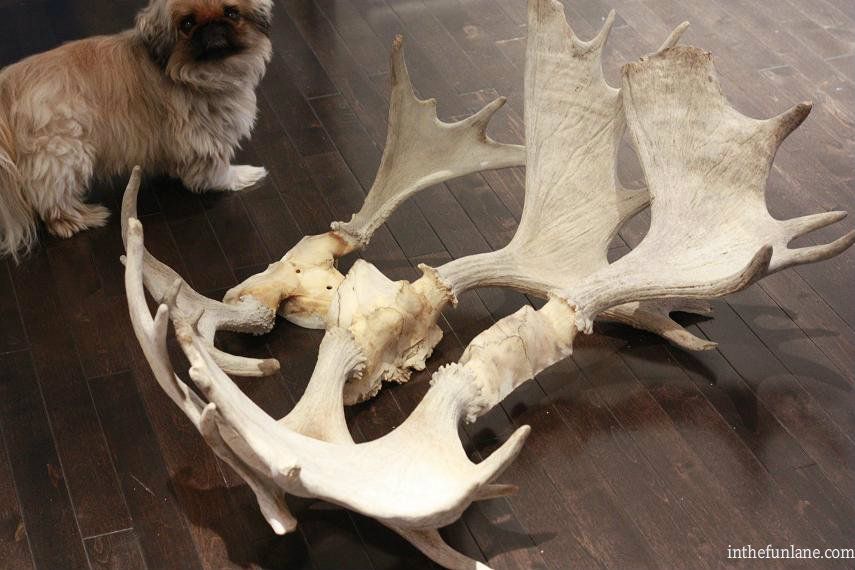
Wren, my Aunt Carol and I all headed out of town to meet with a lady that gave us permission to dig around her out buildings for goodies. There were a couple goodies to be had (crocks, chandeliers, dressers, were just a few treasures we found) but the main reason for our excursion was the massive amount of old antlers and horns she had. I guess the previous owner of the land was a major hunter and didn't have much use for dozens of antlers! In the end I brought home 4 pairs for $40 and Carol basically filled my trunk with the rest LOL.
{ But we had some use for a few }
I LOVED that the horns had all sat out side for so long that they were nicely weathered and bleached.
The skull portions though still kind of bothered me. Some were nice and bleached, others.... not so much.
There is nothing I won't do to make a project happen, guys! I literally broke out the saw and trimmed down bone on some of these and scrubs dried blood and hair off others.
EWWWWWWWWWWW
I nearly dropped the project at that point, but when I clicked on a Restoration Hardware email later that night and saw these antlers I decided to just fight through the ewww.
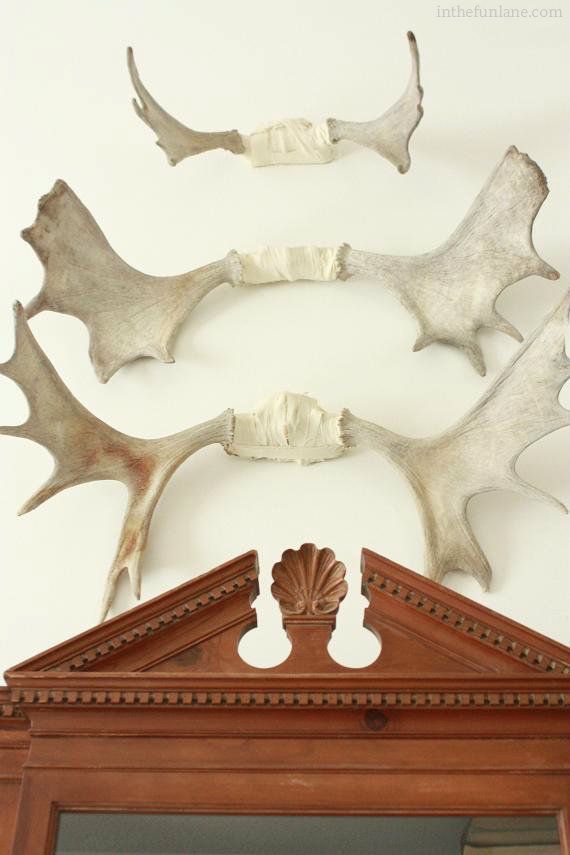
BUT I still wasn't that fond of all the color variation on the bone portion so I came up with a plan to 'mummify' the skull with some linen scraps I had. I cut the scraps into nice strips and just went to town wrapping!
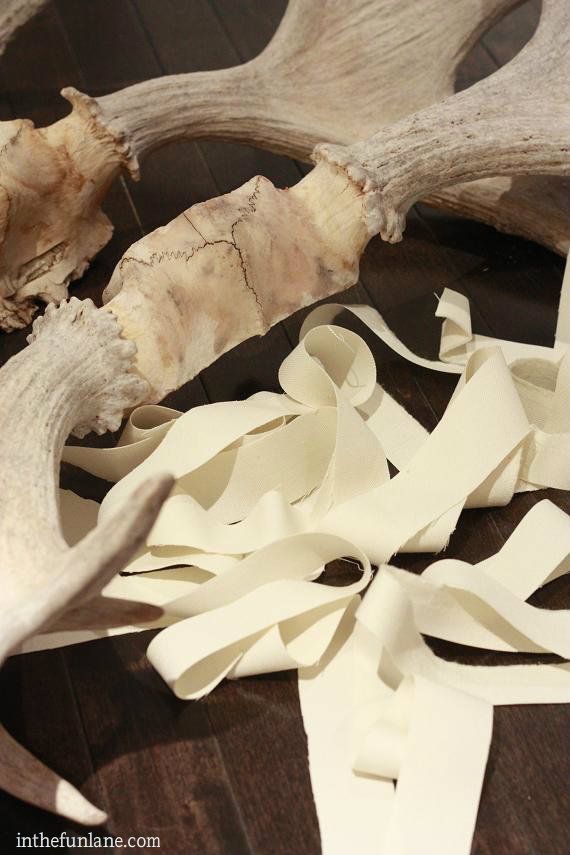
I didn't want it to look perfect, and while the fabric frayed a little more I did go back and just trim down stray strands.
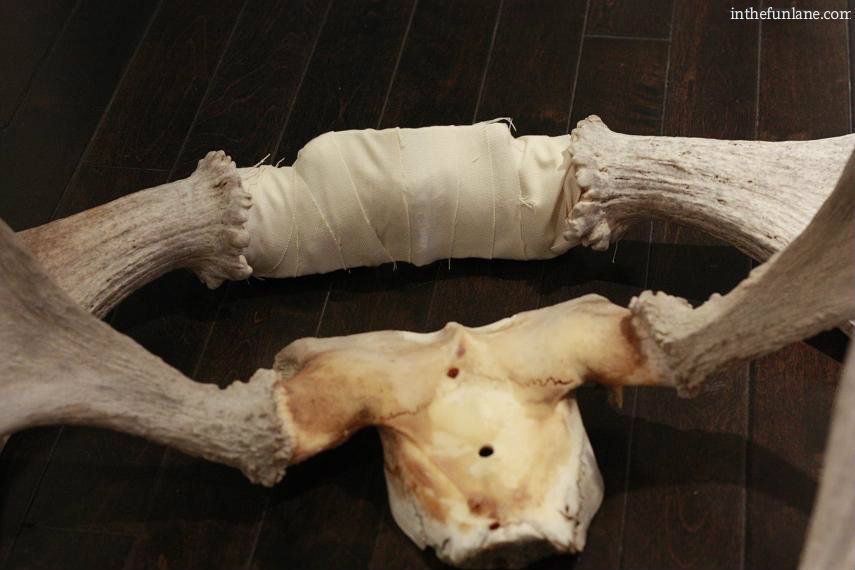
{ all mummified }
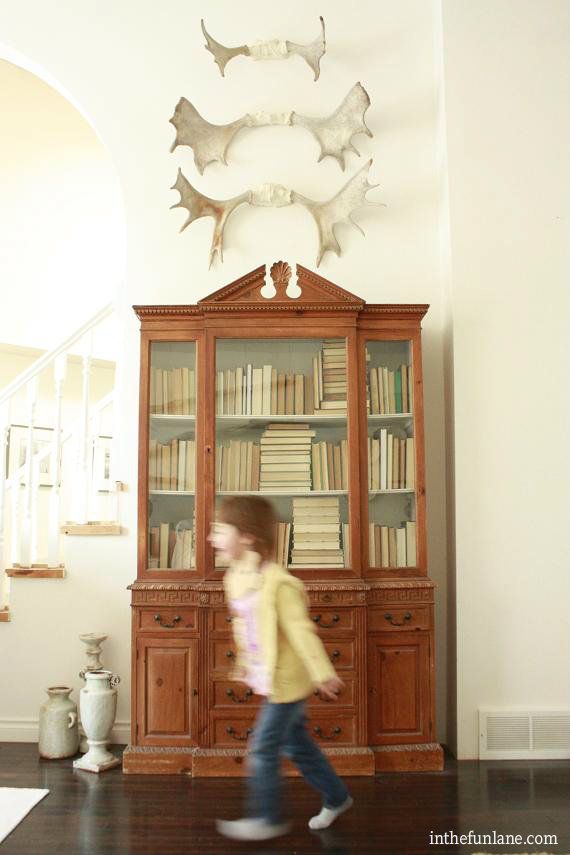
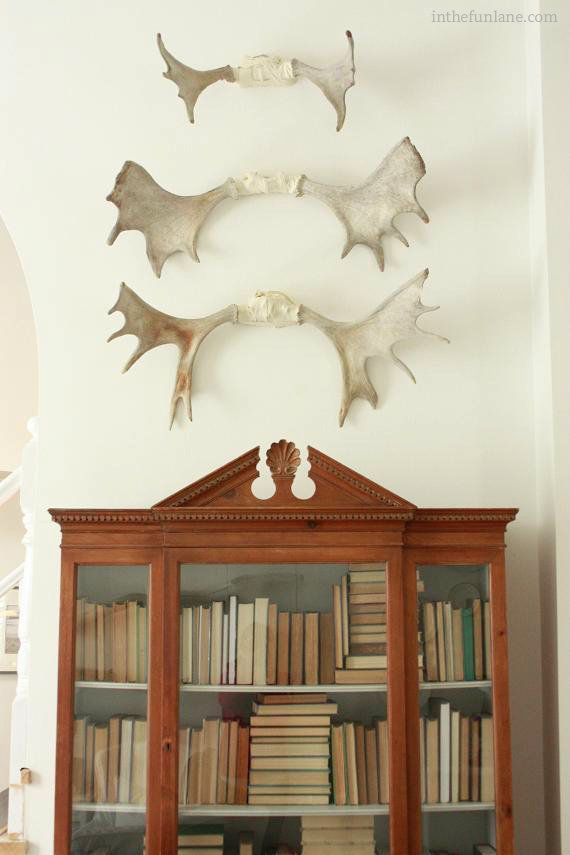
I am really happy with them all hung. The ceiling in here is SOOO high, but most things would not make sense going up that high.
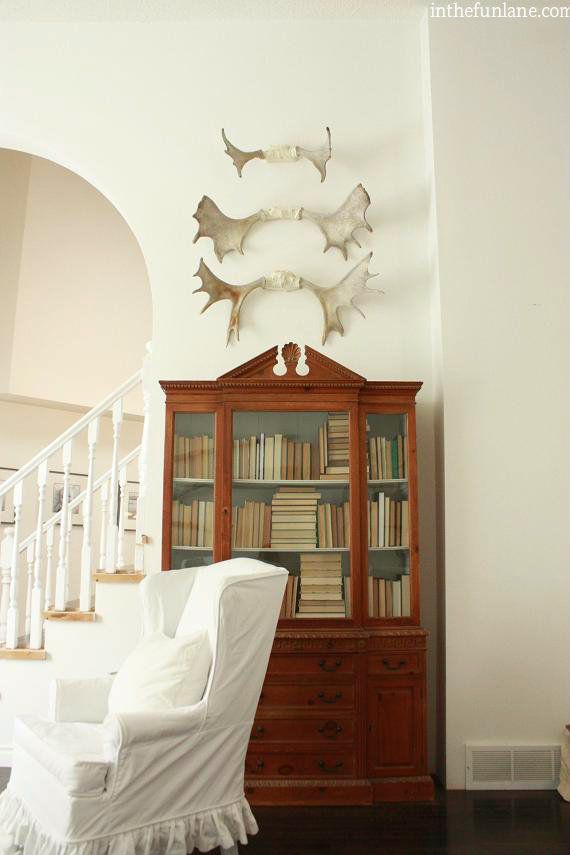
The variation in shape and size is my favorite part.
Now I just need to get painting! I am excited but a little scared to be up that high with my brush and roller.


14 comments:
They look great! I definitely could not have got through the "yuck".
S T U N N I N G
im in looove!
I love antlers! These look great!
Love!!!!
I'm glad you were able to get through the yucky part because the antlers look fantastic! Great job hanging them.
I always read but rarely comment...but I loved this post. Glad you persevered! They look fabulous! x KL
outstanding (as usual!). So unique!! It's what I imagine when I think of Canada!
Perfect, as ususal! It's what I think of when I think of Canada!
Oh how lucky you are. I love those and love antlers. Some people don't get it, but I do.
LOVE! I just got a few antlers from my father in law and was wondering how to hang them. What did you attach to the back to secure them??
Holly,
First of all, I've followed your blog for a few years and you remind me very much of myself except that I haven't yet jumped out to pursue my dreams of designing furniture/old finds into a career yet. (Despite much prodding from friends)My Mom has a lake house in the hill country outside of Austin, TX and my kids and I search for deer antlers and have some great finds. I too have scraped skin and hair off of a skull and thought the very same thoughts you have. I then, still unhappy with the skull color, painted it a matte black for contrast and was not pleased. So,now mine hang in the dining room with a skull covered in burlap. I love them. I just cut the burlap to shape and literally glued it on. Great to see that I'm not the only one with these crazy ideas to make a project work. People love them now. Stay inspired and keep doing what you do.
I'm with Kristen, how did you mount them?
And just cause I'm plainly curious- do you mean the entire skulls were still attached, and you sawed them off? The finished product is pretty great! I do love how perfect they are for that high space, especially with their varied sizes.
Brittany's burlap covered deer antlers sound really cool too. Brittany, I'm also in the TX Hill Country, do you have a blog with pictures we could see of your burlap antlers?
Holly! This is WAY off topic from this post but I remembered seeing this Drexel piece and LOVING it and happen to get one for a STEAL yesterday! Can you tell me how you achieved the look of it? We're currently painting the backing white and wanted to know if you just sanded the knotty pine until the shiny polyurethane came off or if you had some other trick up your sleeve :) LOVE your blog, follow your insta and LOVE all of your DIY projects! Best, Autumn!
Post a Comment