


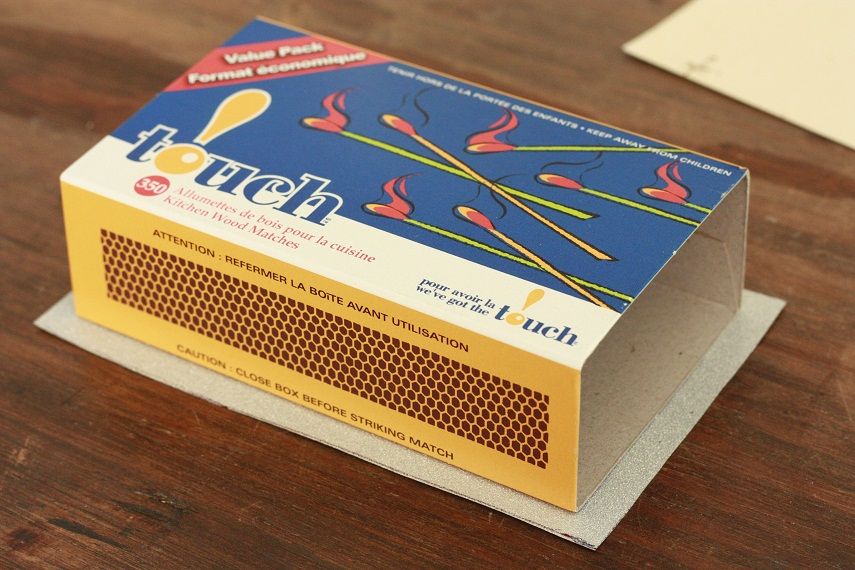
I think little projects that make the ordinary extraordinary are the funnest ones. By now I am convinced you have all witnessed my well established candle fetish, so it only makes sense that by relation I should love pretty matches. But the truth is I hadn't put any thought into it until now.
Of course I've seen cute matches around, but spending $5-$10 on something so trivial seems pointless. So I decided it was high time I prettied up some matchboxes of my own. I love this project because I feel candles are one of those perfect gifts you can give for nearly any occasion. If you have a little stash at home you can handle almost any last minute gift with grace and elegance, and the only thing that would make it that much better would be to personalize a matchbox to the recipient, candle or event!
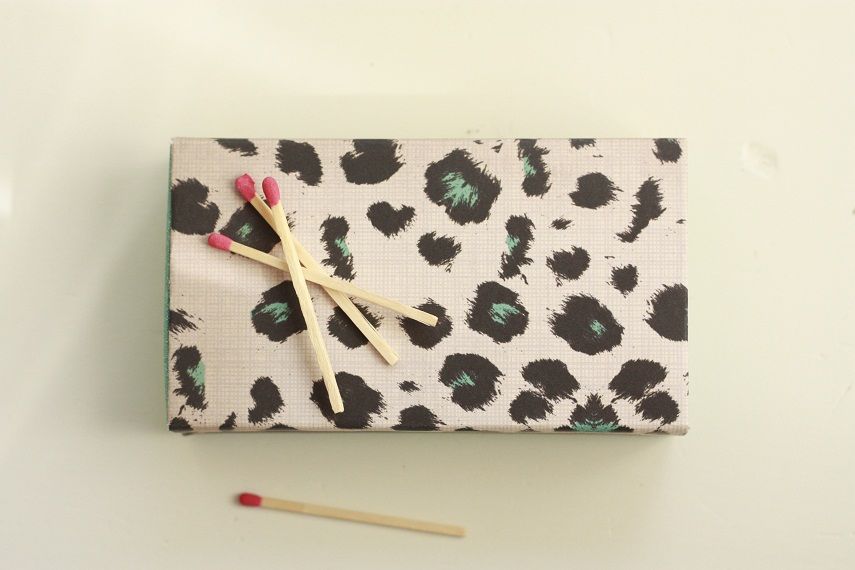
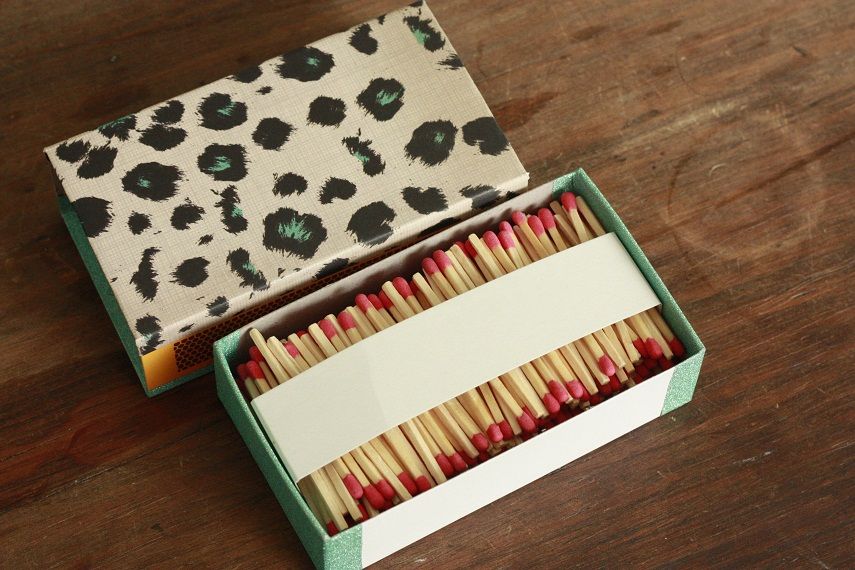
{ my new, pretty matches }
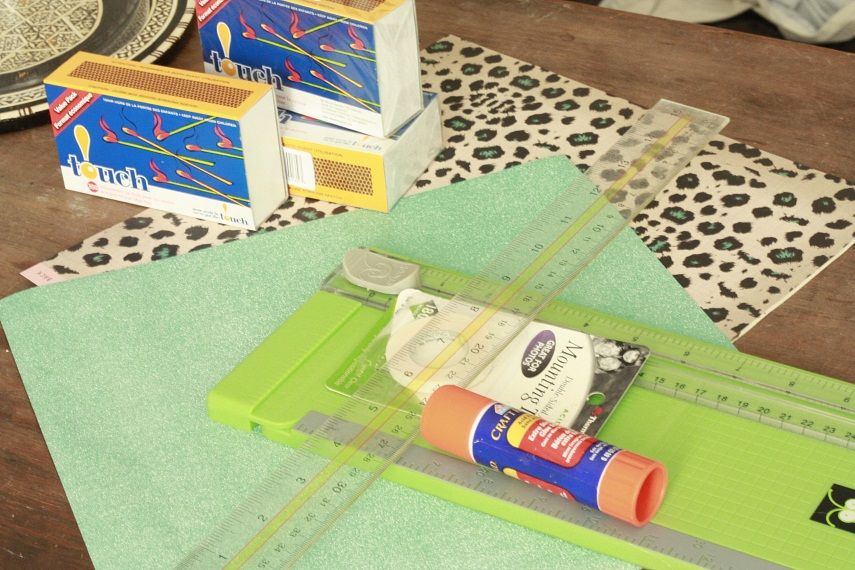
Oh yeah, and this is a super cheap craft/gift! I bought the matches at the dollar store and then headed over to Creative Scrapbooks, a local store that has a seriously beautiful paper assortment. I coordinated a cute leopard pattern with some teal glittered paper for a grand total of $2.60 and the rest of the supplies I already had at home. But if you need to make a trip to the craft store here is what else I used:
-a paper cutter (you could use scissors instead)
-a pencil and ruler for measuring and marking
-double sided mounting tape
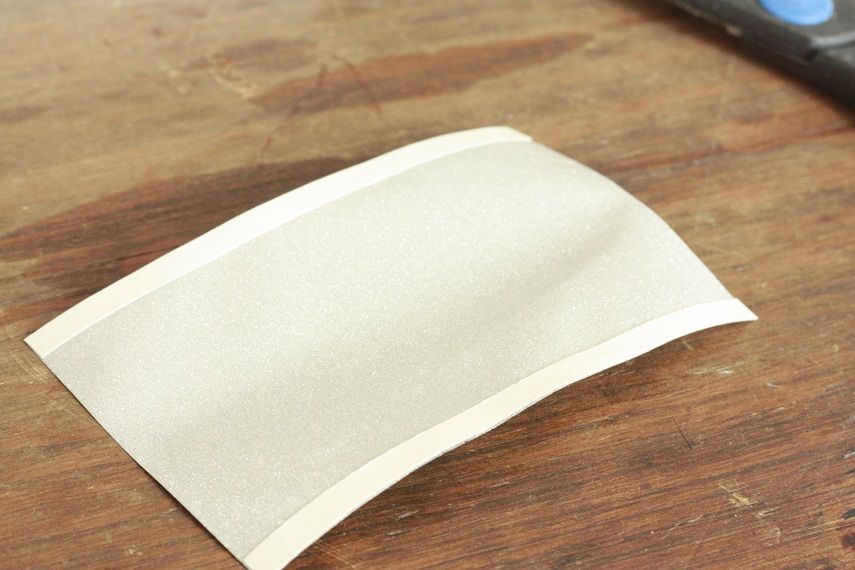
Overall, this project is basically just like wrapping a present. But we still need access to the striking material so we have to work around it. Simply cut your paper so that it goes from the edge of the striking material to the other side of the box, with some overhang on the sides to fold in.
Put tape on either side to adhere it. I think glue would be a little tough to work with and keep everything in place while it dries, but hot glue might be a good alternative.
All attached.
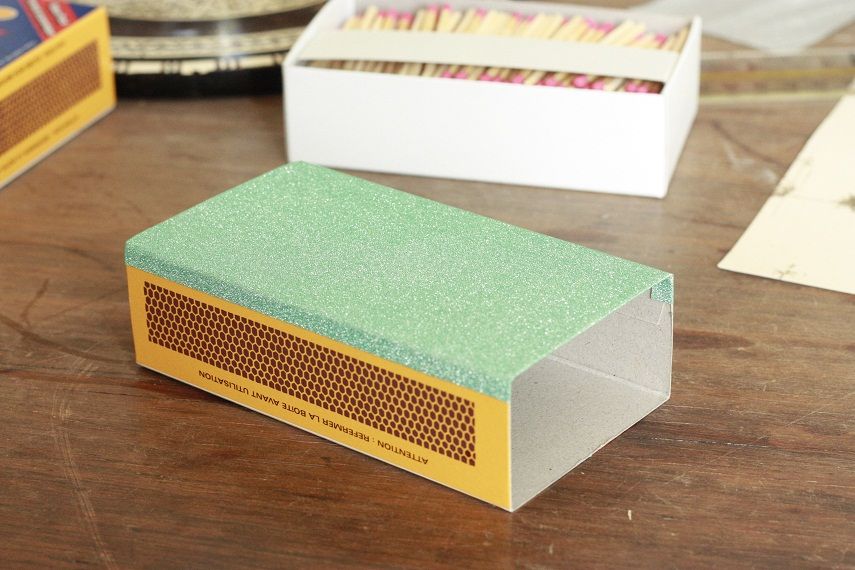
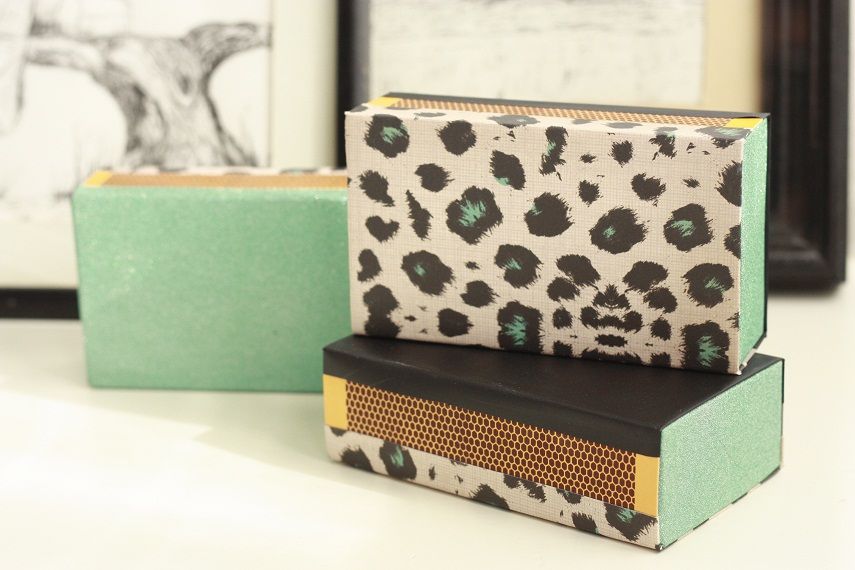
The same steps go for the other side, which I chose to do in the coordinating paper, but all one paper would be nice too.
Depending on what colors your paper is the side of the box being white might look good, but I wanted to up the glam factor and did more glitter paper
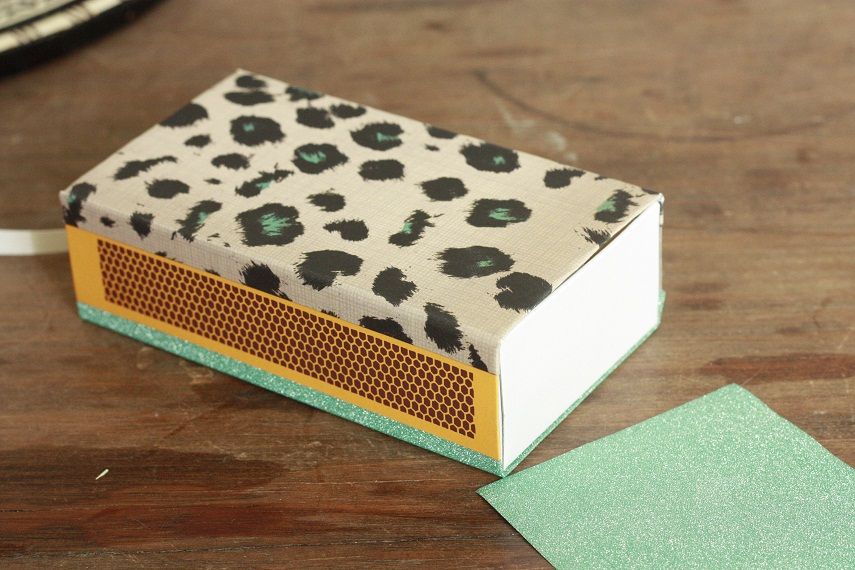
I didn't do the whole box, just each side. Again, fold in all paper edges for a cleaner look.
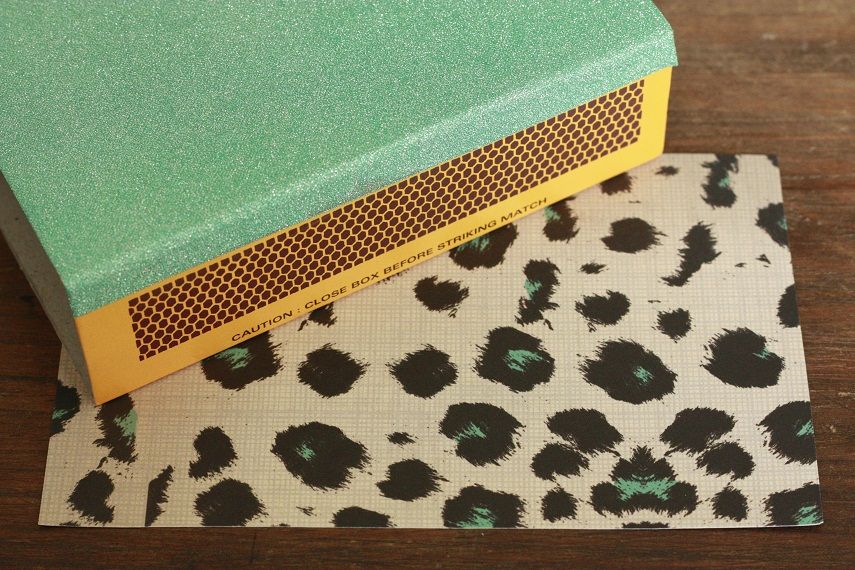
There are so many ways to make these even more exciting, using glitter, doing a monogram, the possibilities are endless really!
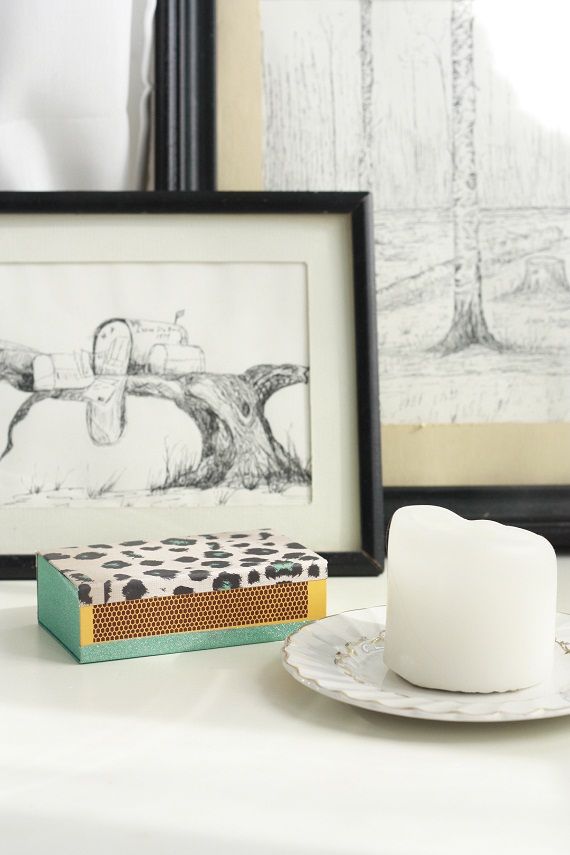
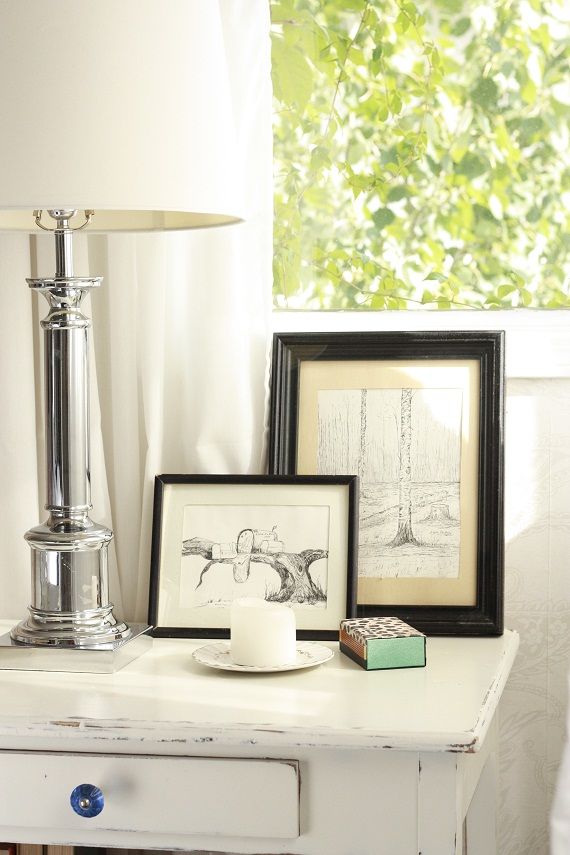
All done, my glamorous matches add a little extra sparkle to my bedside candle. More than fragrance, I love the glow of a late night candle. It gives a simplicity to the evening and my routine as I wind down for the day.


22 comments:
So simple and cute.
-Tiana @ muse-decor.com
This is such a quick and cute DIY idea!!
xoxo
Stacey
http://fiveminutestyle.blogspot.co.uk/
Love this! Such a sweet and simple gift idea, yet still leaves room to make it personal. :)
so need to try this! love!
I love this idea so much. You're right, finding the extraordinary in the ordinary is so fun and exciting. Thanks for sharing :)
You could make the side "strike" area look a bit more finished with colored sandpaper to match your decor. Otherwise, terrific idea!
Stinkin' clever. Love it!
This is just adorable! Especially if you are giving candles as a gifts..this would be so cute to go along with.
I can't believe to made them! Such a cute idea! I love having nice matchboxes around.. Great gift too:)
that is really cute
Love this Holly! Something this simple - I CAN DO! =)
love it!!! i may switch out to matches once all my lighters are used up!
Isn't it crazy that the most simple things we can make attractive with a DIY project. Love the idea! Checkout my blog if you have some time, and follow if you like!
Jennifer
http://apopofstyle.blogspot.com/
Hello lovely Holly! I love your blog so much, and this craft is adorable. I hate when people post negative stuff in comments and that is SO not my intention here. I just want to mention to you that these beautiful matchboxes may also be attactive to little exploring fingers, so people should use great caution in displaying them in homes with precious little ones. I trust your discretion in whether to post this comment or not. As the mom of 3 now grown boys who were very cuious and hands on, I just had to mention to you. Thank you so much for your beautiful blog and sharing with us glimpses of your life!
DARLING idea!!! I'm gonna do it!
great ideas!
xoxo milla
http://blondhairpinkheart.blogspot.co.at/
I've been meaning to upgrade my match boxes with some paper- I think you just gave me the kick in the butt I need :)
OMG what a wonderful & gorgeous idea! I will be doing this tonight....
I absolutely LOVE this! I featured it here: http://www.lovemaegan.com/2012/08/diy-inspiration-pretty-matchbox-makeover.html ...hope you don't mind ;) xx
Brilliant, I love it!
very very niceee love ittt
semforever-semforever.blogspot.com
This is AMAZING!!!!!
I found you via LoveMaegan and her feature on you. WELL DONE!
Post a Comment