Wow, I was just through with my second coat of paint on this guy when it dawned on me "You didn't take a before shot!!!". I can't believe I forgot, because you would hardly believe just how hideous it was. I once again had a lot of decorative drawer fronts to chip and chisel off which was the most time consuming part.
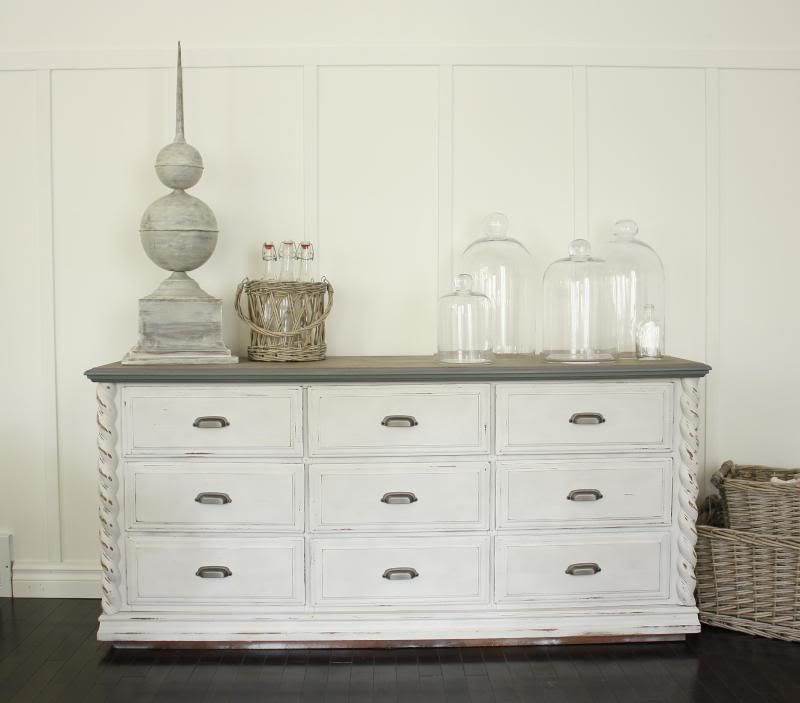
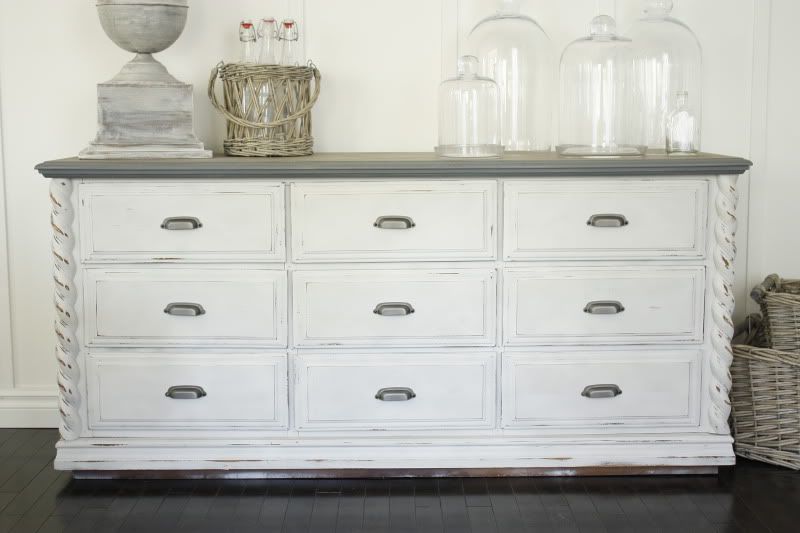
I stripped the top and "stained" it to look like aged, greyed wood which is one of my favorite looks right now whether it is with wicker baskets or furniture.

It kind of reminds of something that belongs in a lab, but I LOVE it! LOL


28 comments:
Another stunning transformation Holly!!! I love it and I agree it looks like it had a "lab" feel. And the stained top is so unique!
Looks great, I love your cloches, I sooo badly want some!
Looks lovely!
Rachel
wow! great job! I know it's a lot of hard work.
Was this all real wood? or was some of it laminate?
being from the 80's, I would think laminate?
just curious!
I wish I lived close so I could hire you! Would have loved to see the before. Great job!
Fabulous as always! Wish I had your skills girl!
I LOVE it!
yup, I think this is my favorite so far :)
Suzy, if you have a Home Goods definitely check them out! I think I paid between $5 and $11 for all those.
Gail, it is all wood. I try and steer clear of laminate. I don't think even my skills could conquer laminate yet LOL.
Holly that is so amazing... You have given me so many great ideas. My husband and I just bought a home and now I get to dabble in all the home decorating adventures. I am going to be painting my end tables and coffee table white and destressing them some. My question is, do you destress you stuff after all your paint is on but before you varnish?
Also, on the 80's dresser, did you use a watered down paint or what did you use to stain the top of the dresser.
Thanks for all your amazing ideas!
Wow girl, another great transformation! I la-la-love it! Seriously, looks straight from House Beautiful. Yowzers!
{I do not mean to critique, but I'd hope you'd do the same for me :) Sometimes it's hard to see all the angles, but don't forget the bottom panel near the floor! Maybe it's just my eyes, but it looks like it needs paint. Just thought I'd make sure you saw it! Oh, I feel like a dork now}
Fa-bu-lous!! Seriously gorgeous!! This is going in my inspiration file!!
Amy
You have some serious talent girl!!! Keep on rockin it! :)
Another great piece! You're amazing!!! :-D
Sorry you don't have the before pic, it's always fun to see the transformation from start to finish.
Looks great, I might even want to work in a lab if the decor looked like this.
That looks great - nice photo styling too.
Can I ask what colour stain you used?
you are a true miracle worker on those bad 80s dressers! how beautiful! love those cloches too!
Oh, it is gorgeous, I love the finial on top of it and the roping effect on the sides. perfection!
Okay, my heart actually went pitter patter when I saw that first lovely photo. Oh man, I love that dresser.
That is so pretty!!
How is Wren doing? Is she crawiling all over the place now? When you have time, you will have to post some pics of Miss Wren- ahe is so adorable!!
I love the gray top-very nice!
that washed swedish gray color is my favorite. Not like this piece wouldn't have been gorgeous anyway, but this really takes it a notch up in my book! fantastic job as usual!!
And that urn looks great up there!
How do you do the gray stain? I'm looking to do something similar. Thanks!! :)
Thanks so much for all the comments everyone!!!
To answer a few about the grey top here is what I did:
-sand the top down to raw wood
-take a cup of water and add a few teaspoons of paint (I used the dark grey paint I used on the edges) so it is really only tinted water, not watered down paint.
-take a brush and apply to the surface. It takes 5 or 6 coats to get it, but you need to do it this way so that the wood slowly soaks it up. If you use too much paint it will just coat the top, and you want it to really soak in.
-sand a little to give it an uneven-ness
-seal it up with verathane
Hope that helps!!
* Oh my goooodness, but you're GOOD, Holly! THIS IS STUNNING!!! (And it~ the "ugly OLD way it WAS!"~ just MIGHT have been "ours" mannnny moons ago, come to think of it!!!).
It looks soooo good THIS WAY with YOUR talents at work!!! (I've always had a weakness for, what do they call it, "TWISTED" woods? I can't remember at moment!
Anyhoooo, K*U*D*O*S to you!!!
Warmly,
Linda in AZ &
beautiful! Love the decor too. You have such talent and patience, ha!
Love the gray top, it looks like the Swedish antique furniture. I have a nightstand that I want to try, thanks for the advise. Love your blog!!!
A+ -- Amazing! Love it!
pve
Post a Comment