Showing posts with label crafting. Show all posts

Monday, June 30, 2014

Summer Fun: Confetti Canons!

IMG_8524

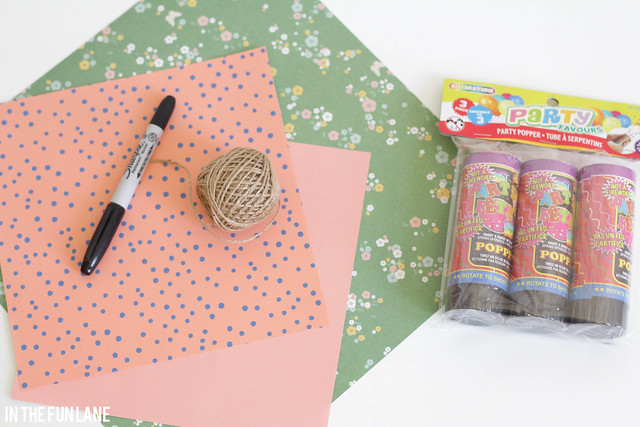
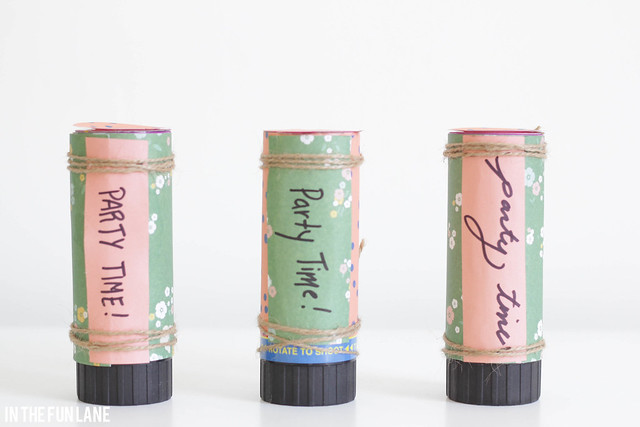
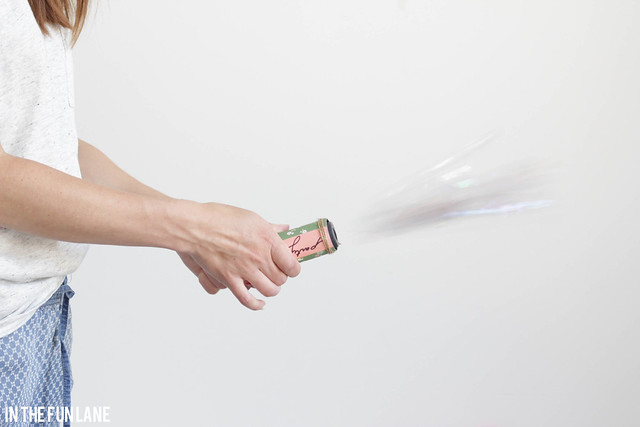
You may already know this, but it was news to me! In the party aisle of our local dollar store they have party favours called 'Party Poppers', which are basically just confetti bombs. They aren't all that pretty but they are sure fun, and make any bash a little more exciting and festive. So I decided to pretty them up to make cute favours for our next backyard BBQ.

IMG_8452

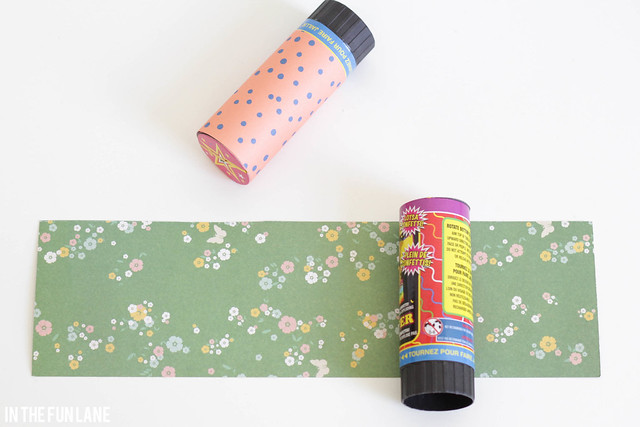
They come in a pack of three for $1, which seems like a steal. To glam them up I simply glued my paper of choice around the upper portion of the canon and decorated as I saw fit.
IMG_8453
IMG_8454

Then comes the fun!
IMG_8480


IMG_8523

Monday, June 23, 2014

Partay time!

Sean turned 30 this past weekend! As usual, we try to make every birthday special and fun, filled with people we care about and cherish. When your home is filled with people like that entertaining is so stress-free and much more relaxed I find. 

IMG_8226

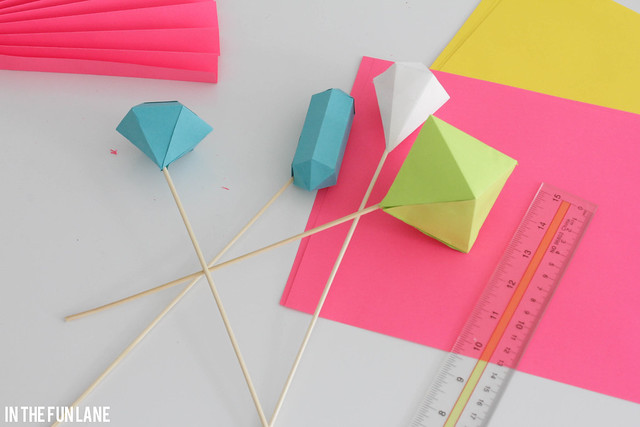
Sean's birthday is actually on the solstice so we wanted the party to be filled with bright, sunny colours! Thanks to Astrobrights Papers we had so much fun getting party ready. I did some geode cake toppers.
IMG_8242

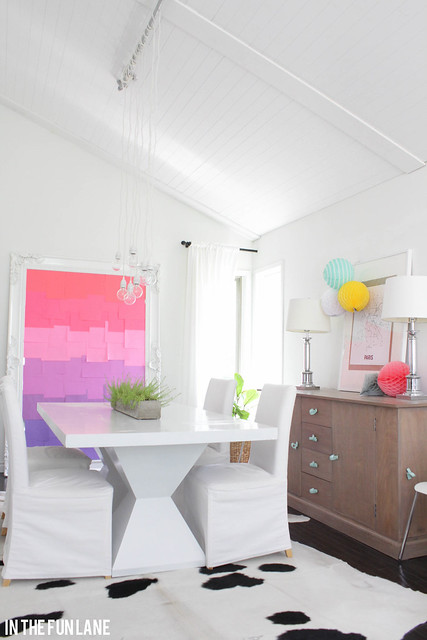
And had a blast creating a bright paper backdrop! This was so fun and easy.

Nothing over the top, just happy and bright since the sun was out until nearly 11pm!
IMG_8365

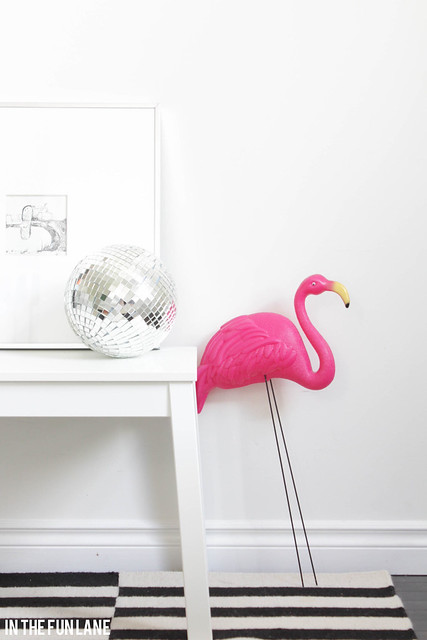
And one dollar store flamingo for good measure, of course.
IMG_8362

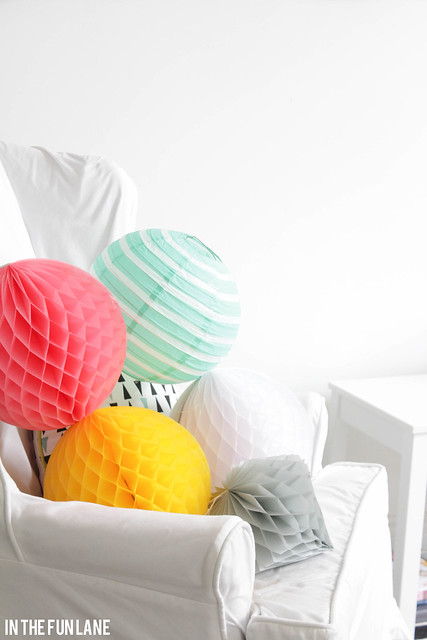
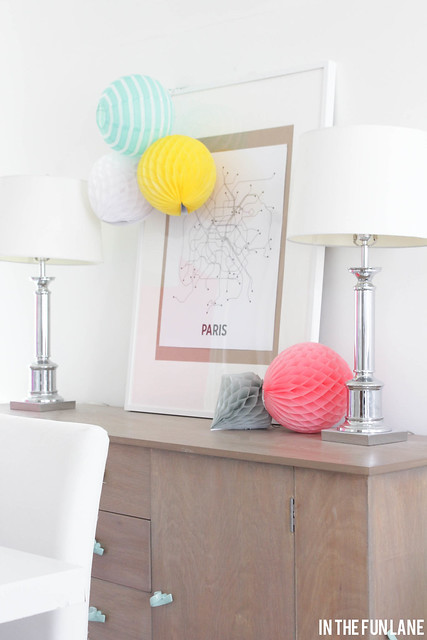
Honeycomb balls and paper lanterns from Target.
IMG_8359


IMG_8364

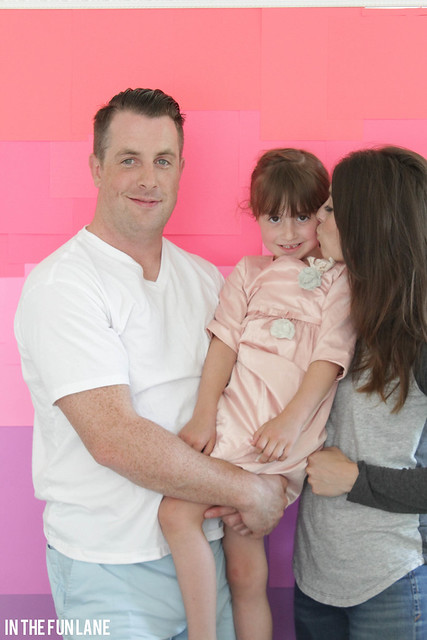
Wren and I had a lot of fun making the paper wall and getting ready for Daddy's party!

What can I say, we love a good excuse to get dolled up!

Birthday cake flavoured Peeps on donuts in our party colors made fun party snacks. 
IMG_8370

Thanks to all our friends and family who were able to join in celebrating the big 3-0 for this guy. 
IMG_8375

He always deserves a good celebration.


Sunday, June 15, 2014

Small Teacher Gift

IMG_8184

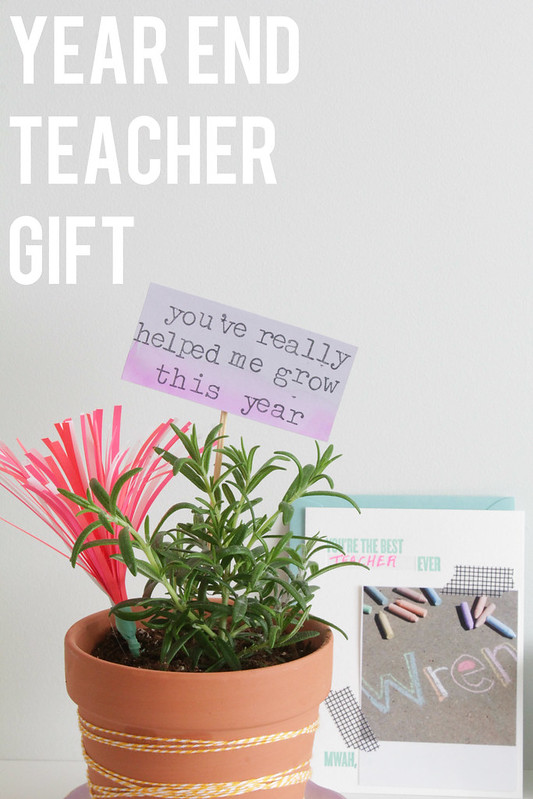
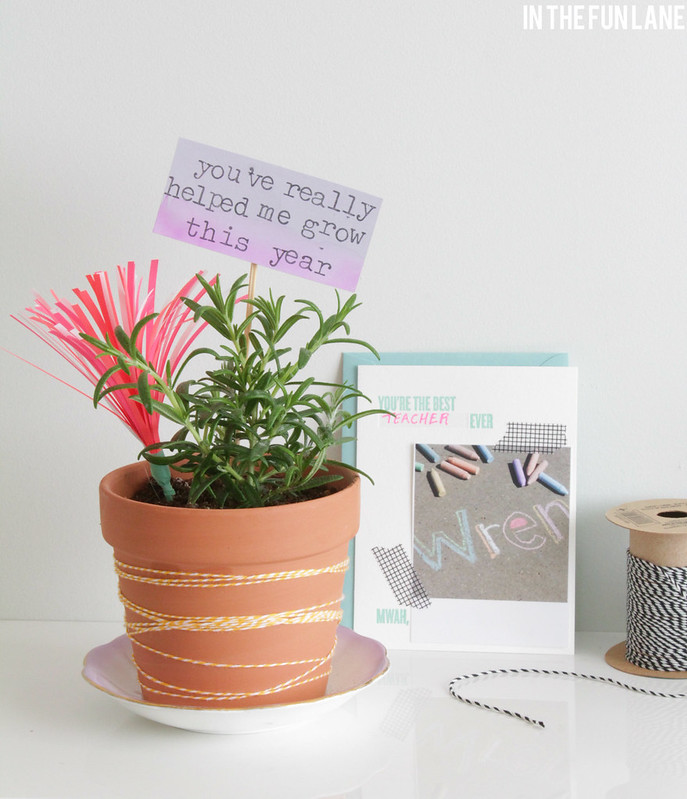
This year we wanted to give Wren's teachers a little thank you that could stick around indefinitely. So we decided on herbs, which are super affordable (and can even be found at the grocery store) and the pots were a great deal at 2 for $1 at the local dollar store. But that didn't seem too exciting so we added a little pop of fun to it with a quick and easy faux flower.

IMG_8162

Over the next couple weeks I will be sharing a couple projects that I pulled together using the bright and fun papers the awesome folks at AstroBrights Papers sent my way. They have some really fun colours to play with and various stocks of paper so that you can find the right density depending on your craft.

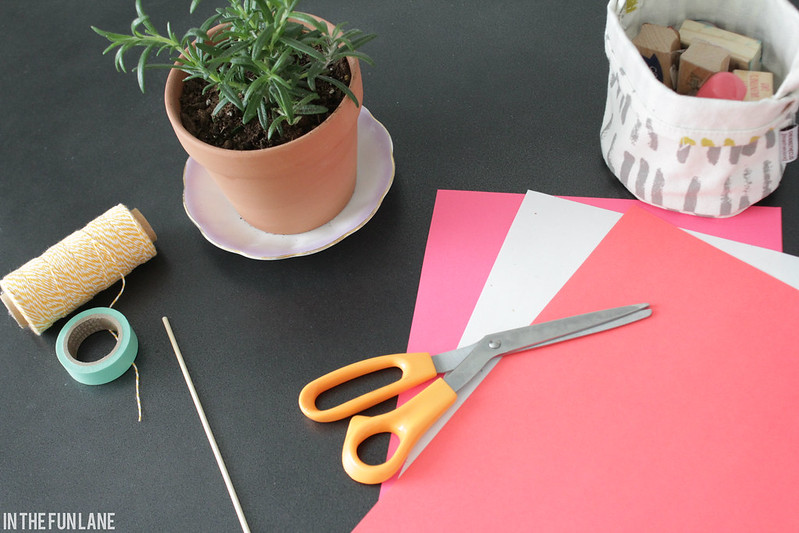
I chose to pair 'plasma pink', 'rocket red' and 'stardust white' which has some little speckles of colour in it for this project, but you can do any colour combo you like, with as many or few papers as you desire. The only other supplies needed are a small dowel or kabob skewer, scissors and tap.

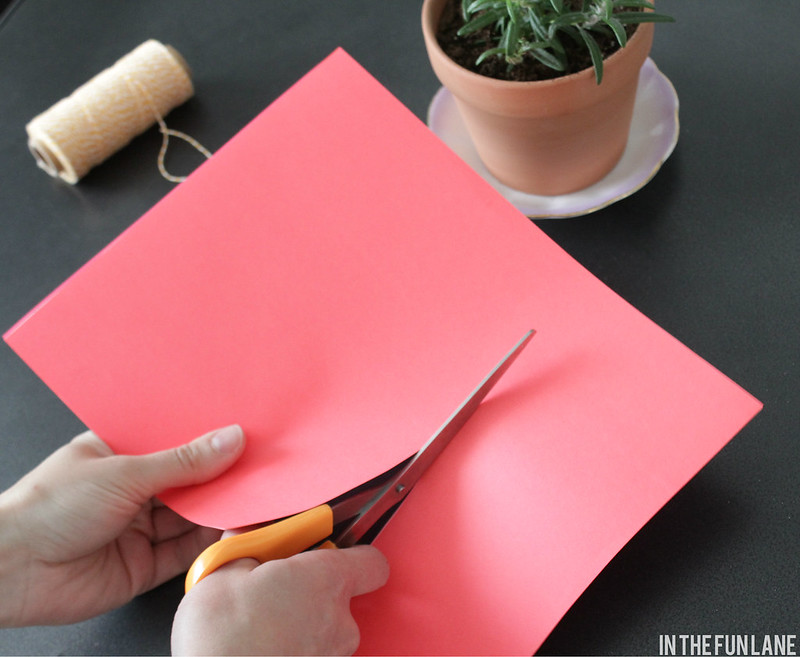
Cut a 3 to 4 inch strip of your papers.
IMG_8163

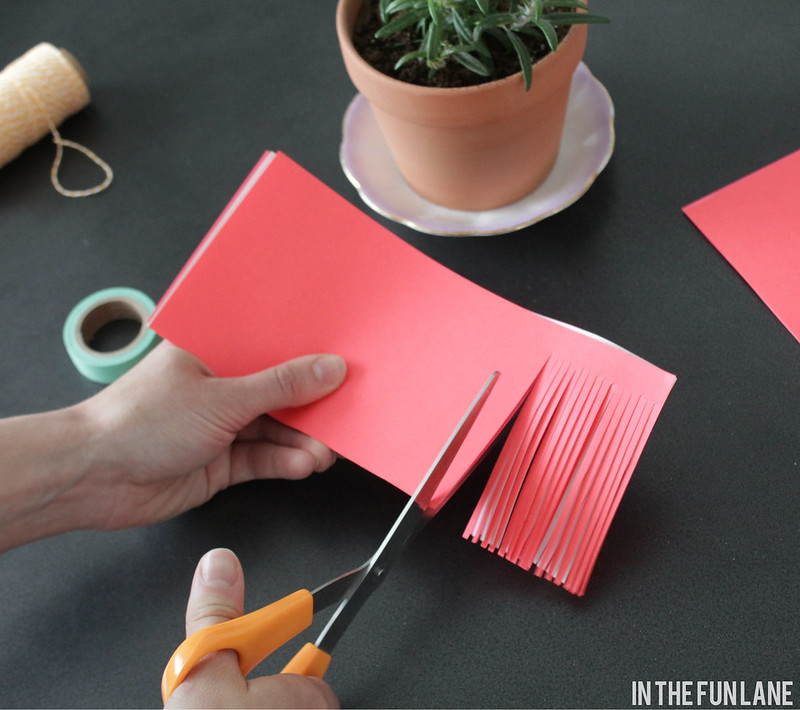
Then just eyeball and cut strips about a quarter inch apart along the length of your papers (I just held and cut all three together to save time), only cutting to about three quarters of an inch from the edge.
IMG_8165

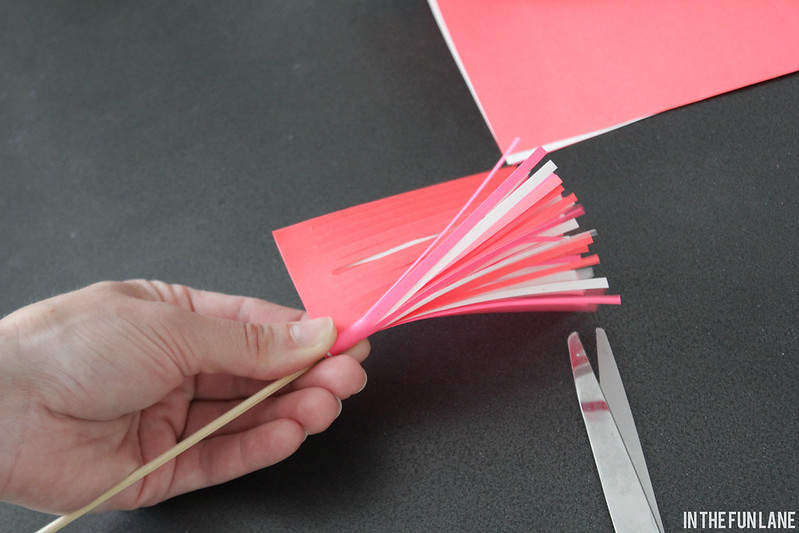
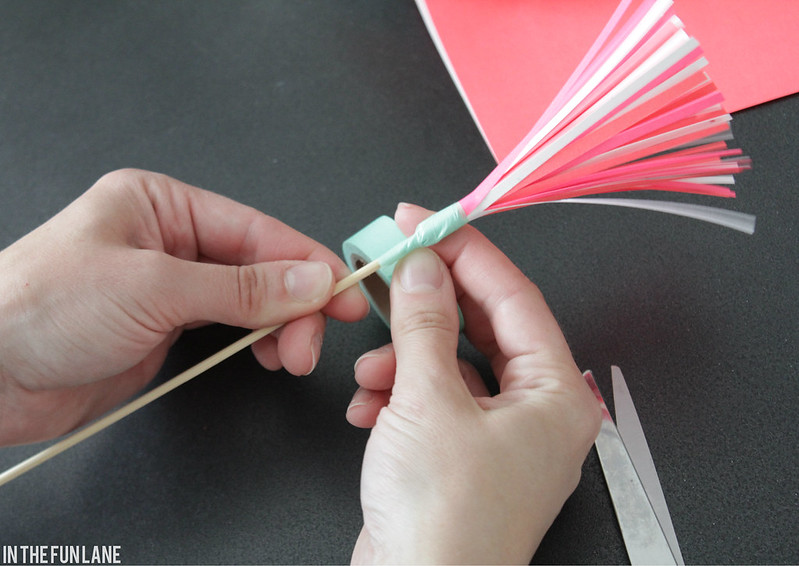
Then wrap the uncut edge around the skewer and tape in place.
IMG_8169
IMG_8170

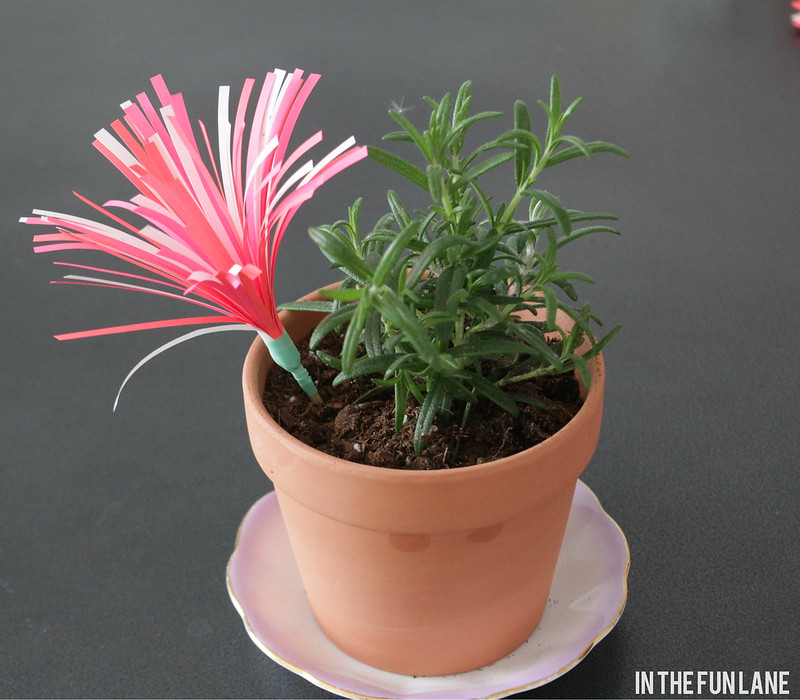
To make it 'bloom' I simply rolled the strips gently outward on my fingers and played with it till it looked like I wanted it.
IMG_8173

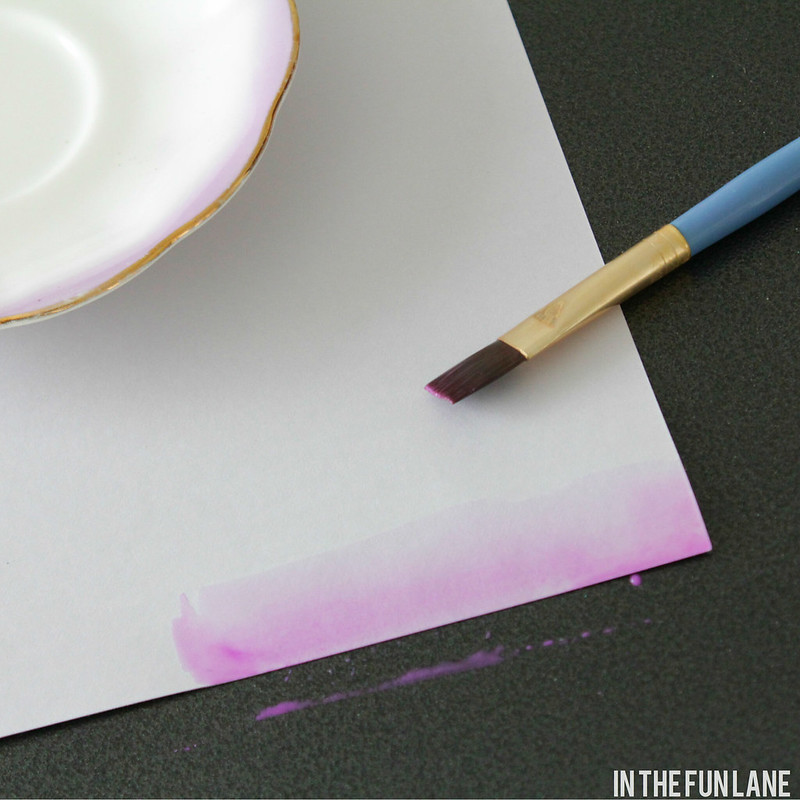
Next, I made a little sign for the pot, and I wanted it to tie in with the vintage plate I used as a saucer so I did a quick swipe of water colour along the bottom of the paper.
IMG_8177

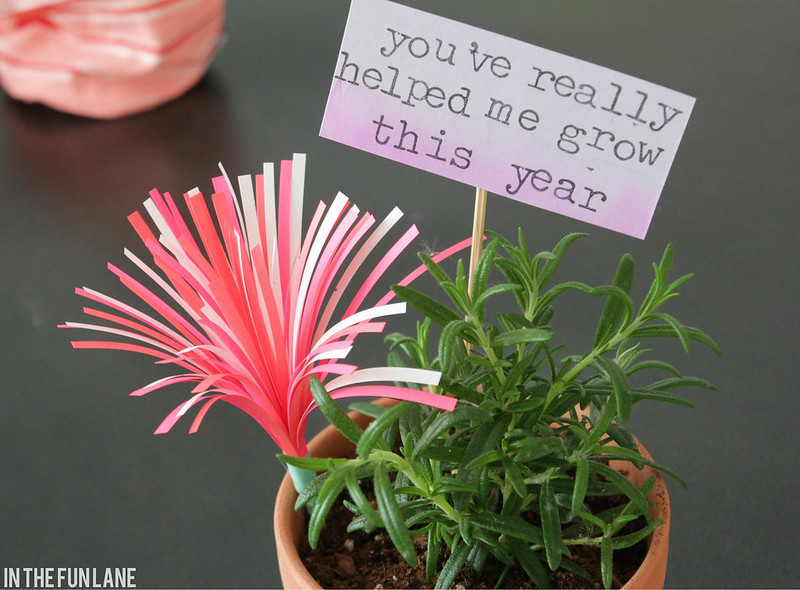
Then we stamped a little message.
IMG_8179

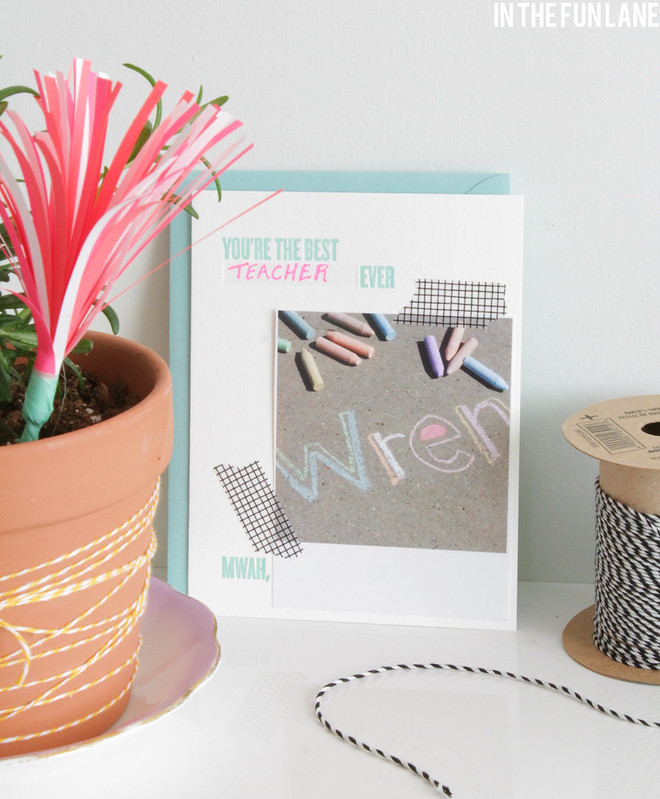
Finally, for the card we used this cute one I found at Urban Outfitters (which you could easily recreate at home!), but to personalize it we taped a picture of Wren's name from last summer that I took on my phone and printed in a batch of photos from Printic a while ago. I love keeping a variety of these Polaroid-like photos around to use in cards and on gifts, and this one made a cute addition to the front of the card.
IMG_8187

A little twine around the pot for some extra colour and in no time we had a cute, easy and homemade gift to tell Wren's teacher and teacher's assistant just how much we appreciate them!
IMG_8183

Thursday, June 5, 2014

DIY Cement Planter

IMG_8155

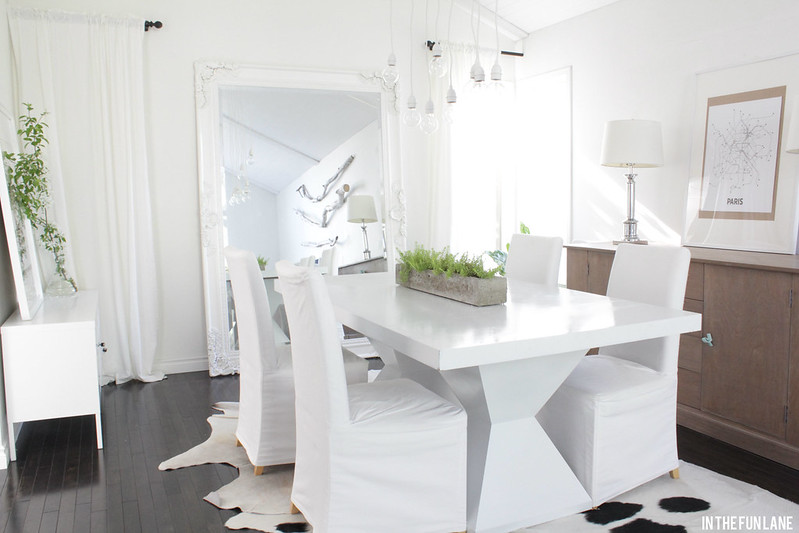
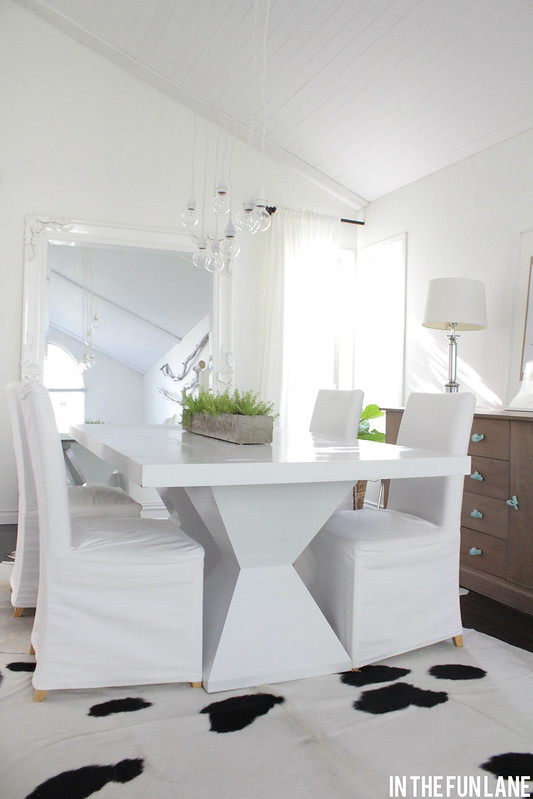
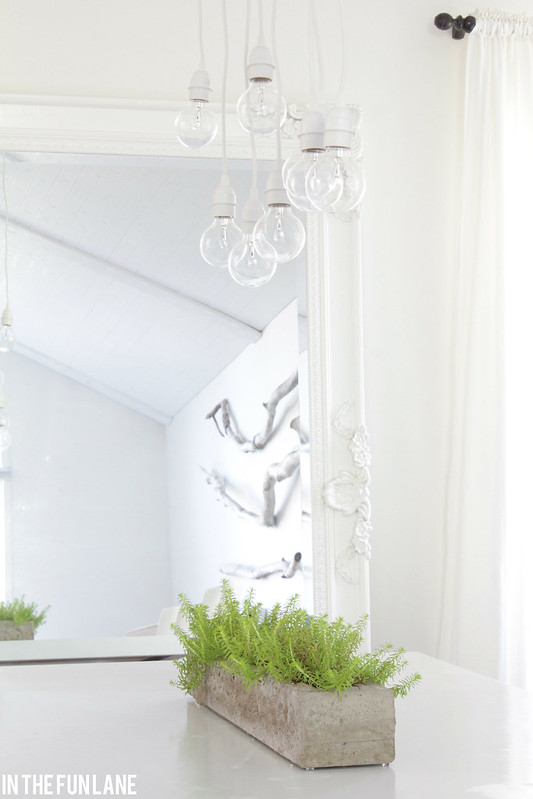
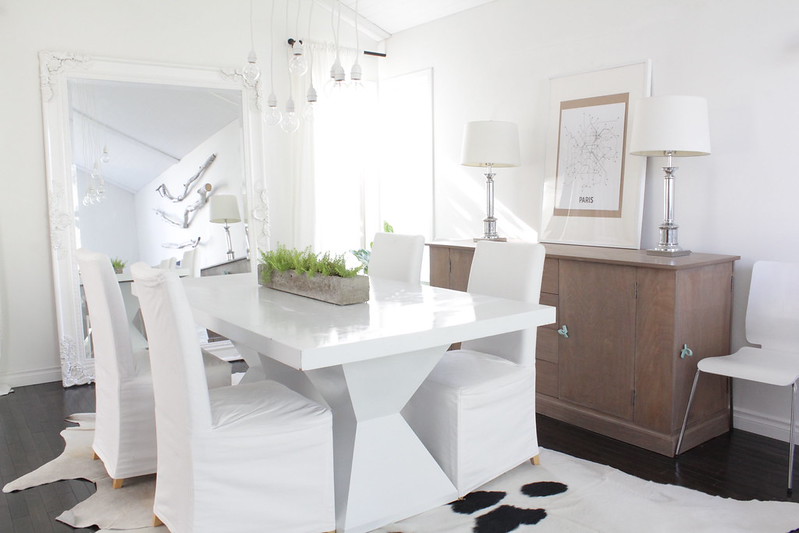
I have been brainstorming ideas and keeping my eye open for something to use as a centre piece on the dining room table. The table is long and is a lot of empty white space, it definitely needed something. But I wanted something simple, something not too 'in your face', and something that wouldn't break the bank (duh!).

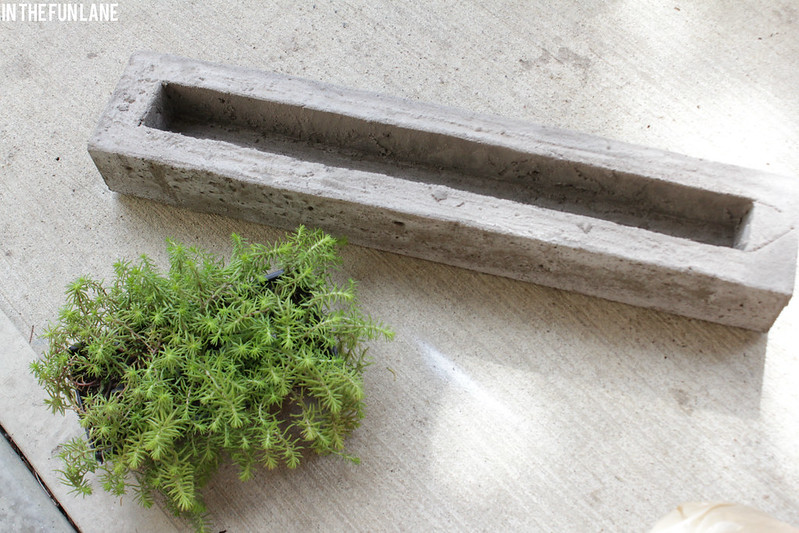
Then one afternoon while Wren and I were getting a couple plants at the hardware store it hit me: make my own planter out of cement! I know there are tons of DIY blogs and Youtube blogs that have done this before so I am not trailblazing or anything. But I felt pretty darned proud of making my own creation for a grand total of $7. 

Yes, this only cost me a $7 bag of cement, which I only used half of, so maybe more planter creations will be in my future!

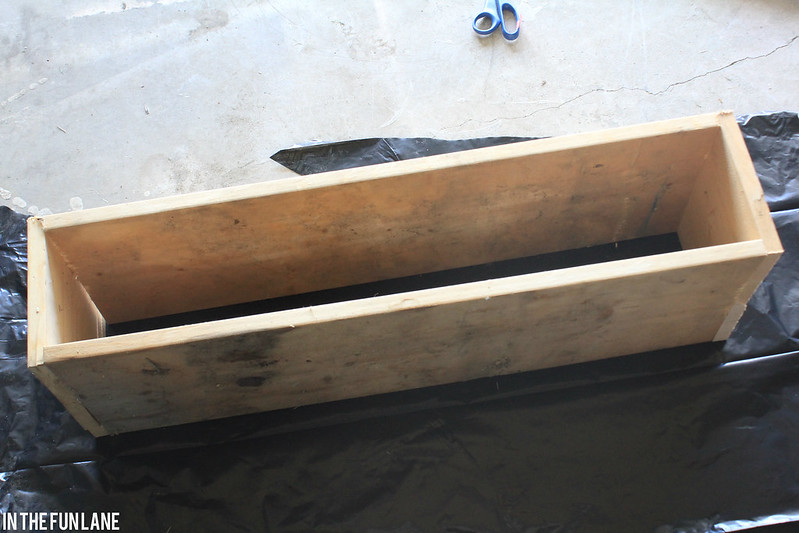
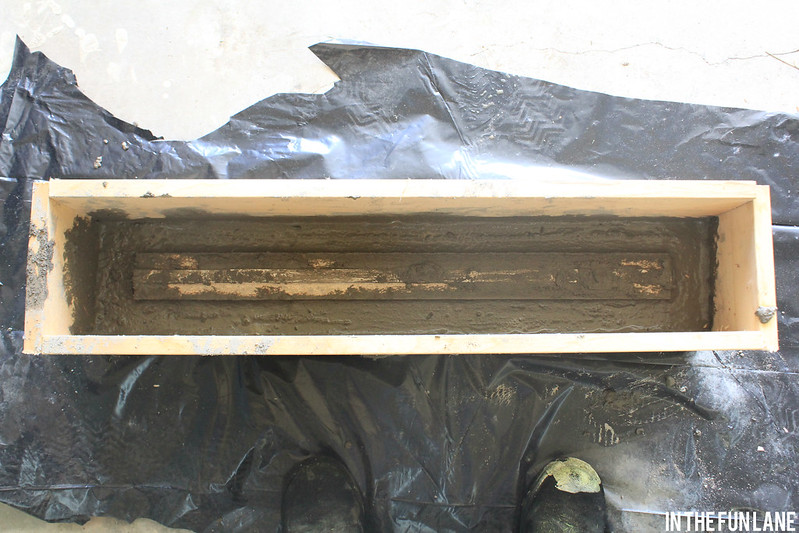
To start, I went into my scrap wood pile and cut a rectangle in the dimensions I was wanting. screwed it together and set it on a plastic surface ( a garbage bag in this case). I also made a smaller rectangle that would create my inner planter area.
IMG_8107

I filled the large rectangle with about an inch and a half of cement, then set my inner form on top and filled the remainder of my cement to about an inch lower than the inner form stuck out. Then I tapped the outer rectangle with a mallet for a minute to get as many bubbles out as possible. I wasn't aiming for perfection so I didn't go too nuts.
IMG_8109

About 4 or 5 hours after I first poured the cement it was still pretty wet and pliable, and I gently removed my inner form at this point. It was really easy and while I was concerned the form wouldn't stay put without that in place everything did stay put. I then left the cement to dry for a day, then unscrewed and removed the outer form from the planter. Then we let it sit for 2 more days to fully cure before Sean kindly chiselled a couple spots to clean up the corner. He offered to smooth it and buff it as well, but I was totally in love with the rustic texture of the cement as it was!

IMG_8135

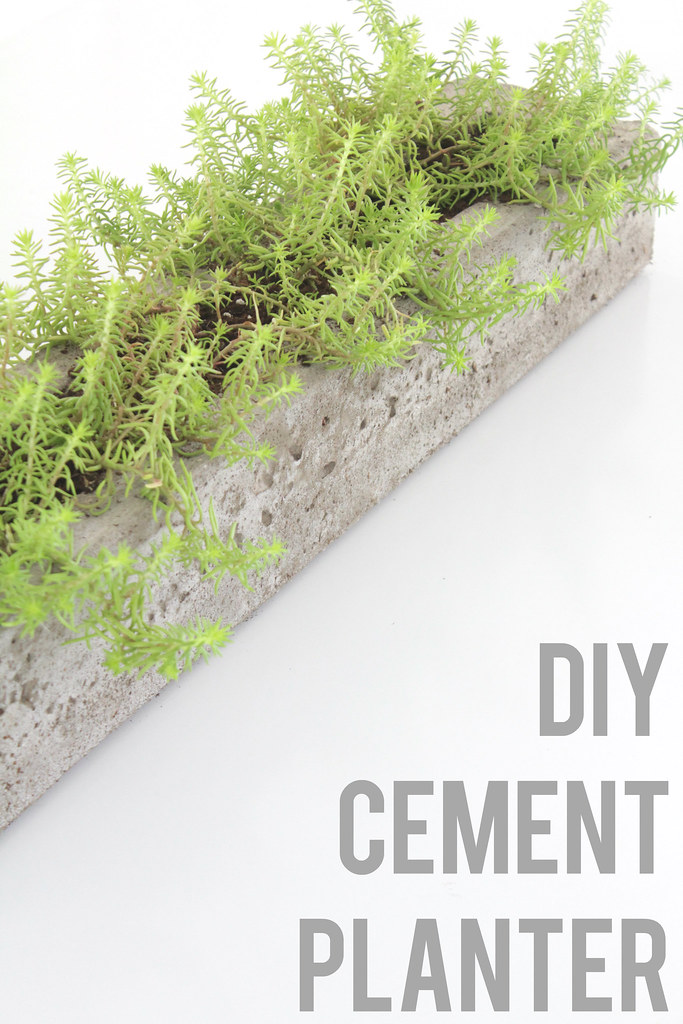
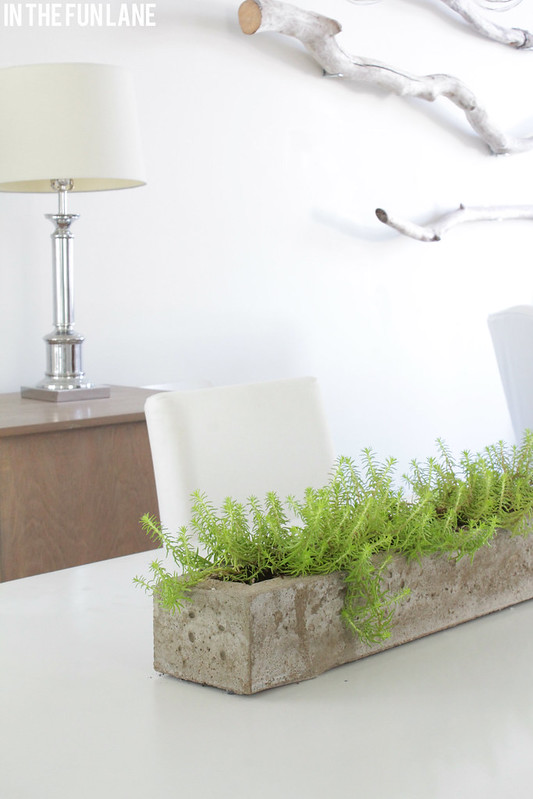
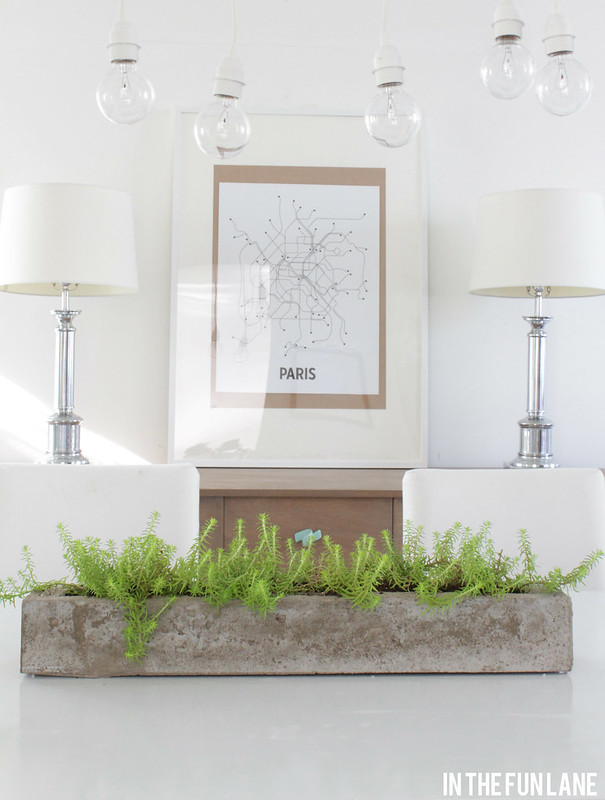
A 12 pack of ground cover planted in a row filled it nicely, and as soon as it was on the table I was in love!
IMG_8147

I put 6 clear, sticky rubber feet (the kind you put on cabinet doors to keep from slamming) on the bottom to keep it from scuffing and scratching the table. 
IMG_8148

The subtle texture and pop of green it gives is exactly what I was envisioning.
IMG_8137

I've never been one to patiently wait until I find what I was looking for, but I never thought I could actually pull this one off so I will admit to a small round of applause for myself once it was all done. Believe me when I say that the hardest part was being patient while it all dried.
IMG_8144

IMG_8151

IMG_8146

so what do you think? Does it seem like something you might try?

Tuesday, May 13, 2014

Be Crafty

I know I've been talking about our upcoming Be Crafty workshop a little bit lately (or maybe a lot!! I am just so excited!). We still have seats available and the early bird pricing is only good for a few more days so if you are at all on the fence I cannot explain just how fabulous of a job Amanda does. But maybe a few pictures from her previous workshops can explain a little better!


All images courtesy of Amanda and Be Crafty

It's not everyday something like this comes to Edmonton and I really hope to see you on June 14th! 

Monday, May 12, 2014

Washi Tape Cake Banners

lantern 003 

We aren't all super women (even if it sometimes seems like that in blog land), and sometimes you have things come up quickly or unexpectedly. And life is always busy! So while I nearly always rely on local bakeries for pretty sweets at any gathering (baking, especially pretty icing, is not my strong point) I still enjoy making things look and feel like I put thought into them, which ironically I am doing by saving my guests from my baking. 

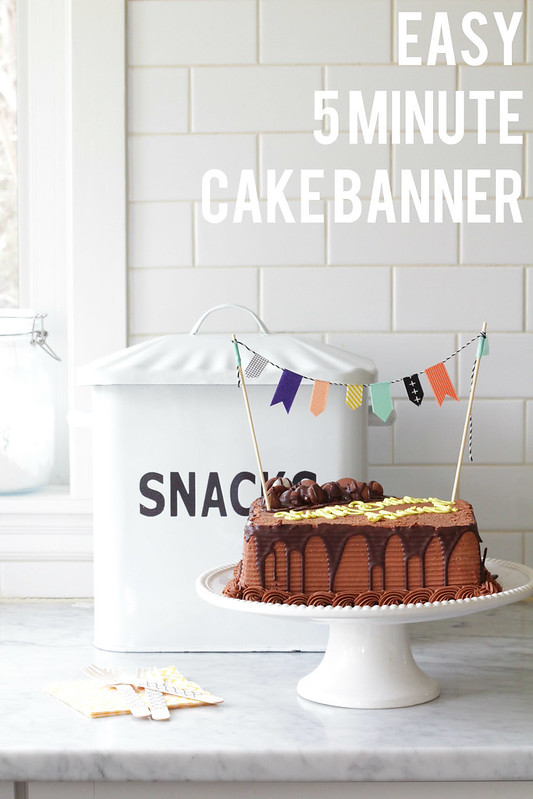
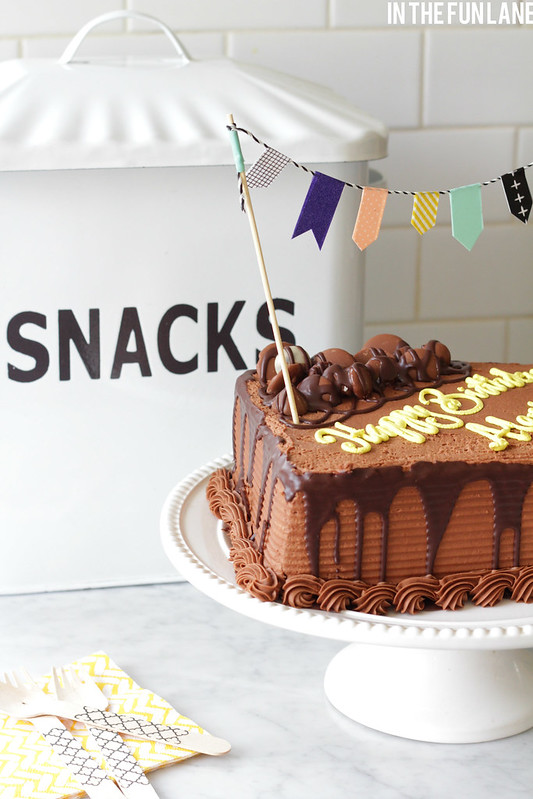
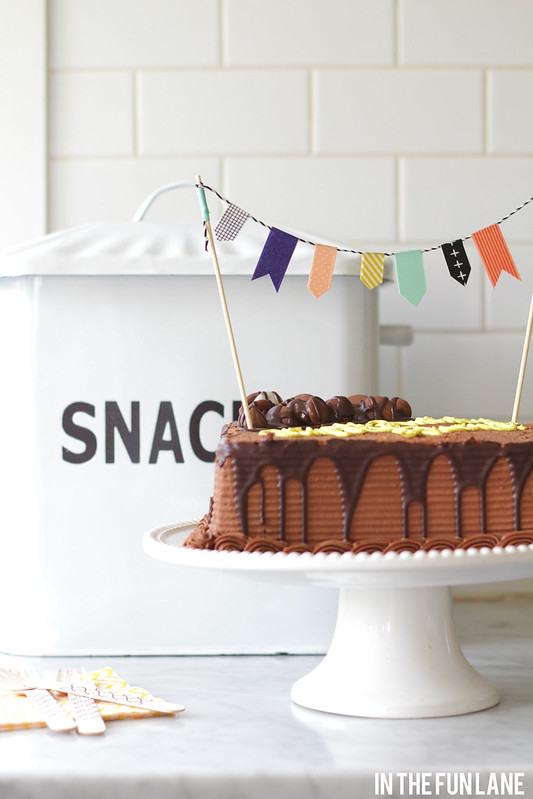
It is almost hard to look back on a time without washi tape! The creations you come up with quickly and colorfully are endless. So for a belated birthday surprise for my bestest bud I wanted to jazz up a grocery store cake.

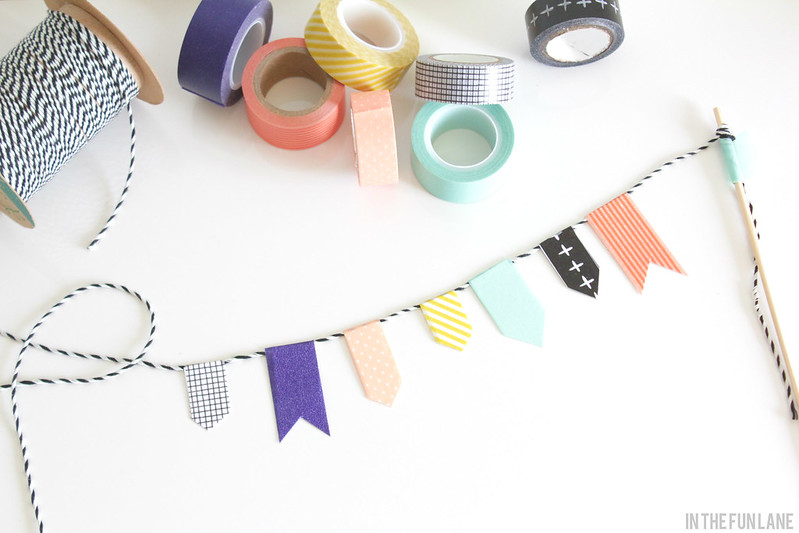
A couple bamboo skewers, baker's twine and tape got the job done! The secret I use for this is to fold the tape over the twine and slip a small piece of white paper between both sides of tape and trim after. The reason is that washi tape is thin and you can often see some of the pattern on the reverse side so the paper keeps the colors bright and from seeing the back side. Then trim edges in V's or inverted V's.
lantern 002

It honestly only take about 5 minutes and totally takes the fun to a new level!
lantern 007 lantern 009


Tuesday, May 6, 2014

Green House Lanterns

lantern 015 

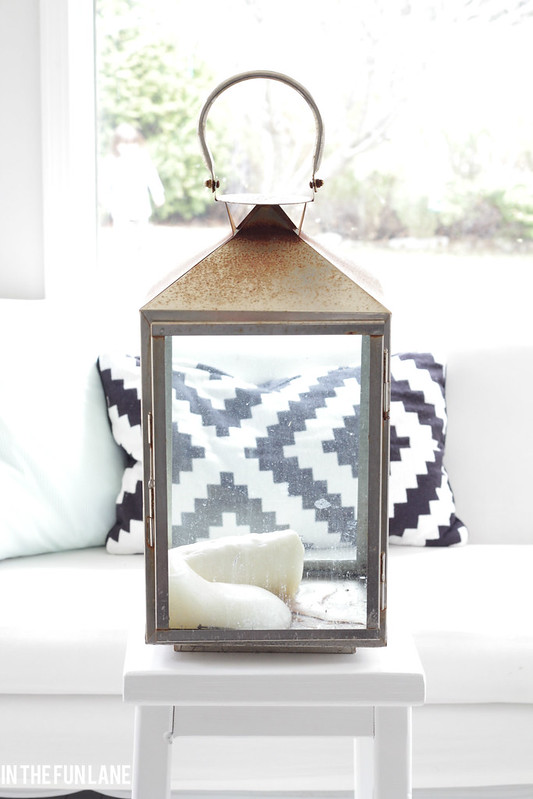
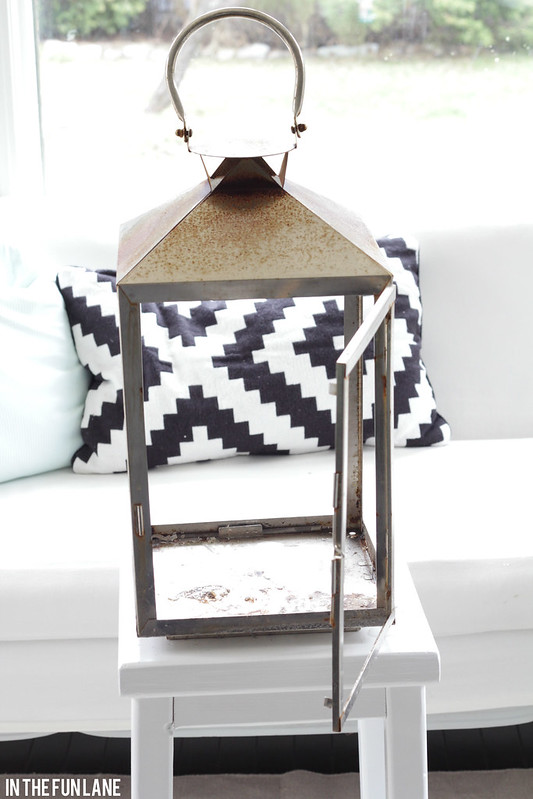
I made a big mistake last Summer and Fall. First, I left candles in some of our lanterns on the deck after a barbeque one evening and a few sunny days did a real number on them. Then a few rainstorms can through and bam! my super cute, $30 lanterns from HomeSense suddenly looked like rusted out, junky pieces of garbage.

See? not pretty.
lantern 011 

But I decided to hold on to them for this Summer to try and hopefully salvage them somehow. So I cleaned out the old melted candles, gently popped out the glass, and decided to give them a makeover.
lantern 012 

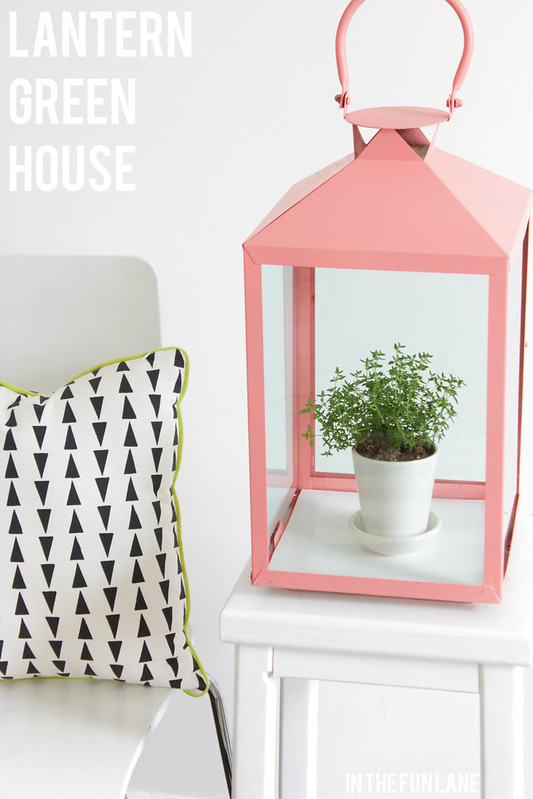
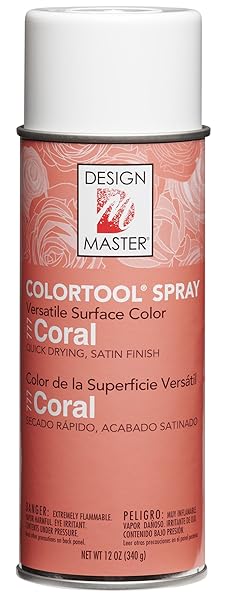
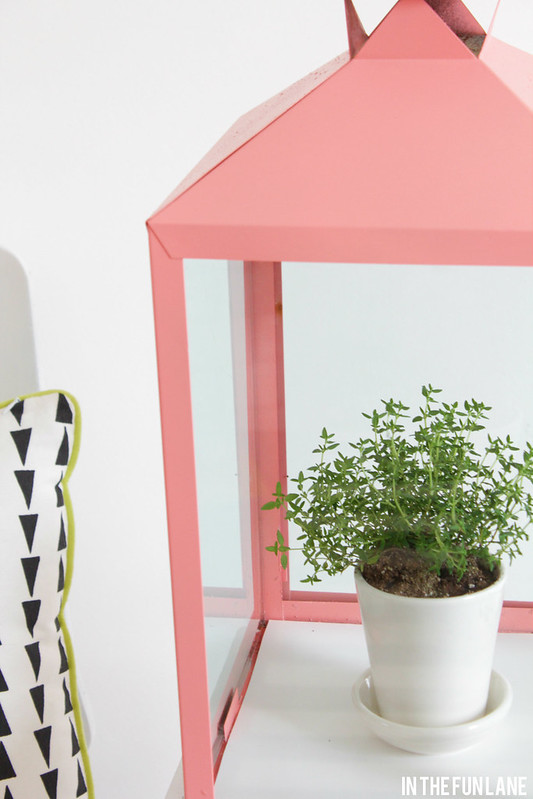
I bought a can of this coral spray paint at Michael's for $6 with one of their coupons and got to spraying!

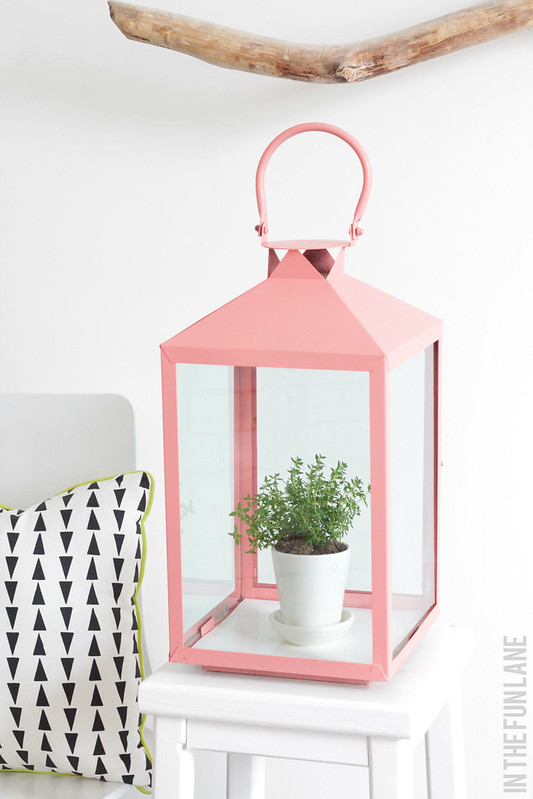
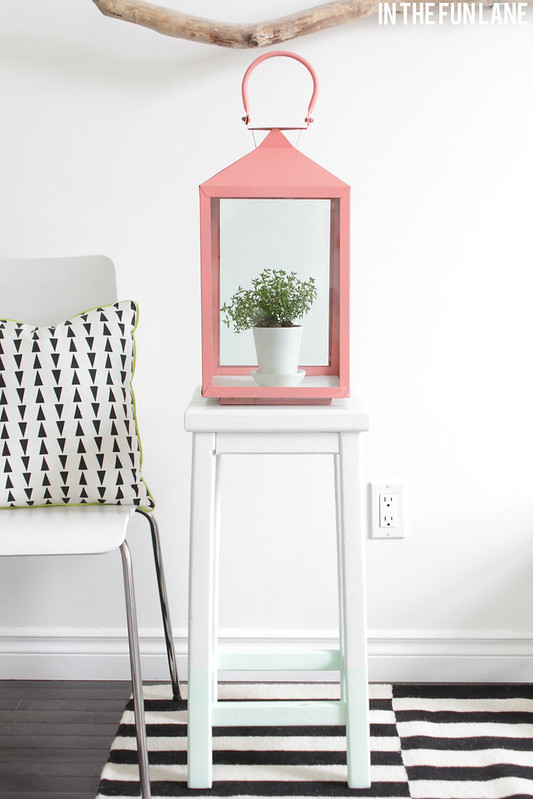
Since I am obviously not capable of carting candles in and out all Summer I decided to put them to use on our covered front porch and inside as little greenhouses. 

To protect the metal bottom again I simply cut a little square of vinyl sheet I had in the garage. 
lantern 013 
I've tried actual enclosed terrariums a few times and can't seem to keep them from steaming up getting too moist. This offers a little ventilation while still protecting delicate plants from the elements, and looking super cute at the same time!
lantern 014 

lantern 016

Happy Gardening!
 
Blogging tips