Showing posts with label my office. Show all posts

Friday, March 21, 2014

Office Update


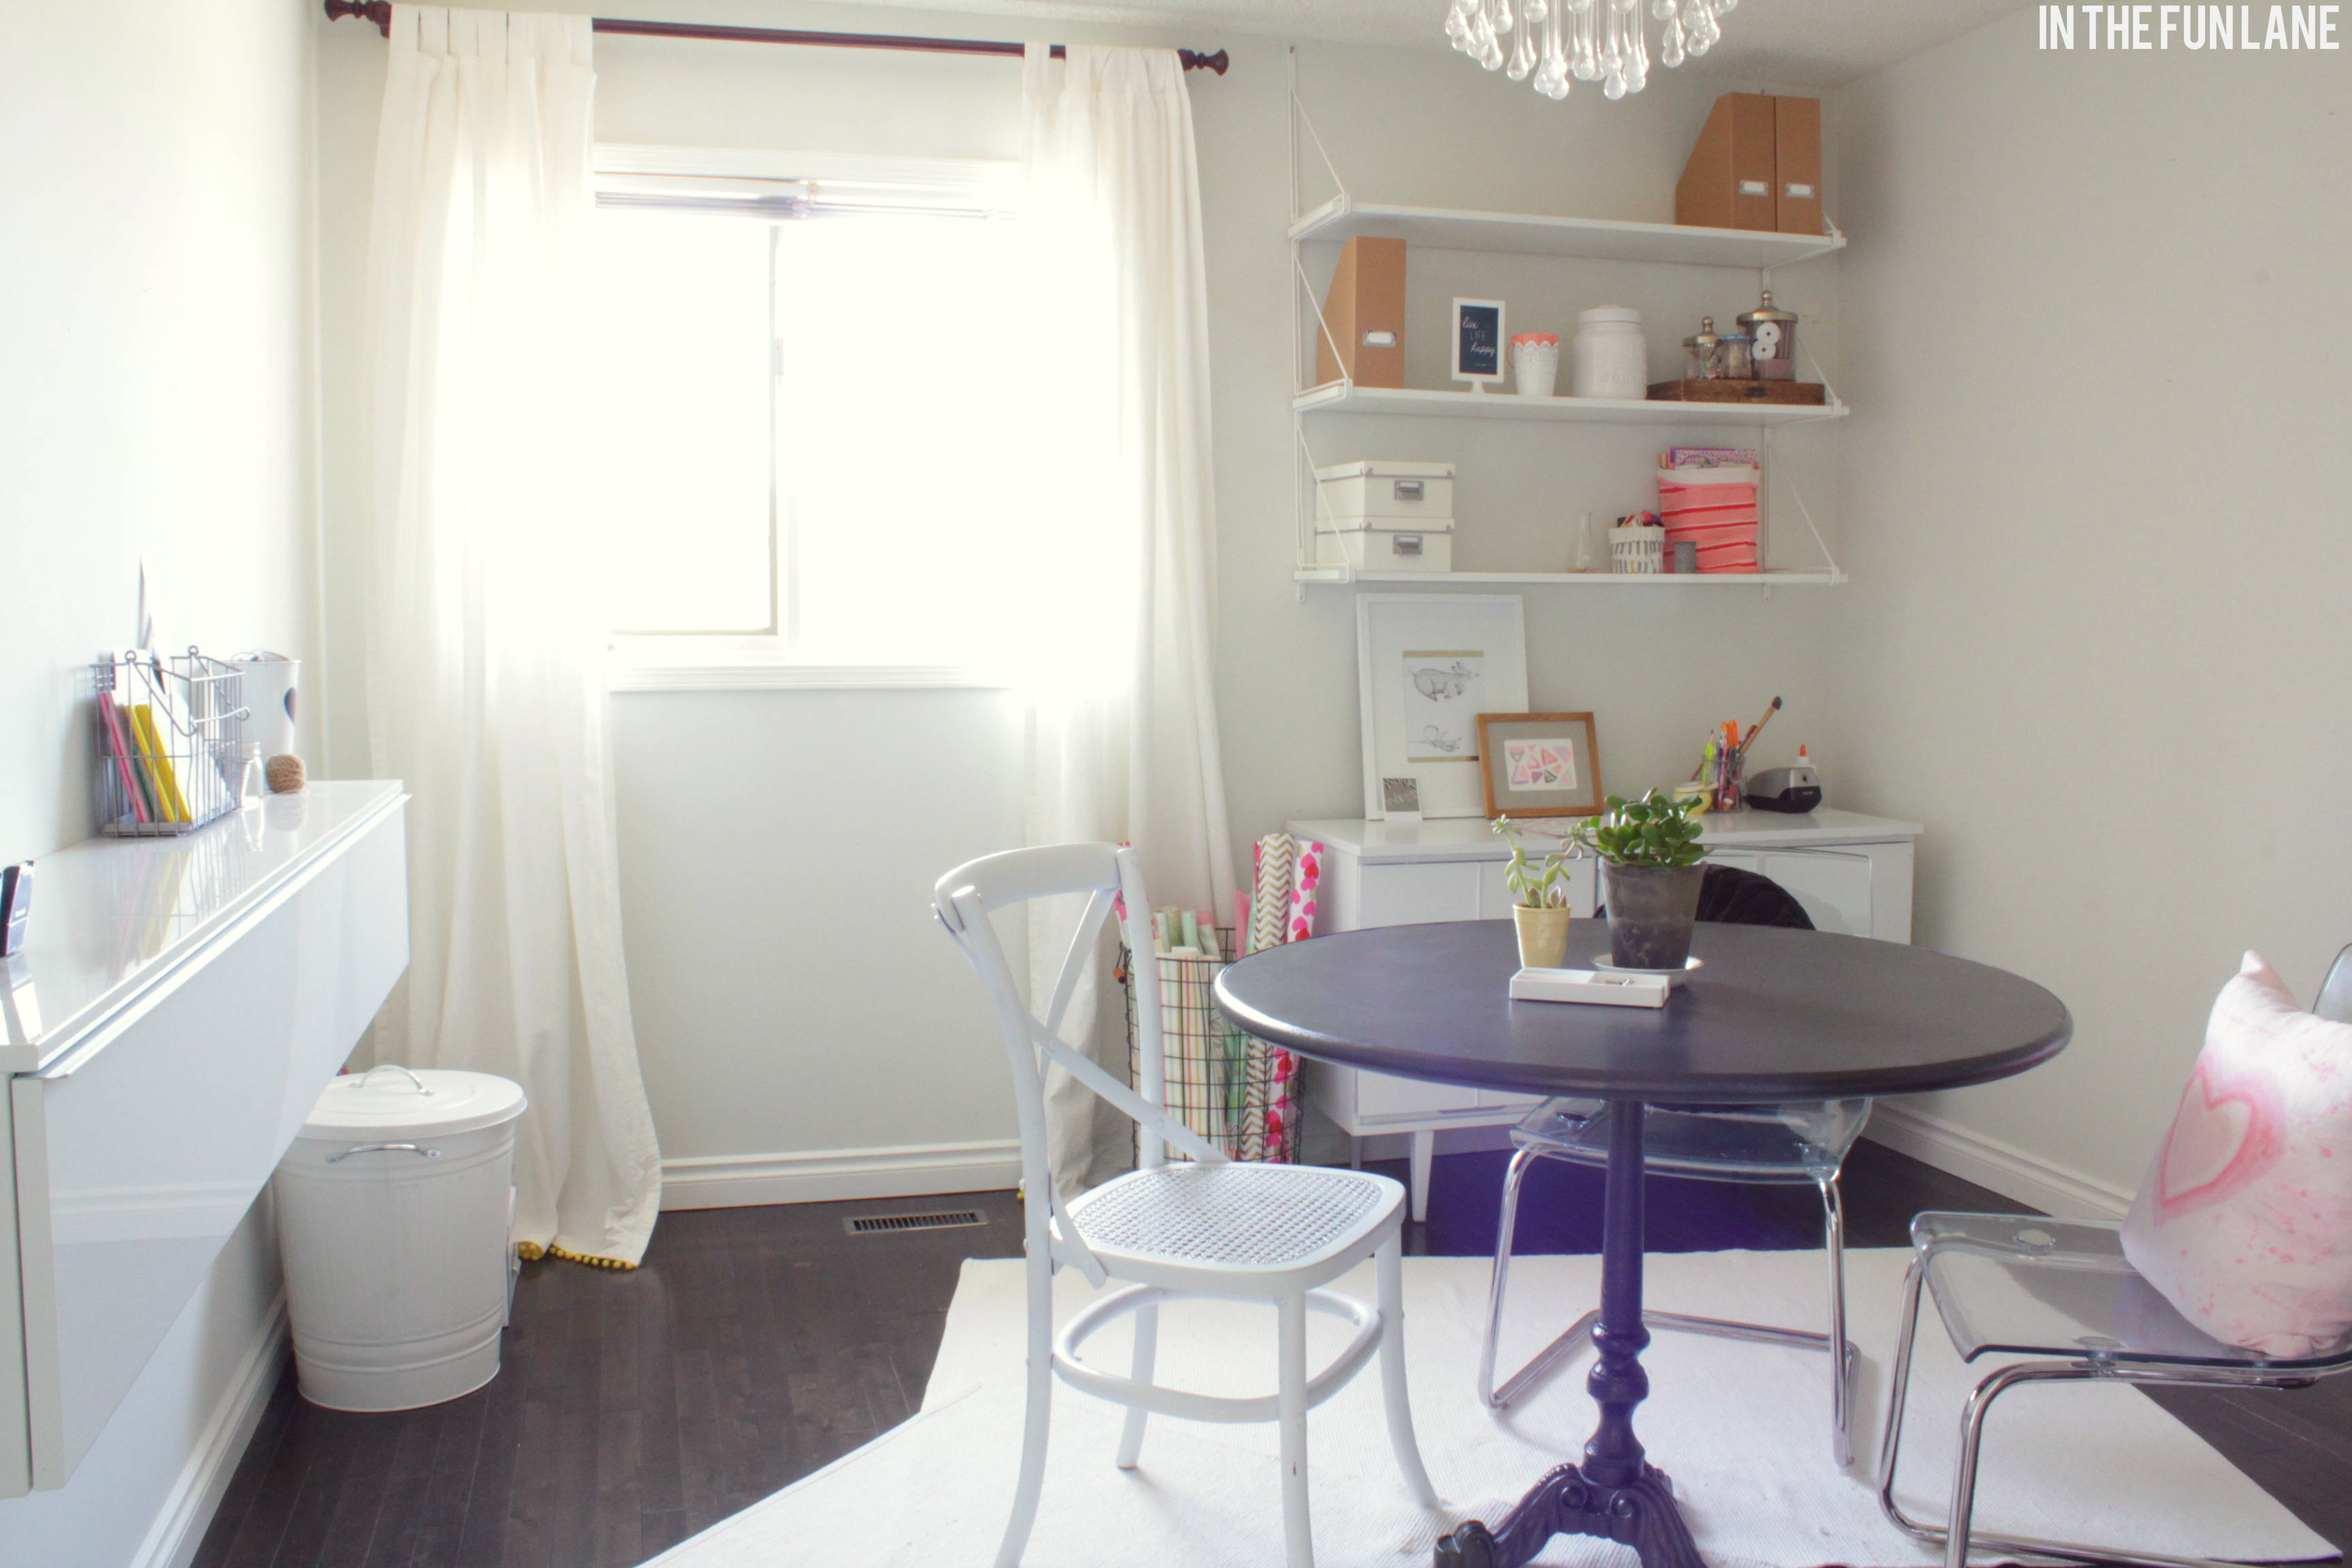
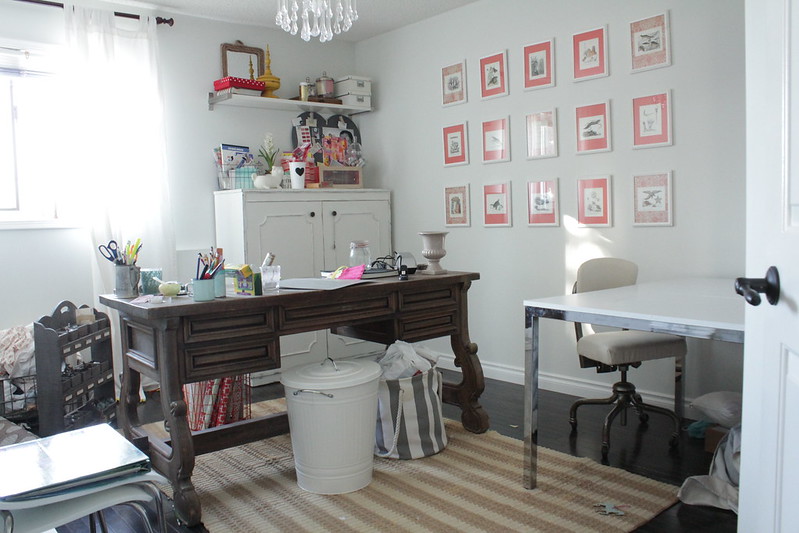
I have been working on my little office for the past few weeks on and off, and while I still have a little left to finish (do a little dance, hang a little art) I am in the home stretch and have been excited to show you!

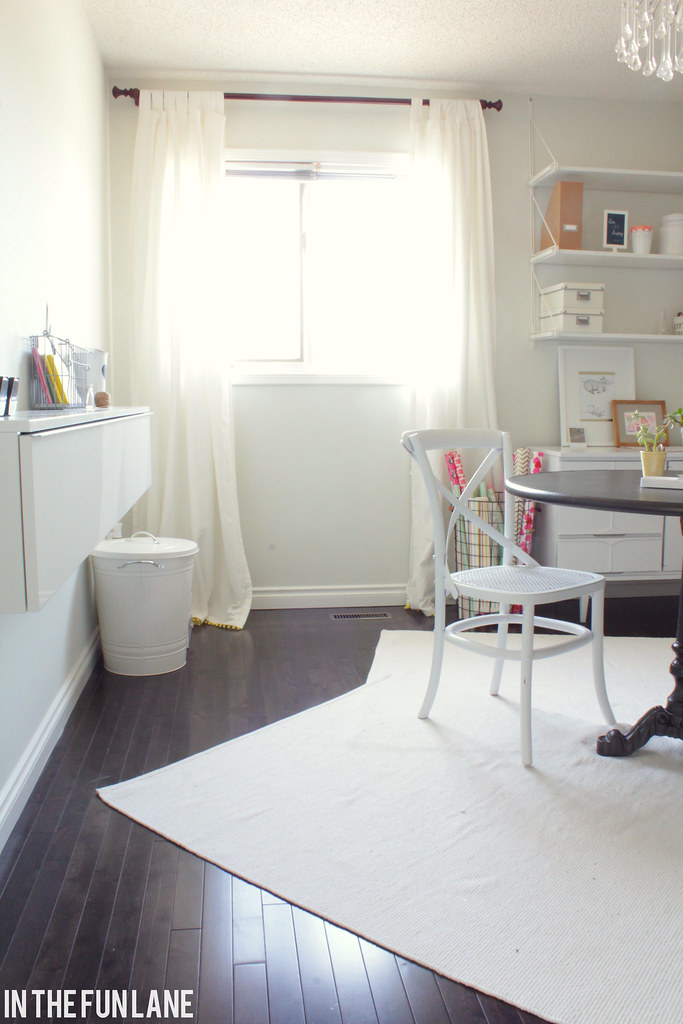
Every crafty blogger needs a little space to let their imagination run wild, and while we already had this set up as an office, most times my craft zone would somehow end up in the dining room. Thanks to some awesome finds for staging CottageK that I brought home I was able to use a lot of what I had, and what I didn't have I bought at Ikea or Target to keep the makeover from getting too costly.
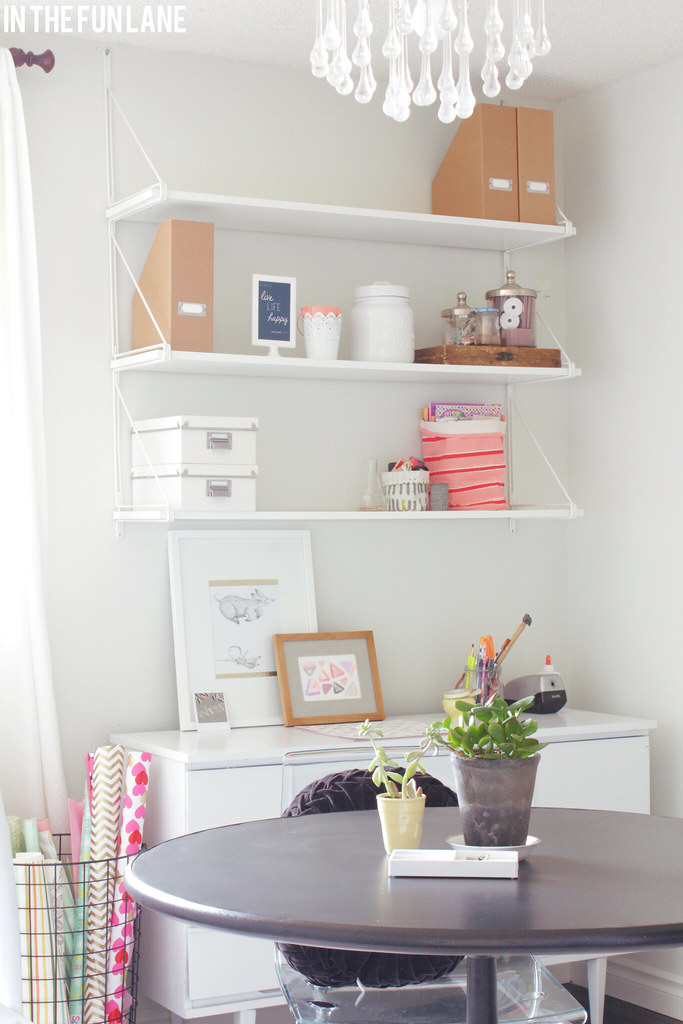


It made more sense to use a table instead of a desk in here. I like to have room to spread out and have enough room for both me and Wren. Plus I sometimes paint on large sheets of paper or need to wrap larger gifts, so a narrow desk wouldn't work well for things like that.
Some happy pink Poppin pens, and dollar bin pencils and bucket from Target.

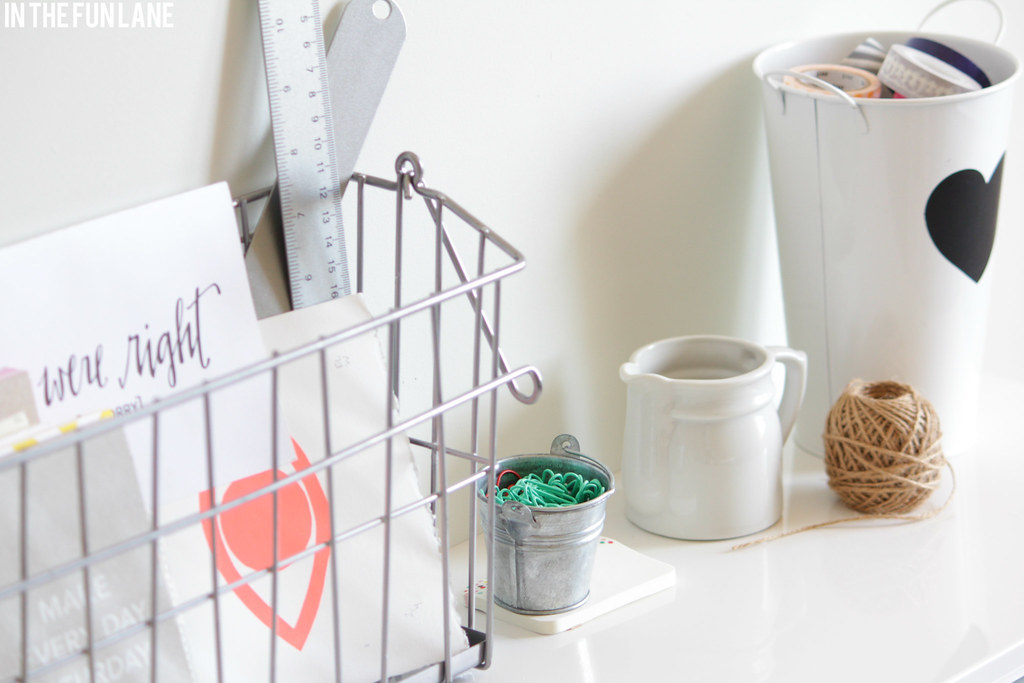
Assorted cards and a couple notebooks that are too lovely to keep in a drawer, along with various office supplies I use often enough that it makes sense to keep out.
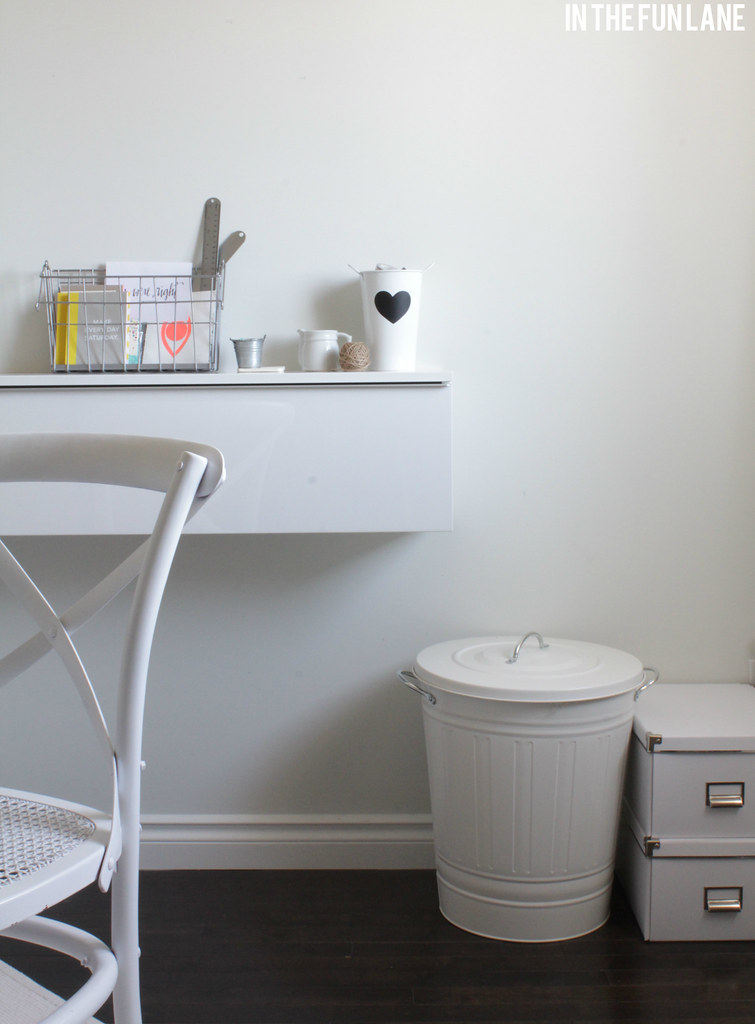
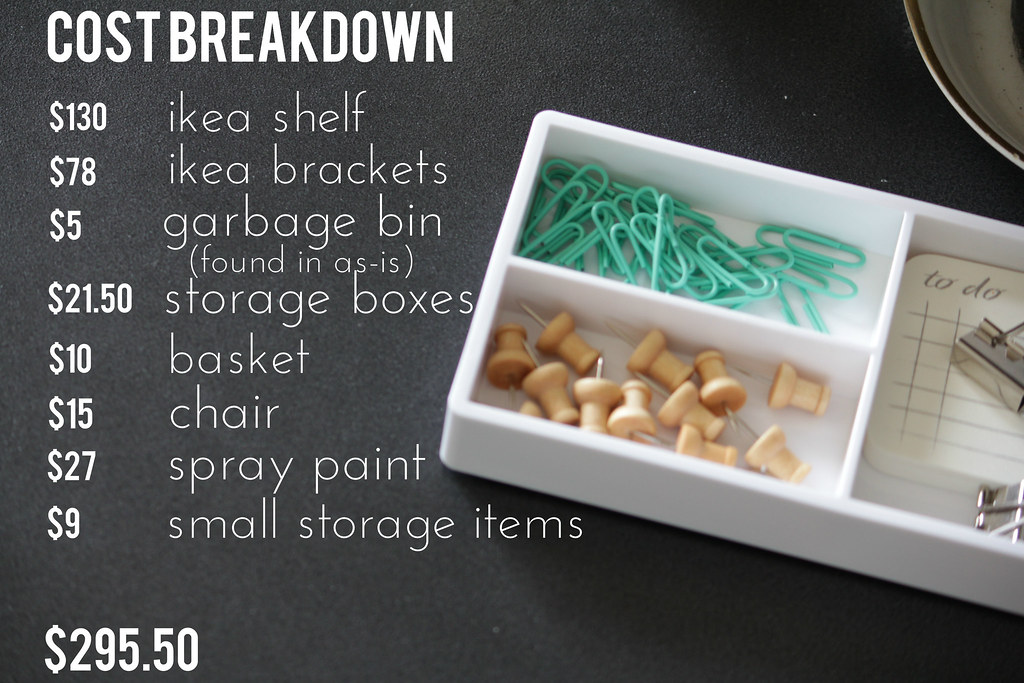
I found the garbage bin in the As-Is section of Ikea for $5.
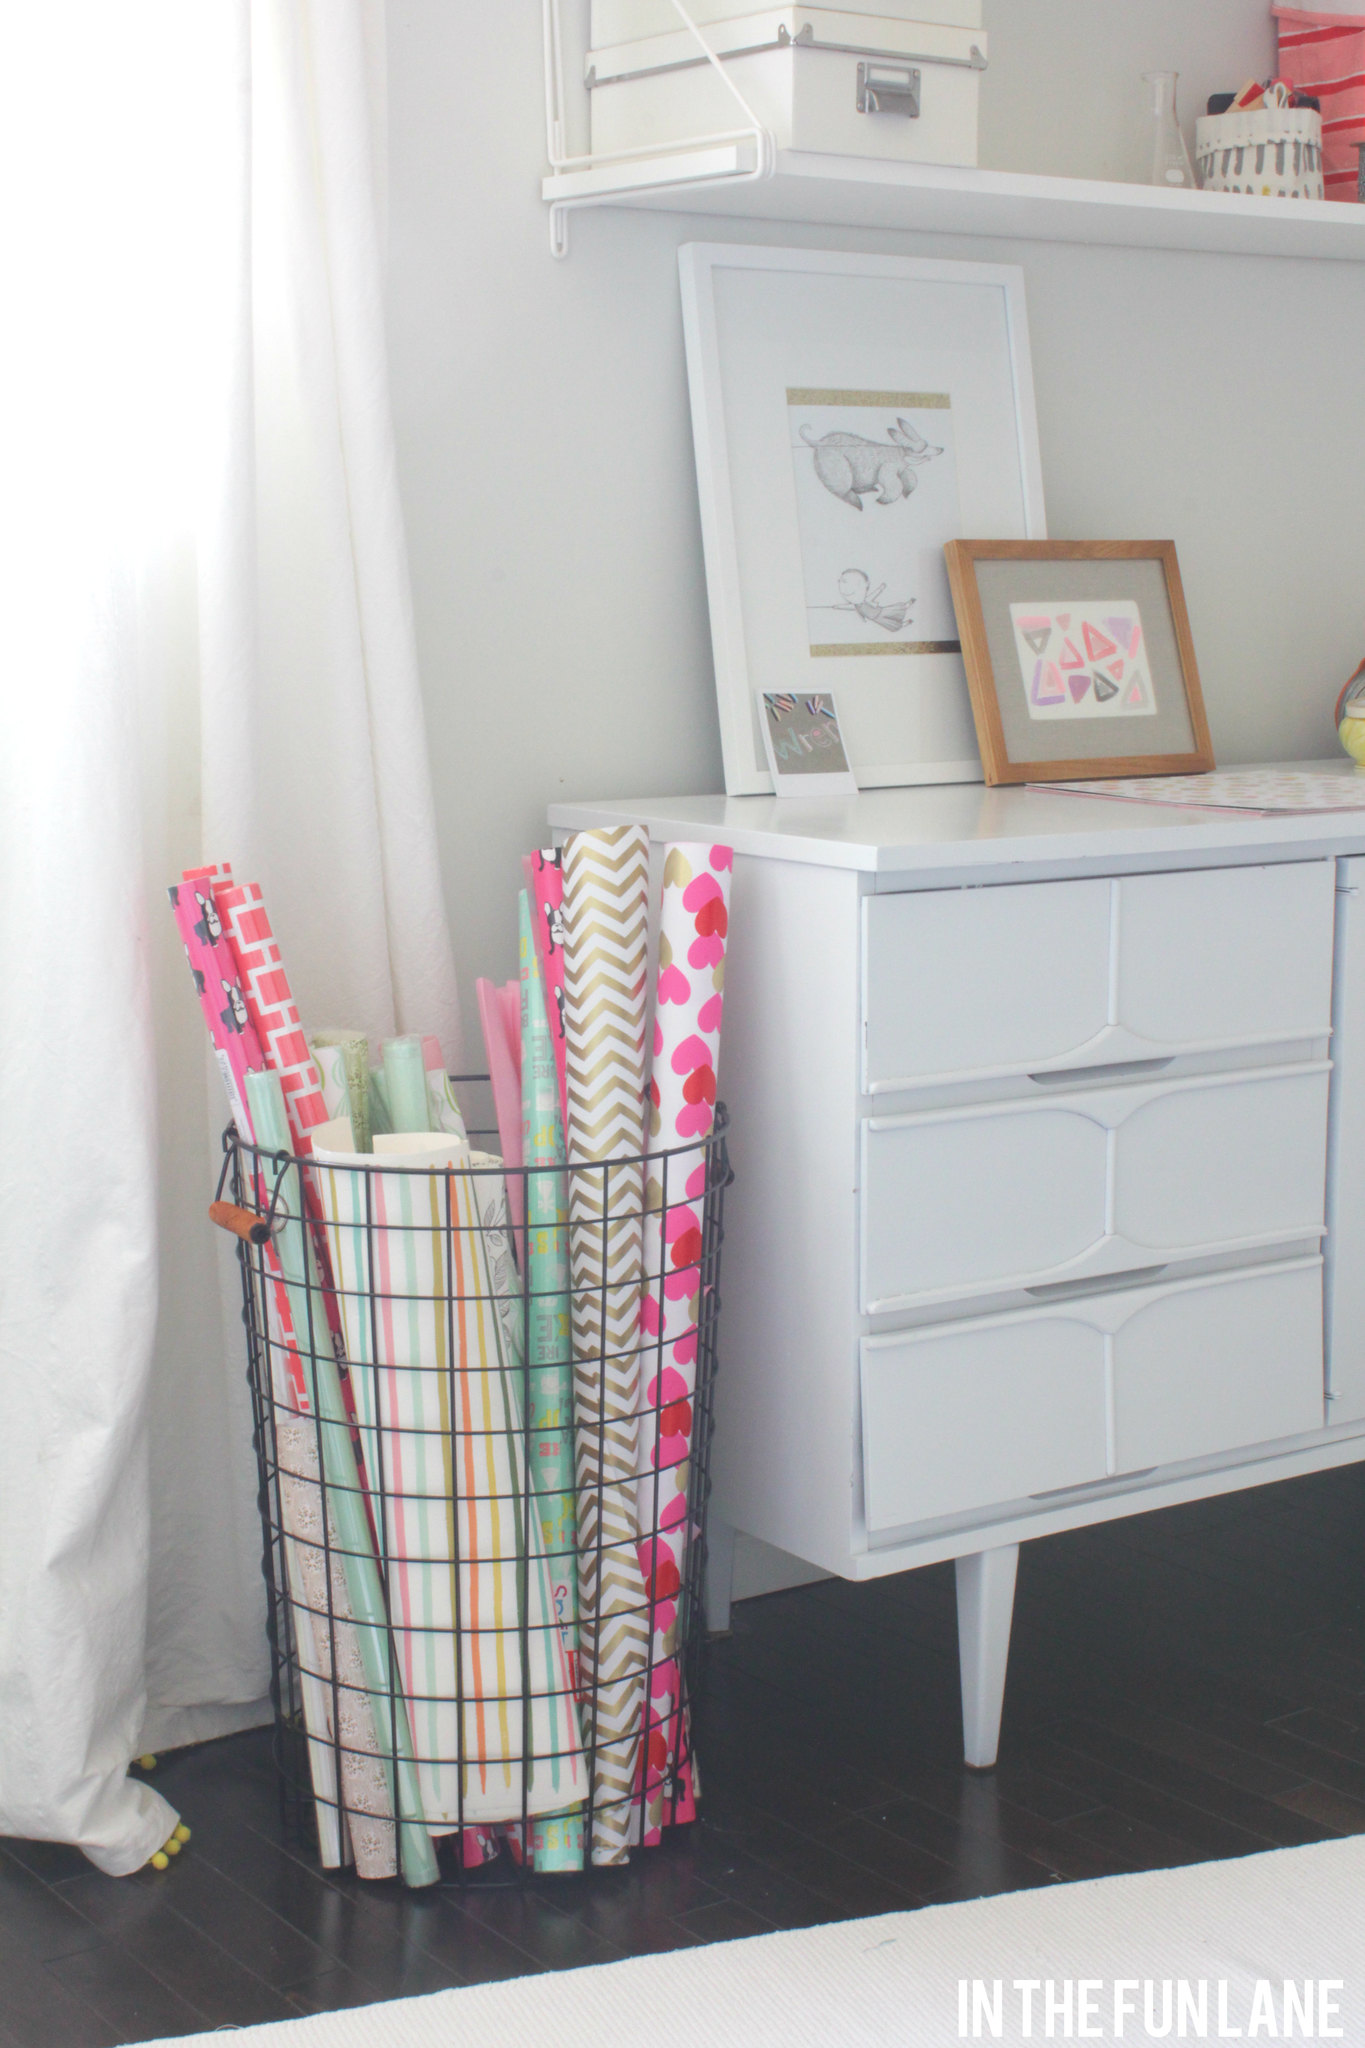
I looked pretty hard for a tall basket to corral all my wrapping papers but only found one I liked in red at Target. It is from their Beaver Canoe line and was only $10 so I simply spray painted it black.
The dresser was salvaged from our old cabin for free, but was in rough shape so I did a glossy white finish on it.
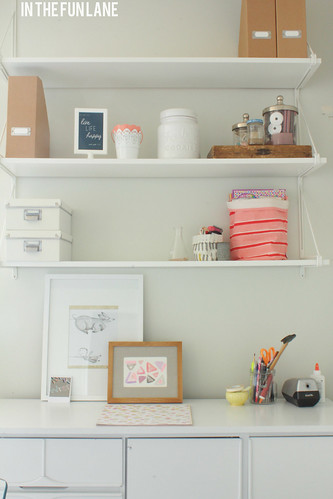
Every office needs some good storage, but I tend to forget what I have or don't have so I need to keep things out and visible. I have yet to even go through all my stuff, but so far these EKBY Gallo shelves from Ikea have kept me from forgetting what might be hiding in the back of a forgotten drawer.
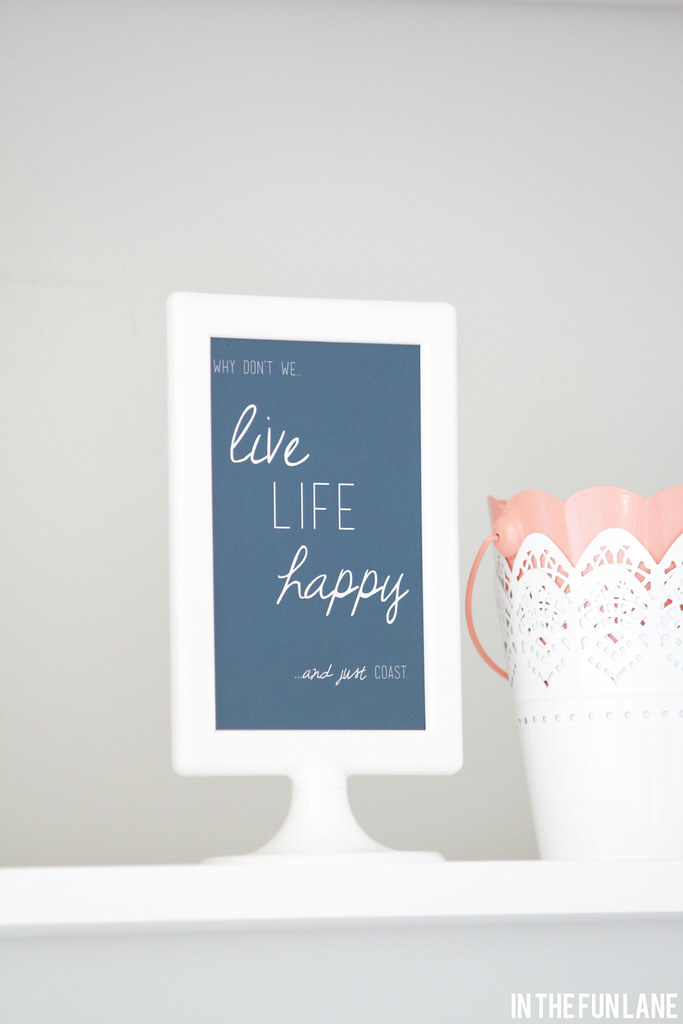
A momento from my Bestie, Alexis's Bachelorette party weekend getaway to Santa Monica.
(it's a happy hour flyer on the other side!)
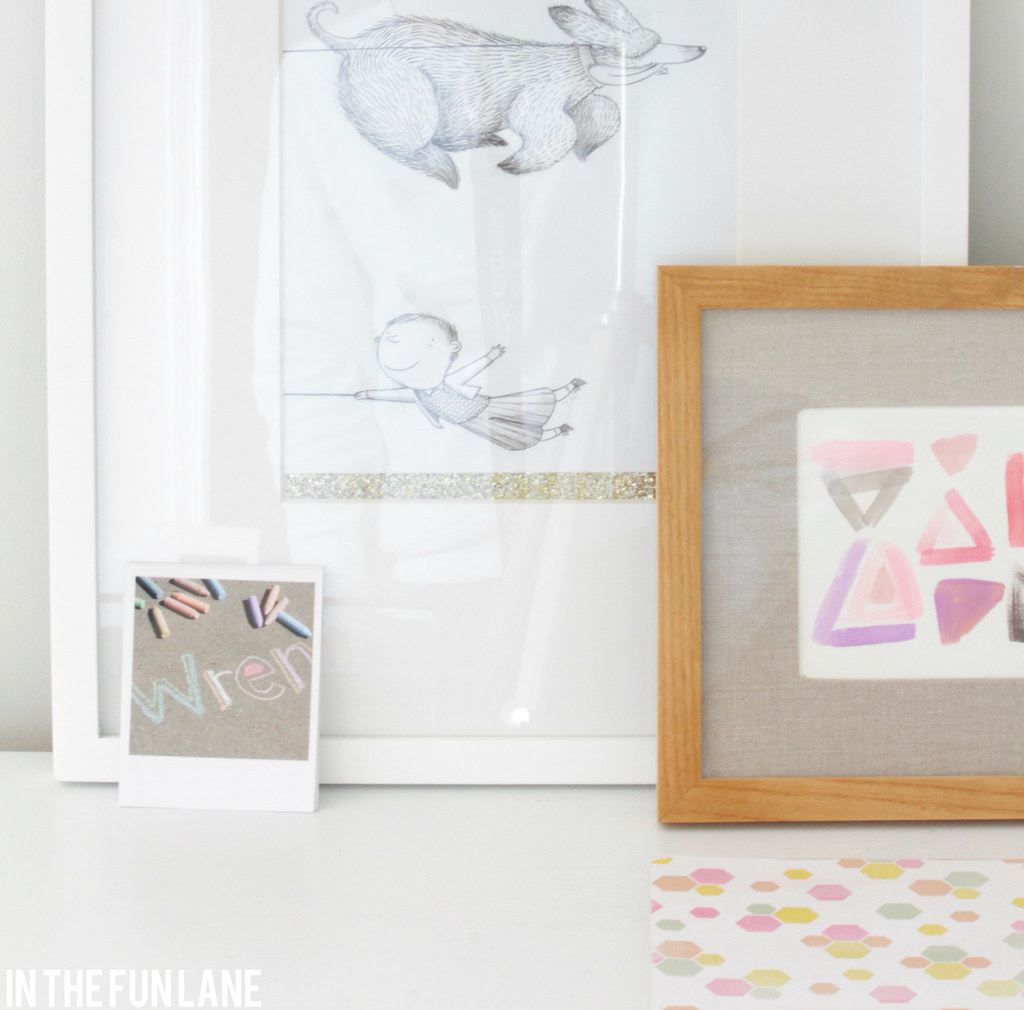
I actually found this Besta Burs shelf in the media section of Ikea. I thought it would make a nice 'console table' since it hides a lot, but I like that it doesn't take a lot of real estate up in the room, and it is not too deep.


A Poppin tray and pretty target $1 bin office supplies.

For me, I like a blank canvas. It keeps my creative juices flowing! So I didn't want to clutter up the room or over style it. Simple, but yet still pretty was all I needed.
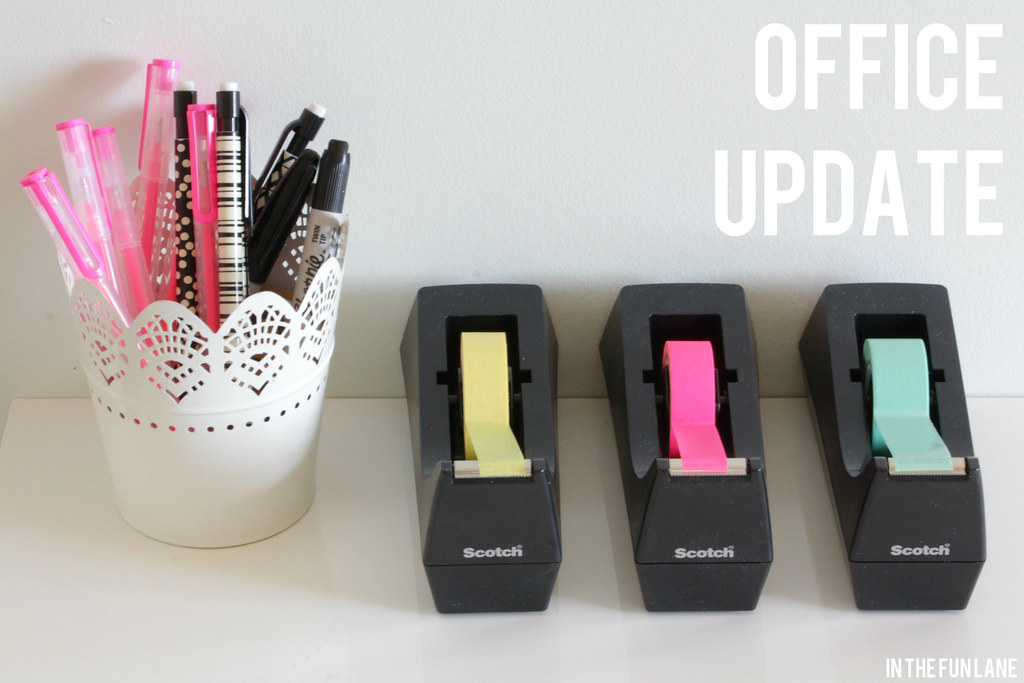
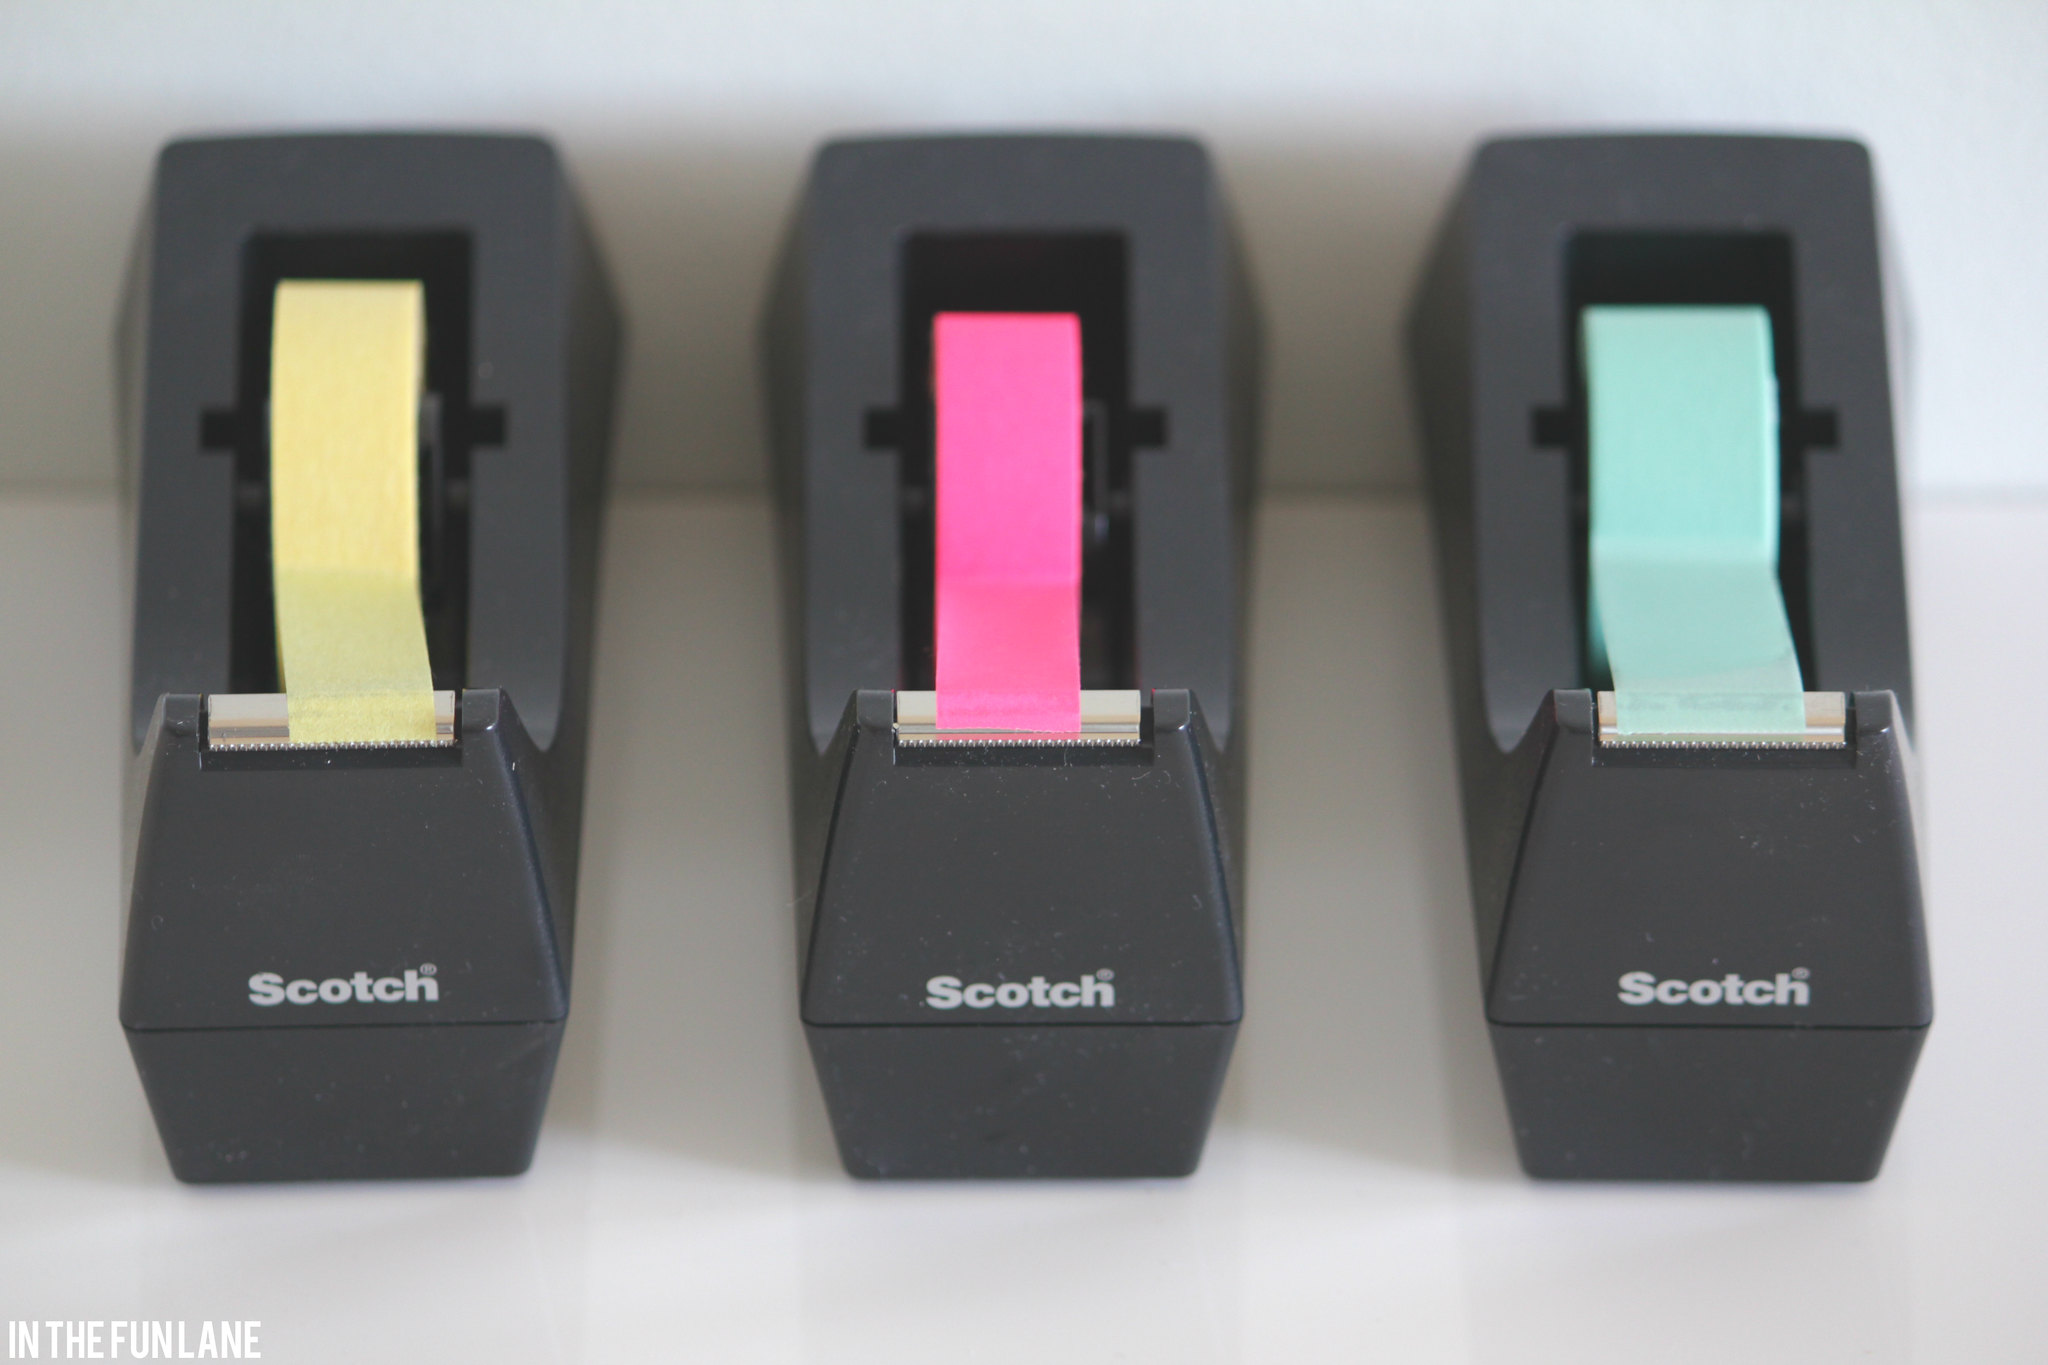
I know I've mentioned it, but I LOVE washi tape. My favorite few colors get used pretty frequently, so I decided to find some tape dispensers. I did find some gorgeous lucite ones, but they were in the $20 range each. These standard Scotch tape dispensers are $3 at any office supply store, and while they might not be quite as pretty as say, this one, but they work just perfectly without breaking the bank.
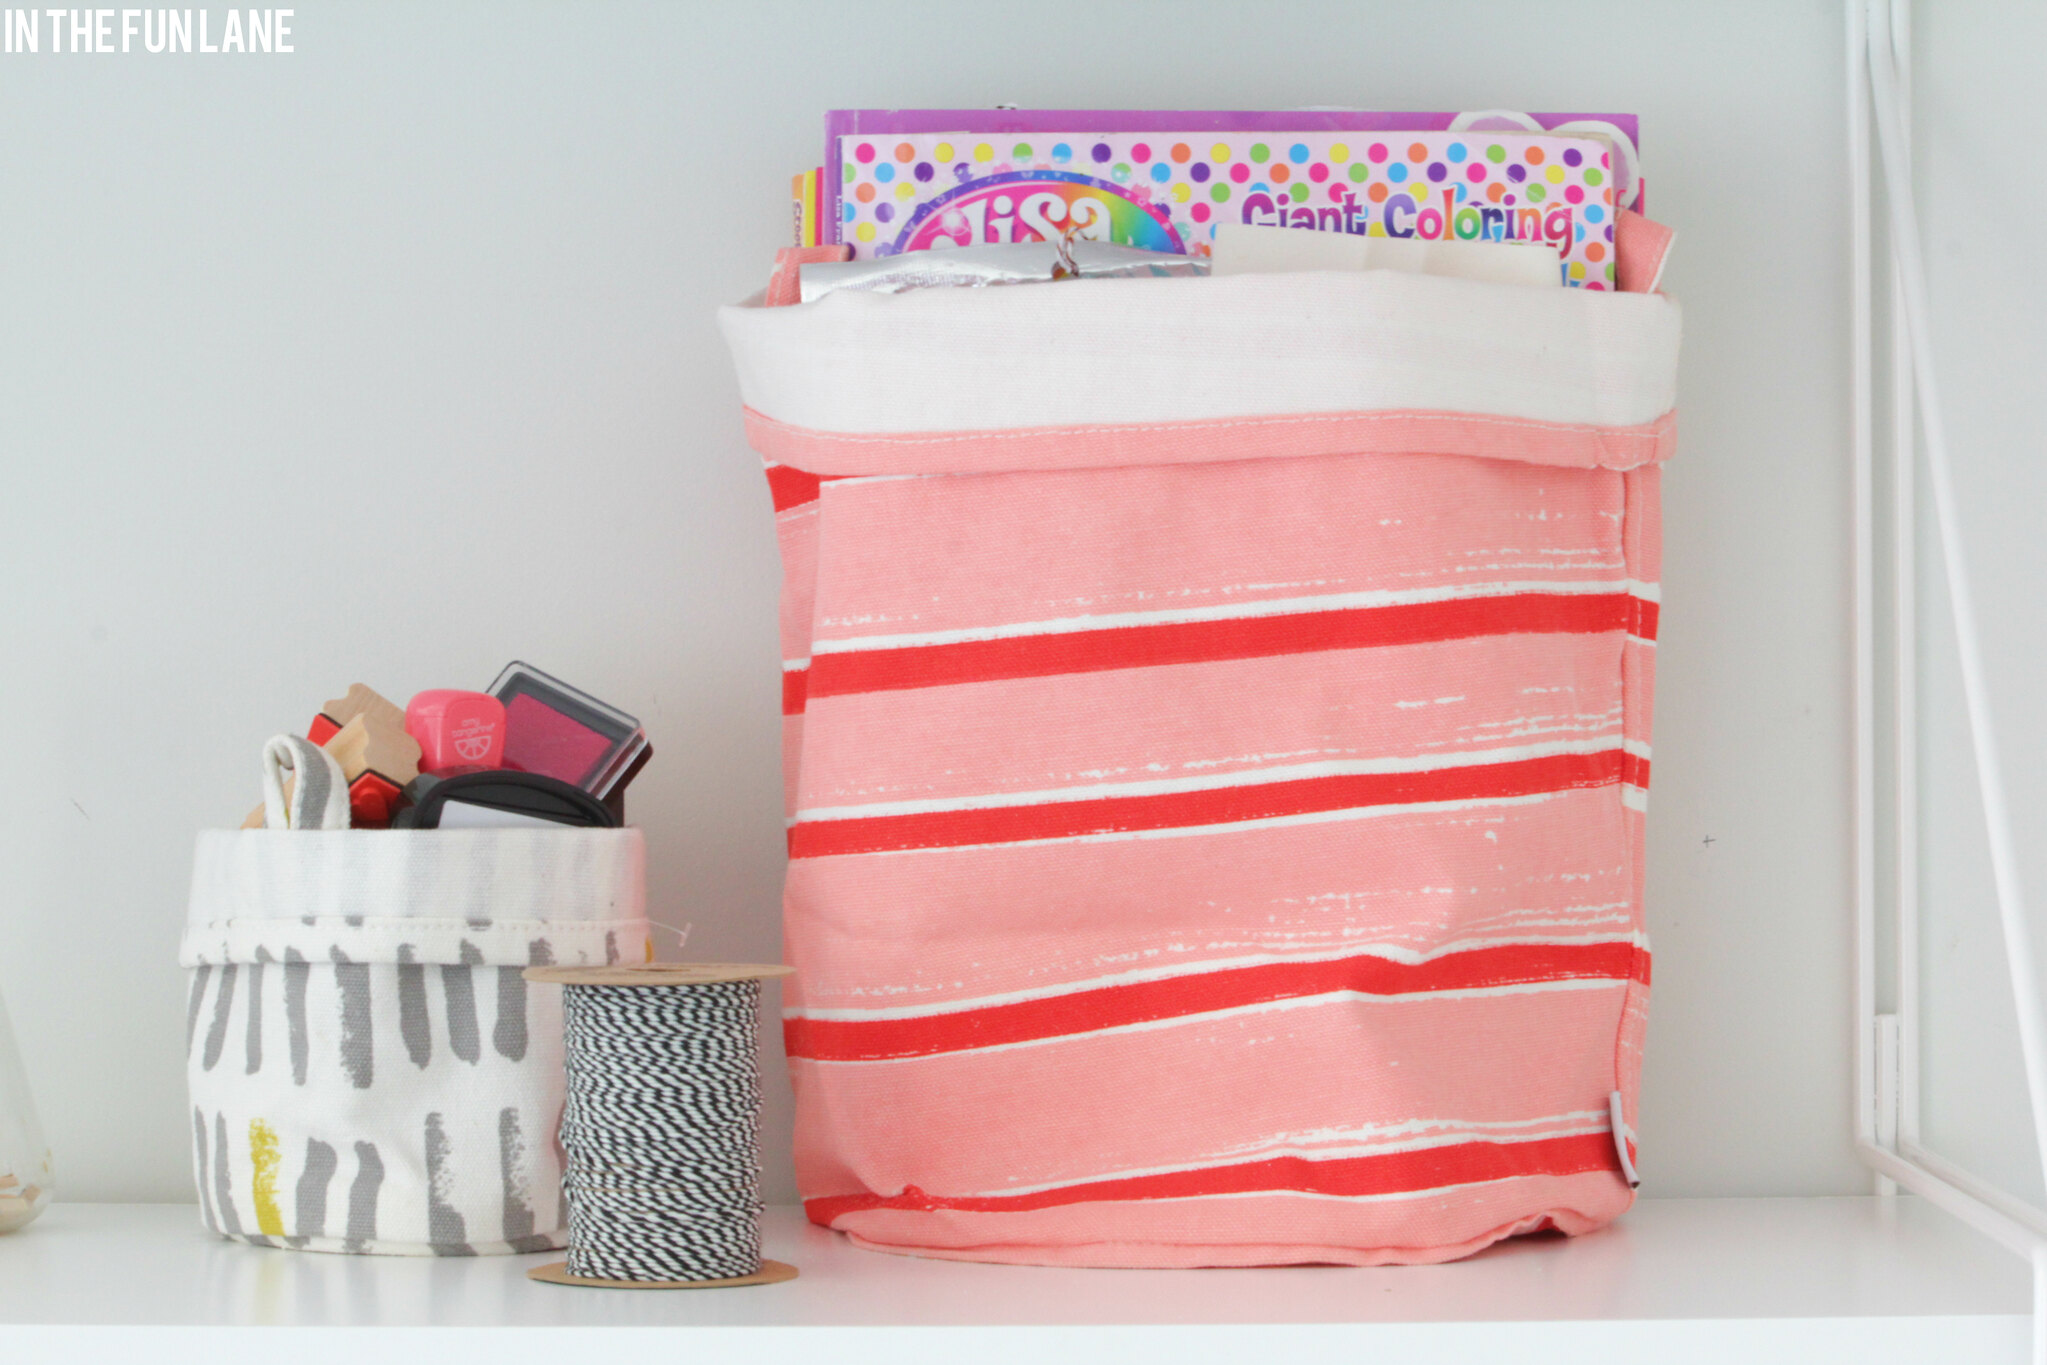
I couldn't bring myself to splurge on tape dispensers, but I did splurge a little tiny bit on some of the small storage. These Chewing the Cud bins are a favorite and gave me just the little hit of color I needed.
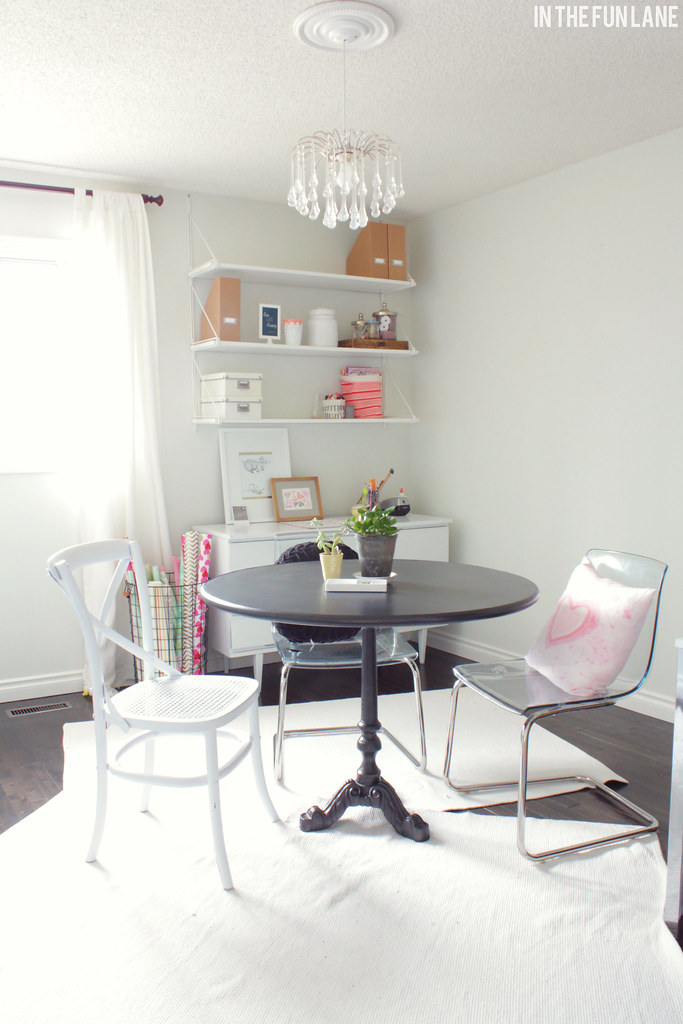
Like I said, I still have a few details to work on, but so far we have been loving the new office! Who's up for a little afternoon craft party in here? I think that is the next step to breaking it in.


Friday, February 28, 2014

Friday

[ picture from my instagram ]
Last night we celebrated both my Dad and Sister's birthdays at our favorite restaurant. They are only born one day apart so we always combine the festivities. 

I was also busy this week with beginning my office transformation. But before I start the makeover I promised to share the highly cluttered current state.

So much stuff, so unorganized. 

But I have a vision that will require a little effort but not a lot of money, thanks to using stuff that was otherwise unused around the house. And I have started the makeover with a few cans of spray paint!
[ picture from my instagram ]
My $15 red chair is no longer red and a couple other pieces also got a quick coat of paint which I will share next week.

I am also over on Heather's blog, Life Made Lovely, today with a little home tour! I don't know if I've done one single post with most of the rooms in their currents states so be sure to go check it out here. Thanks for having me Heather!

Have a great weekend!

Wednesday, February 19, 2014

So this chair...


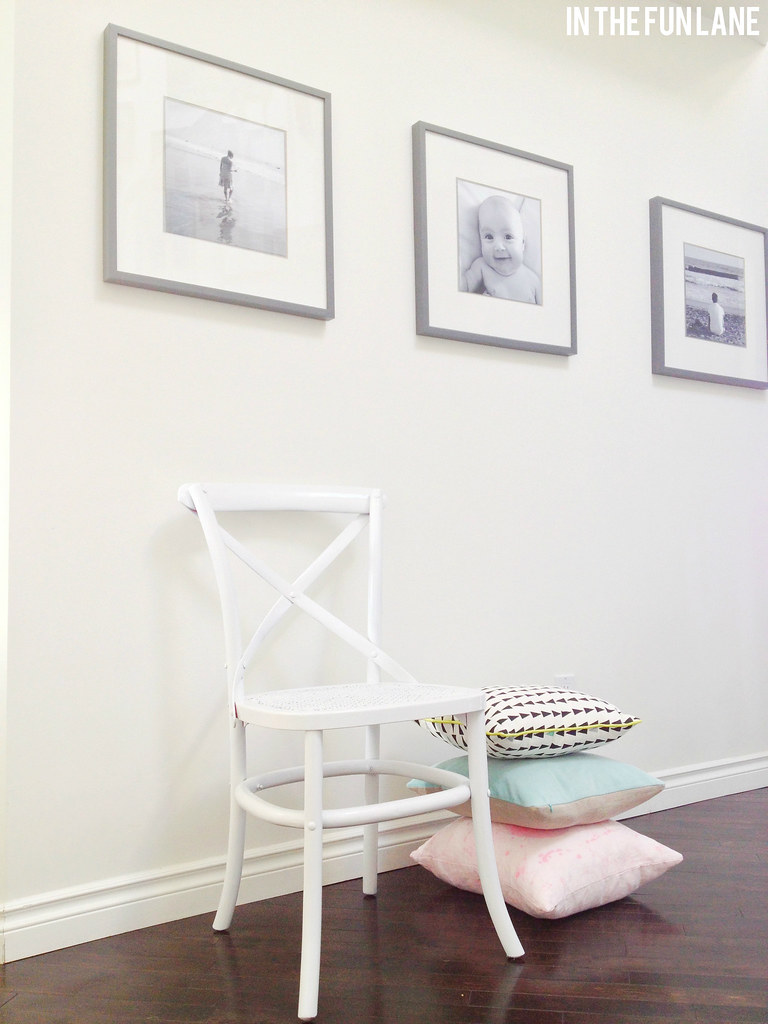
was on clearance for $18 at HomeSense. The only catch? It's farmhouse red.  Obviously I've never let a little paint get in my way so I am giving it a makeover today. 

The odd part is that a french cross back chair has kicked off my home office overhaul. I know I've shared little peeks and shots from time to time but you would be embarrassed for me if I showed you the full shot today (don't worry, you will see what I mean next week). The problem is that we don't use our home office as an office. So setting it up as an office was a mistake.

What do we use it as? Mainly as a room to store craft supplies and where Wren and I do our projects (ie anything involving glitter or glue). So to make it the most effective I need to de-clutter (duh!) and ditch the desk in favor of a table. In fact, we already have our old dining table in there... plus my huge antique desk... plus a ton of chairs. Cramped would be an understatement at this point, which is how the clutter took control.

So I am throwing some new paint on the walls, bringing in some pieces from other rooms around the house (there is a surplus of furniture since we brought everything home from CottageK) and cranking out a home office aka craft zone.

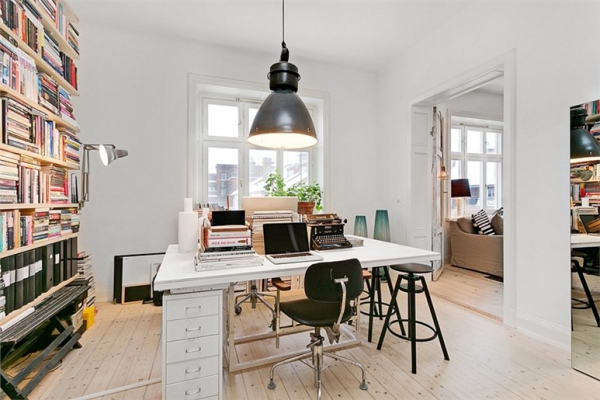
Here are some of the rooms that I am loving various elements of for our revamp


Tuesday, August 7, 2012

Little Office Update


My home office has been a work in progress for some time now. My issue is that it always seems to become a transitional space while other rooms are in chaos (thinking back specifically to our never-ending closet expansion when this room turned into one huge pile of laundry for 7 months, then our kitchen last Summer/Fall). It also doesn't see a lot of traffic beyond Wren and I so while I want it to look phenomenal it is not the top of my priority list. But little by little I'm getting it done.

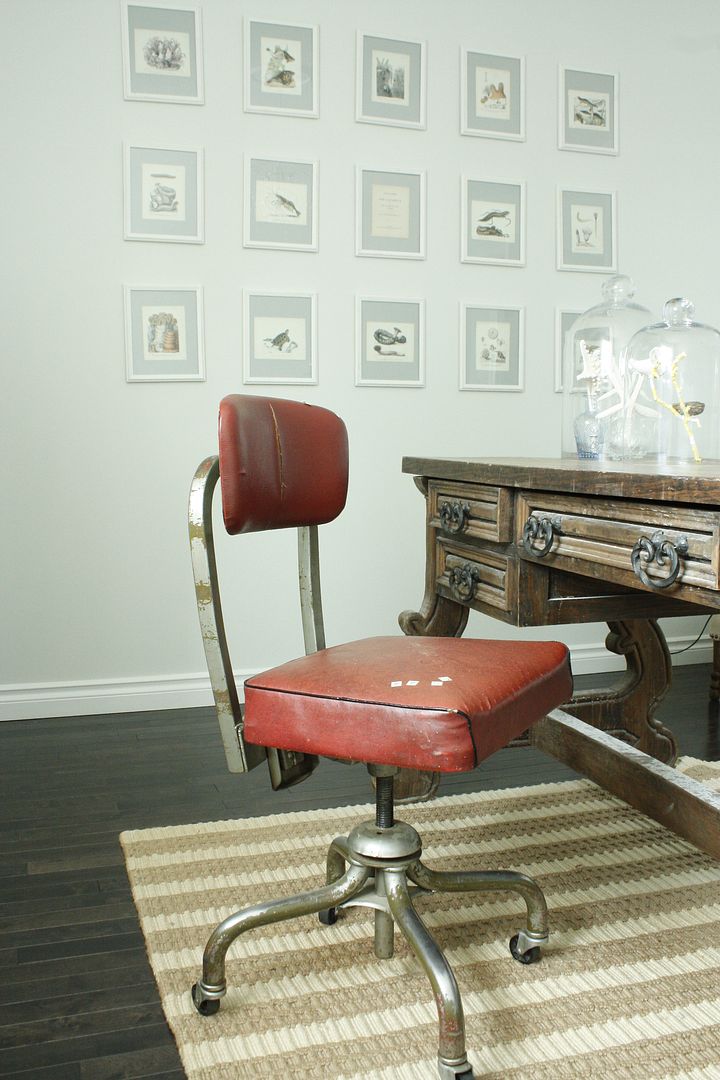
I don't have a lot of photos of it on here, but this was what my antique book plates looked like last year in the background of my 'before' chair shot. I got the plates from an 1857 book on marine biology that a lovely old man at a market dug up at home and brought for me the following week. I simply mounted them onto photo safe paper and a pile of Michael's frames.


But the blue-ish gray on my misty green/blue/gray wall felt cold and not all that exciting so I decided to punch it up with a coral colored photo paper a few weeks ago.

 
It sure feels a lot more fun now and adds a lot of drama. 

I wanted to add some extra interest so I picked a few sheets of coordinating patterned paper. A checker board pattern would have been fun, but as I started working on it I felt it was WAYYY too much for me. So just a couple special plates got the patterned treatment.
 

I am looking for a few final touches to bring it all home but I am in the home stretch only 3 years after starting this room... yeah not a record for speed decorating.

{ps- I am SUPER excited to FINALLY change out our brass door knobs in the coming week. Can't believe they didn't irritate me beyond belief until just this summer! }

Monday, July 30, 2012

Office Art

Sometimes the best things are free (or very close to it).

{ a little inspiration to keep me focused }
 

While tackling an overdue photo shoot of my office (the only finished room I don't have a link for on my renos page) I was struck with a little fit of craft-mania! I have a very very blank wall on one side of the office that I had struggled with how to add a little punch of fun and whimsy over the last few years. It all started with my bin of remnant fabrics. I really only buy fabric when I have specific crafts or projects in mind so I don't have a lot of any single fabric, but just enough to cover this project entirely without having to spend any money.


The only money spent was on a few embroidery hoops that I rounded up over the last few months at garage and tag sales for less than $1 each (most were ten to twenty five cents). I have seen countless adorable images using embroidery hoops as decor so even though I didn't know when or where they would end up I thought they were a worthwhile thing to collect at the right price.

{ I have no idea what happened to this image while watermarking it, but the black line is an unintentional oopsie! }

To make the letters I free handed an outline based off some antique stamps I had, but you can stencil or trace any letter by printing them and cutting them out. 

My letters all laid out. It might be a good idea to use some no-sew type glue, but I just winged it.

I used the same fabric for all my letters, but different colors of embroidery thread to sew them on to the hoops.
 

{ a good reminder to keep reaching for the stars }


I have one more mini art project I did as well that I will share this week!

And don't worry, I haven't forgot my ask away vlog!!  I am aiming to have all your answers posted this week once the video is done being edited.

Cheerio, friends!

Friday, April 8, 2011

Spring Additions

Happy Friday!! I left the orbit of the blog0sphere for a few days there to enjoy our first real taste of Spring! Who would've thought I could enjoy washing my car outside again so much? It was the highlight of my week to be honest... to know warmer days aren't just on the horizon anymore but a reality.

I am itching to get working on the yard. Those of you with little-little ones know what I'm talking about, weeding and working in the yard turns into a chore of constantly yelling at them to not touch this and don't play with that and don't wander off and don't even consider go near that pond missy!!! This year I think Wren will actually be a big help and at the very least able to amuse herself for a good half hour by my side.


But until I can get out there I have found a lot of enjoyment from my second fake plant in as many weeks. I actually love this little trough of grass so much that I bought 3 of them and have added some green touches to our family room mantle with the other 2. Fake plants?! what has come over me?


faux wheat grass from Pier 1.


I think it adds the perfect hint of spring to Sean's side of the bed. And I promise to try and get the bedroom link updated SOON!


I have also found a few moments to tackle my red vinyl office chair!


I found this grainsack-like fabric from Sunbrella on clearance for $7/meter. It is an outdoor fabric and will wipe down really easily which is good to know for a seat that will be seeing lots of glue and glitter.


I was anticipating a nuclear halocaust-like scenario in dealing with that nasty old foam and filler, but I was pleasantly surprised to have minimal trouble. The real challenge was in using fabric/upholstery glue instead of staples or tacks.


I will admit that I always have a tendancy to over-tighten the fabric on seats which causes slight creases. Does anyone have any tricks on avoiding it in the future? I am not too stressed about it on this chair for two reasons: after a little use it should ease up, and I am also planning on doing a simple seat slipcover for easy cleaning after an afternoon of crafting.


I know a lot of you wanted step by step instructions on upholstering, but this wouldn't have been a very helpful tutorial because it really only involved unbolting the pieces, slathering them with glue, clamping down the fabric and reattaching them to the metal frame. It's what I would guess is an uncommon scenario in the world of upholstery, but easy and fast for a novice like myself!


LOVE all the dented, discolored metal against the fresh cream fabric.


And for those of us who continue our labeling obsession, here is a quick and cheap upgrade to storebought items. Remember my hardware organizer?


Although I loved it before, I thought I could add some extra character and make Sean's life easier when I am yelling into the house from the garage for "the ceramic quatrafoil black knob"


With some of these label holders I have everything sorted and labeled in record time.


Now I just have to hang this thing!


What has your week held? I'm itching for some good ideas now that the warm weather's arrived!
 
Blogging tips