Showing posts with label Laundry Room. Show all posts

Tuesday, May 29, 2012

Laundry Room revamp

I am excited to share a slowly evolving project today! I did a little revamp on the laundry room over the last month and a half after some cool things sort of fell into my lap. As usual, budget was key so when I started working on the project I made a conscious choice to keep the grand total under the $200 mark. Sounds like a lot for a laundry room, but it is a little bigger than most. And when you want something to look $$$ you have to be willing to spend something.

If you are a new or recent reader you may not know how our laundry room looked way back in the day. Here is a link to our original reno for anyone wanting to refresh their memory. It was also a major budget friendly project and was entirely done with our own blood, sweat and tears!

And here it is today.

It all started when I won these sea shell prints at an Ethan Allen auction a couple months ago (the same one I got the mirrors at, and some other items I haven't shared yet).

The prints themselves were in great shape, but the frames were extremely scratched up. I got all 4 for $60 (more than 90% off!!! who buys this stuff???) and loved the way the sides of the frames were black with the wood a warmer wood color. So I went down to Michael's, bought a small bottle of coral pink paint from the Martha Stewart line and painstakingly painted just the fronts of the frames.

After two nights of delicate brush strokes and countless paper towels wiping away errors and splatters! I LOVE the new color and I think the prints really have a subtle vibrancy now. The black inner and outter edges really give dimension and add some interest.

I found the garden bench on clearance at HomeSense for $80 about a month ago, thinking it would be great either in the dining room or maybe even outside? But when I brought it in through the garage it looked so good in here that it hasn't left!
 
The wall color in here is still one of my all time favorite greys (windham grey by Pratt & Lambert). The coral/pink tones really pull out the warmer tones in the grey.
 

Ralph Lauren Pillows. The pink stiped linen pillow is up there as one of my all time best finds, I found it at a Ralph Lauren outlet back in college marked down from $360 to $100 and it was an extra 80% off. I always wonder who drops $360 on pillows and what the heck would make a pillow worth that?! But after 7-8 years of constant use the down insert is still as soft and fluffy as the day I bought it and the linen has only gotten better with age. Would I pay $360? no way, but I do understand and appreciate the quality!
Besides the bench and prints, the only other additions were the striped rug ($19, Ikea) and some faux pink roses ($1.50 each, Ikea) in one of the yellow buckets which are hard to see in this light. I love that pink is such an unexpected color for a laundry room, specially because laundry rooms are typically one of the  most "industrial" spaces in a home. The feminine tones make me smile as I fold piles of laundry.


For those last minute touch ups as we head out. The mirror was a $20 clearance find a TJ Maxx I brought back from Holiday in March.
 

My photography assistant! Always behind the lens, but prefers to be in front.


My total spent was as follows
Prints {$60}
Bench {$80}
Rug {$20}
Mirror {$20}
Ikea flowers {$6}
Martha Stewart Craft Paint {$2.50}

Grand Total: $188.50


Tuesday, August 24, 2010

So the kitchen reno begins...kinda

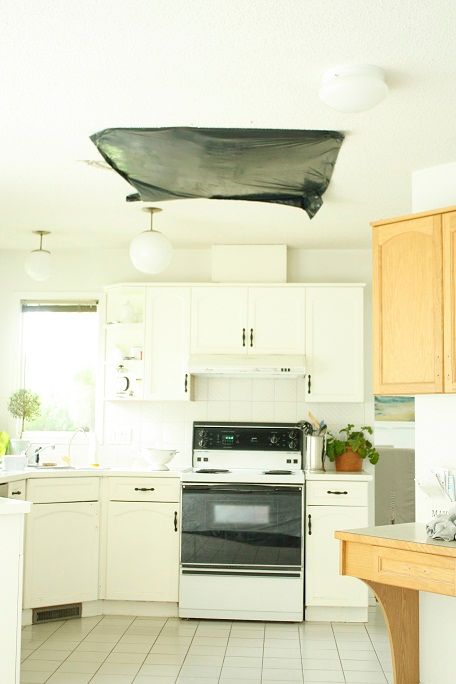
Hi! Thanks so much for dropping in. A certain someone took it a bit literally yesterday, hence the hole in our kitchen ceiling.
We unofficially began ripping the kitchen out when Sean's goggles were blinded by flying insulation and he took a mis-step off the beams and through the dry wall. Thankfully he is A-OK, and while Wren and I weren't here at the time (thank the lord he wasn't injured and alone!!!) we have been sweeping and vaccuuming insulation dust non-stop. Well almost... we have also been doing our fall wardrobe shopping and some sewing, which I will probably share this week as well~
And so the renos continue... and the plot thickens... and all the jazz. Just give me a beautiful closet already!
We have also been making some minor adjustments to the laundry room.
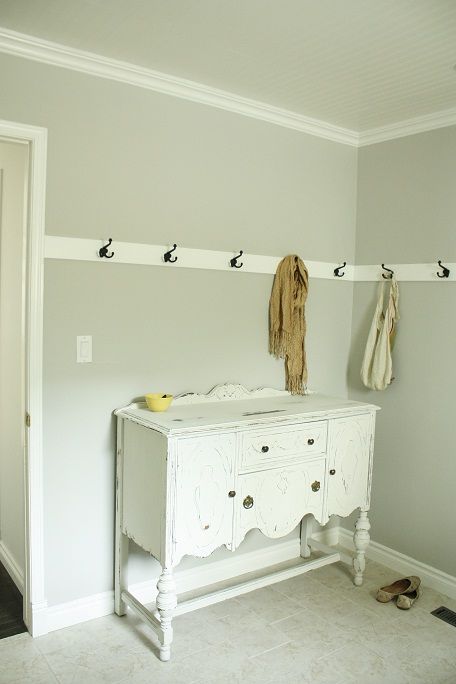
You might recall that this lovely sideboard was making herself useful in there:
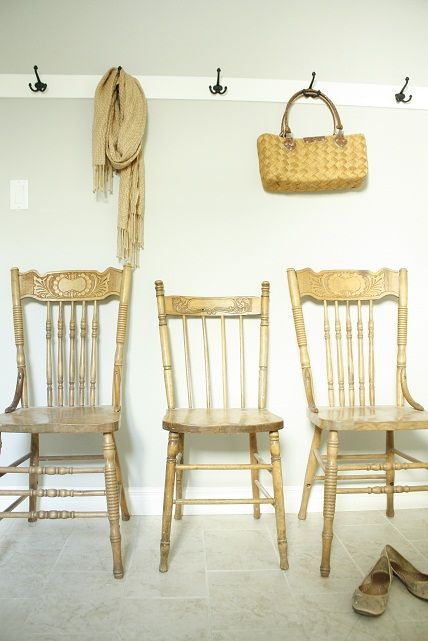
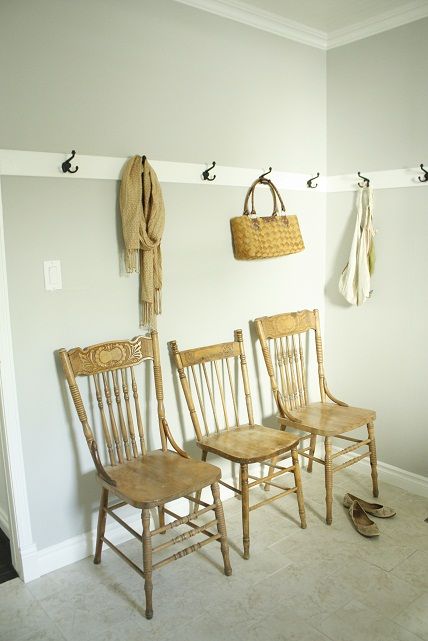
But she has gone on to bigger and better things as a client's dining room buffet so we decided to opt for some seating this time around.

They kind of remind me of Goldie-locks and the three bears. We each have a chair that is juuuuust right!

But Sean preferred the extra "counter space" so when I finally get back to some of my larger pieces (currently buried beneath and behind client projects) I might move a dresser or buffet back again.

But for today I think they really are juuuuust right.

Monday, August 16, 2010

Laundry Questions

Did you have a great weekend? We sure did! Friday and Saturday morning were hectic with WhiteBerry pick ups, but Saturday afternoon and evening were fabulous! One of our oldest friends married his longtime girlfriend and Wren was off on her second sleepover at Grandma and Grandpa's till Sunday.
Me and my handsome Date on Saturday: (we stayed up until 1pm which is crazy talk for old folks like us!)
Today my handsome date is on a little road trip, picking up our new kitchen appliances
*doing my crazy happy dance*
Well, new to us anyways... but Mr. FunLane has expensive taste in refridgerators and ranges and if that is what it takes to get this kitchen gutted then I am not going to argue! Specially because we all know I would get about as far as removing the knobs and maybe a drawer or two. Swinging heavy mallets, ripping out walls and chipping up floor tiles just aren't my forte.
But deciding on cabinets and colors and finishes are so I am chomping at the bit to get through the messy part and on to the pretty stuff.

And speaking of pretty stuff, you guys had some great questions about the laundry room. So let's talk about what you want to know and how to do it! I am answering them in the order of request, as you can see they don't go in the proper time-line... but as baby calls I am limited on time tonight. So here we go!
Q: How did you get the beadboard seams to match up so perfectly?
A: Vertically it is quite easy to match up the seams with just a long strip of caulking, but horizontally it is a little trickier! We decided to use wall-filler instead of caulking, and since it isn't subjected to any wear and tear we didn't worry too much about it. Where the two panels meet up we took the putty spatula (probably not the technical name) and did a generous filling. While the spackle was still wet I dragged a fine edge along the bead board grooves to get the spackle out and let the remaining portion (on the raised, flat areas of the beadboard) dry. We simply sanded those areas later! It made a world of difference to find an edge, like the back of small paint brush or pen, that fit perfectly into the groove.


Q: Do you make your own laundry soap? I've never seen a front loader take powdered soap.
A: I am not to sure about other brands or models, but we have samsungs and it has different compartments for liquid soap, powder soap, bleach and fabric softner so I am assuming it is ok to use it LOL. But definitely check out your model before switching. As for making soap... I am still working on making dinner more than once a week . But it sounds really cool!
Q: Exactly what legs did you get at Ikea that are tall enough for the counter over the washer and dryer?
A:I really don't know the name, but ALL the legs we found in Ikea-Work (the mix and match, build your own desk section) seemed to be alright. They are adjustable, you can tell the bottom of our legs look just a smidge wider and if you lift that little cover you can rotate the foot a few inches shorter or taller. The kitchen and closet folks couldn't help us out, so definitely check out the Work area! The counter top did come from the kitchen area and is the beech wood surface.
Q: Where did you find the lights?
A: The lights came from Home Depot in a box set of 6. I love the box sets because they come with pretty much everything you need! The real challenge was for Sean to convert the single ceiling outlet to 6 seperate ones. They are really helpful at Home Depot with walking you through it and we also picked up a Home Depot book on electical which made it much easier. But if you have any doubts definitely call a professional.
Q: What kind of Beadboard did you use?
A: We used the large sheets for this project. In Wren's room we used the interlocking narrow slats and just felt they would be too heavy for the ceiling and much more time intensive. Plus it is MUCH cheaper to use the sheets.
Q: How did you attach the beadboard to the ceiling?
A: This was a BIG job and definitely the toughest part of the reno! Before putting the panels up we had to find the studs. Since you can't see your markings when you are holding up the sheets we had to mark the walls were we knew the studs ran. As we discovered through much strain, even the best stud finders have a tough time through both dry wall, spackled ceilings and then beadboard. Once we had the beadboard up to the ceiling one person held it up while the other screwed in to the studs. Afterwards we also used a nail gun to tidy up the edges and keep it nice and smooth, but the nails alone would not hold it up.
Q: Did you take down the drywall/spackled ceiling before putting up the beadboard?
A: Nope! We are too lazy, plus we liked that we could also nail some areas for added support. But a lot of the ceiling did get ripped out when we wired the pot-lights, which made me realize how much of a dirty and hard job taking down the rest of the drywall would be!
I think that covers all your questions but if you have any additonal ones I would be happy to edit this post to include them!

Thursday, August 12, 2010

Laundry Room Reveal!

Hi Everyone!! I have been working hard this week to finally share this with you guys, then sure enough Blogger wouldn't allow me to log in... but better late than never so I am going to jump right in.
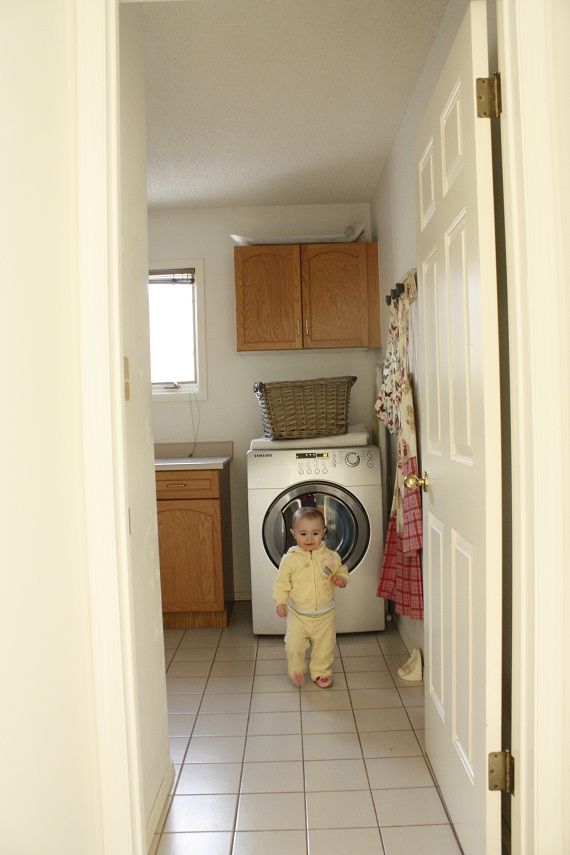
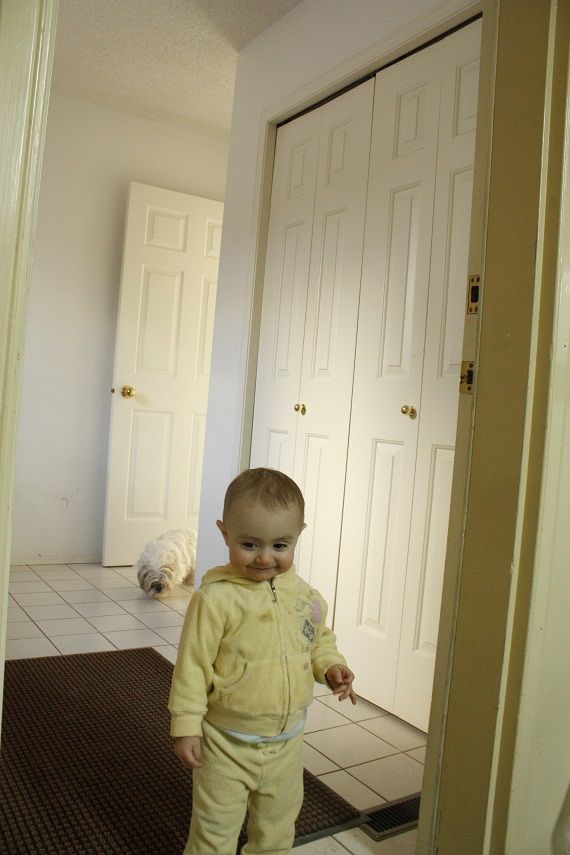
Here is how the laundry looked from the hall pre-reno (Wren will be guiding the before tour for us today):
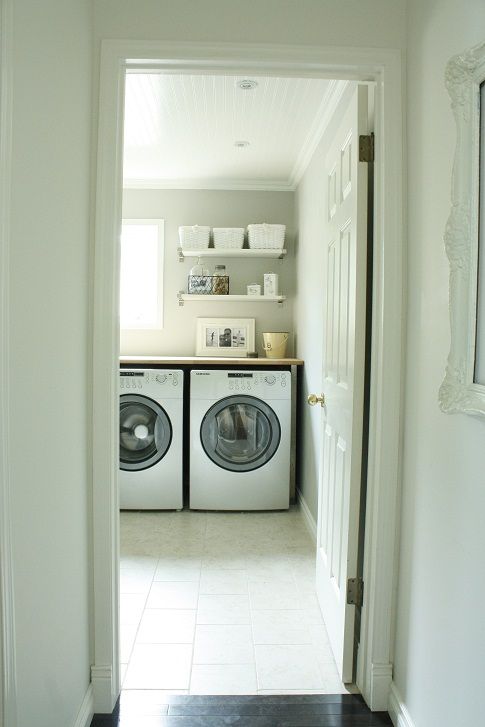
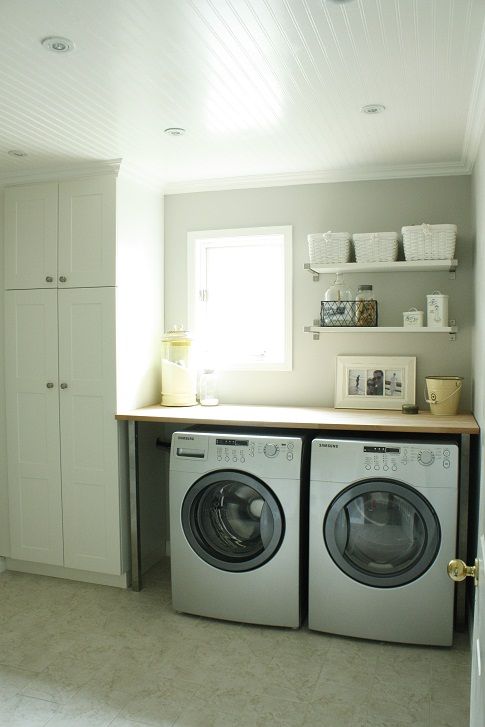
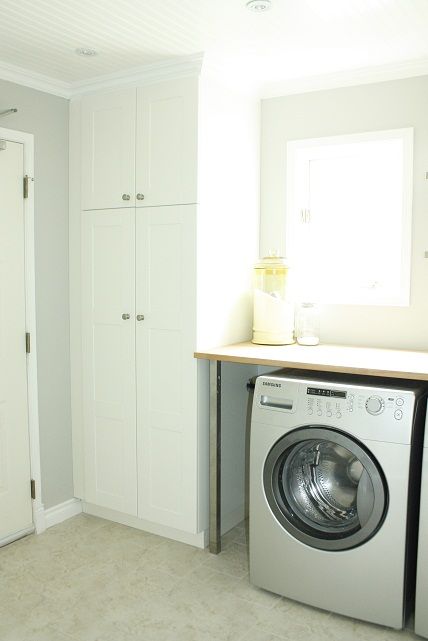
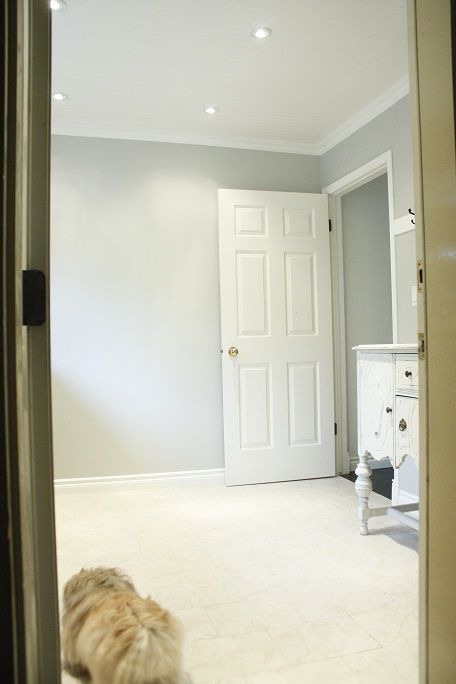
And here it is today! I am WAYY too impatient to wait for a sunny day to shoot these pics, and as fate dictated it is the rainiest day of the year today... so excuse the slightly cool skew to the photos. The walls are Pratt & Lambert's Wyndham Grey and I LOVE the bright white ceiling and trim against it~
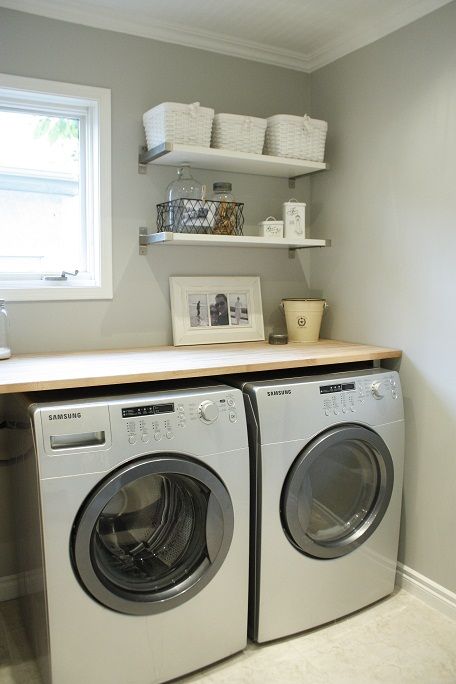
While it was large and fairly functional before I always had troubles transferring laundry from the wash to the dryer without half of it landing on the floor. We decided that we really wanted them to be close together afterward.

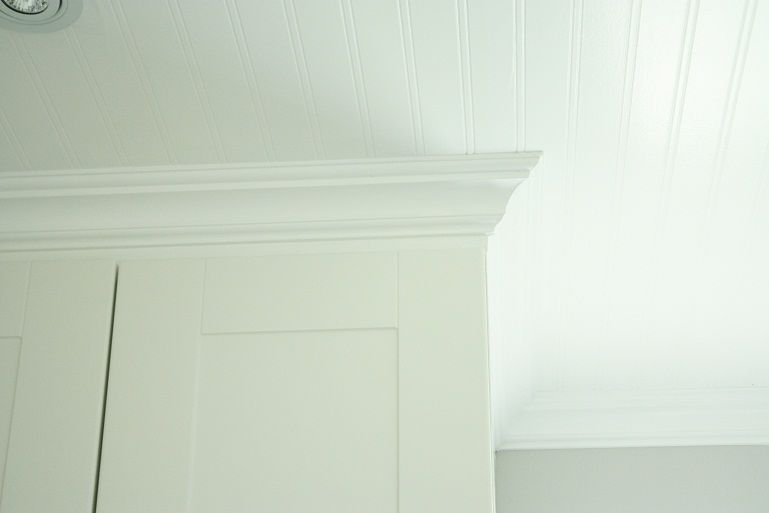
Good bye spackled ceiling and ugly light, hello beadboard and pot lights!

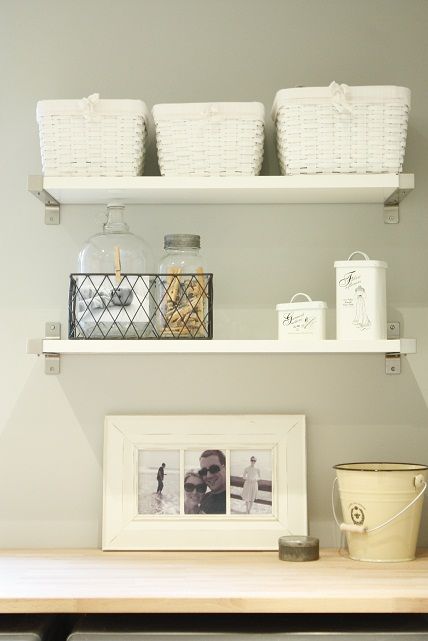
To balance the large cabinet we used these Ikea shelves we had removed from out Master bedroom last year.
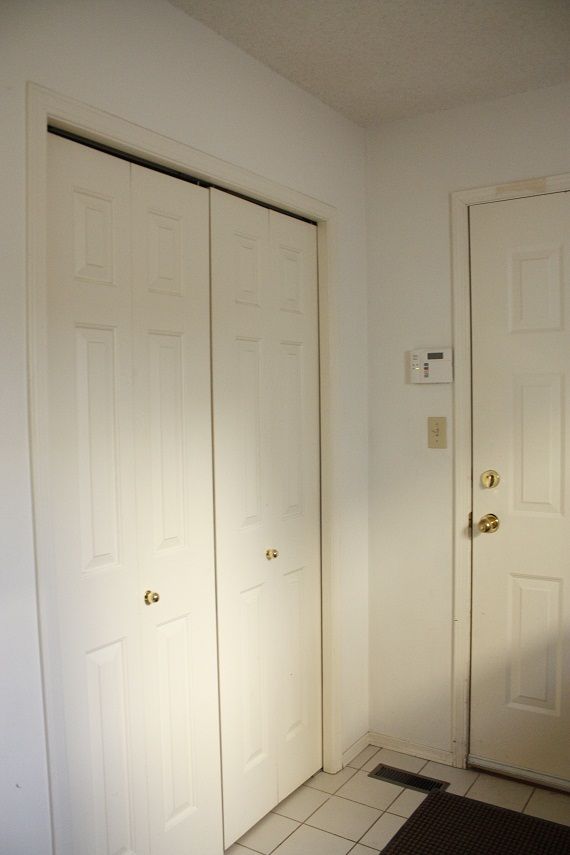
Where there used to be a HIGHLY disorganized closet piled high with old shoes there is now a wall of hooks for coats and hats and an antique sideboard.


Only $6 each from Lee Valley, these triple pronged hooks will make it easy to find your jacket!

The cabinet, counter and counter legs all come from Ikea (the legs we found in the as-is section for $7 each!). We left a gap between the cabinet and the washer to shove our laundry bins, which are thankfully tall and narrow.

Additional clutter can be contained in a mixture of new and old canisters and jars.
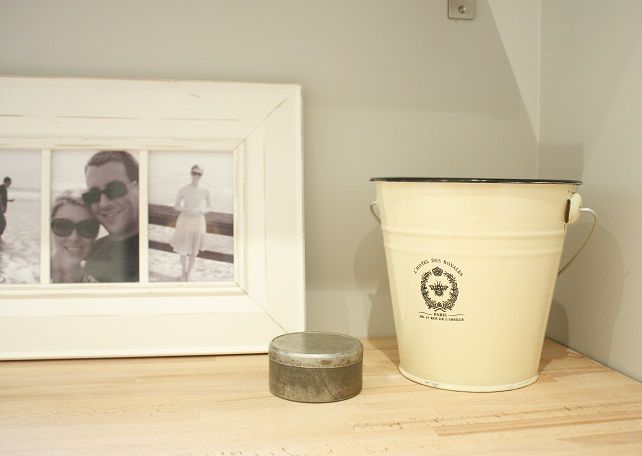
Bee bucket, $8 TJ Maxx
old tin, $1 Salvation Army

I formerly had flour stored in this glass canister in the pantry ($12, Homesense) , but I just don't bake often enough to require much flour so I brought it in here to store laundry soap. The soap scoop is an old camping coffee cup I picked up from Salvation army for $1. Oxiclean is stored in an old jar (also $1 from Salvation Army).

I bought these tins years ago at a cute boutique for $12 and they contain extra buttons and threads off clothes in the event we need to find a replacement easily.

The baskets were also old, and just awaiting a new life (their liners were red ticking stripe, but I bleached them to match the white/grey/yellow scheme).
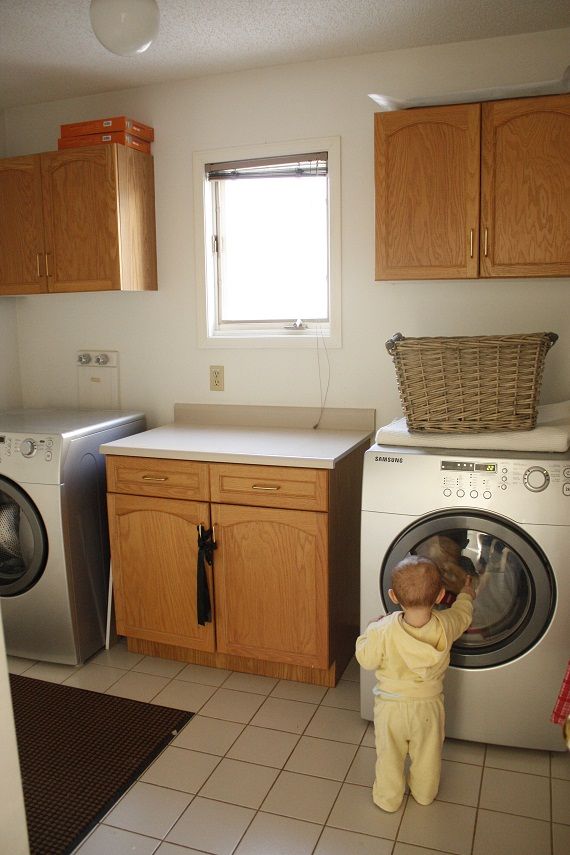
Entering from the garage used to look like this:

Now it feels twice as roomy!
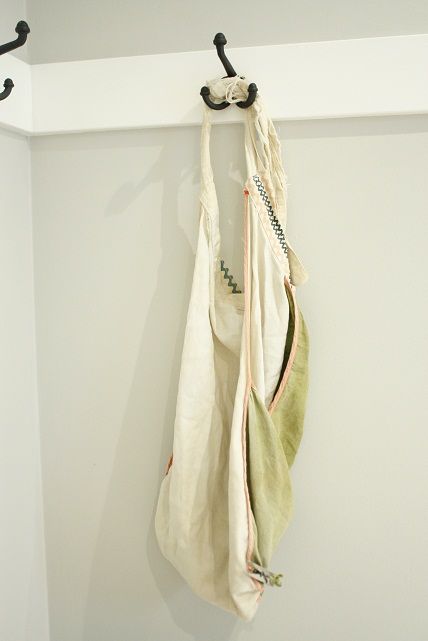
The old apron was my great grandmothers laundry apron and housed all her clothes pins (now displayed in a jar on the shelves).

It is hard to see in the photos, but there is a beautiful vine covering the ENTIRE side of the house and I love seeing it blowing gently out the window in here!
The closet was what greeted you before:

Now it feels a little more romantic and stylish~


So there ya have it! That's basically what we've been up to these last few months.
It took a while because we did it all ourselves on as small a budget as a reno can have.
Don't believe us? Here's the breakdown:

Tile, mortar, grout = $350
Paint = $40
Beadboard = $200
Pot lights = $40
Trim and baseboards = $100
Counter top = $110
Cabinet = $450
Counter legs = $15
Hooks = $42
Shelves = repurposed
New accessories = $23
Misc trips to Home Depot = $200

Total: $1570.

Now we feel a little better about tackling the kitchen (hopefully in NEAR future *hint hint*)

Edited to add: If you have any questions about anything, as some of you already have asked in the comments, I will do a seperate post detailing any answers so that it is easy to find for everyone!

Sunday, August 1, 2010

Little tid bits

I have major Laundry Brain these days. Well actually Laundry-room brain is more accurate, as Sean and Wren will remind me while pointing to the heaping piles in our closet...
Our budget for the room was as miniscule as they come, and my fancy pants Ikea cabinetry ( $450) and new floors ($300 in supplies and materials) took up the majority of that budget so accessories will need to be really really cheap!
These old brackets will be for the shelving, and while I had those laying around just waiting to be used since we moved (they supported a shelf at our old front door which was our answer to a hall table) I still need to acquire 2 more nearly identical ones for the second shelf. The old dry cleaning sign was anothe old find I have been stashing since we moved. I scooped up the replica locker basket for $5 at Home Sense and the 3 was on clearance for $1 last year there as well. So far the budget is in check, but I do want to mix these older things with new glass cannisters and a rolling laundry cart to go under the counter.
My inspiration for the overall feel of the room is actually a little different than my usual look, and it came from one of my favorite stores for jeans: Abercrombie!
I always love their mix of light grey and high gloss wainscotting, although they typically have grey ceilings and beadboard walls but I went the other way around.
And a little glimpse of my beautiful new cabinet!
It was MUCH more work than we anticipated, but now that is feels close to finished we are actually a little blown away that we accomplished some of the stuff we tackled (if you have never installed beadboard sheets on a ceiling here's a little tip: it is hardly a job for 2 people and will probably result in the use of curse words if you attempt it).
And if you see 2 cute brackets like mine in the Edmonton area holler at me (excluding Anthro because I definitely cannot fit $60 in brackets in the budget LOL)!
 
Blogging tips