Sunday, June 15, 2014

Small Teacher Gift

IMG_8184

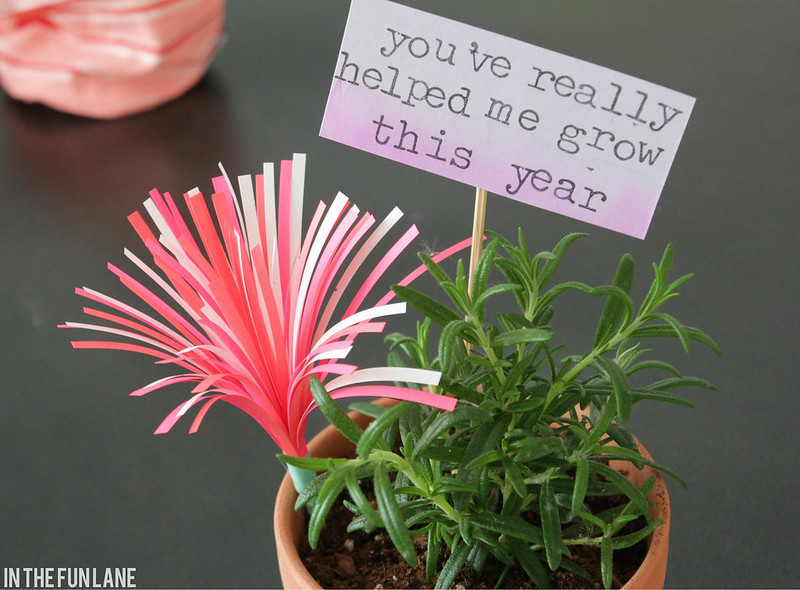
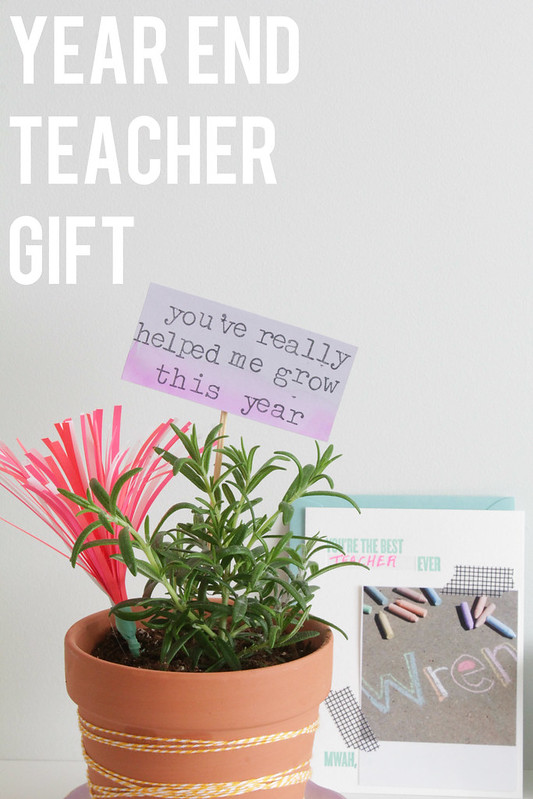
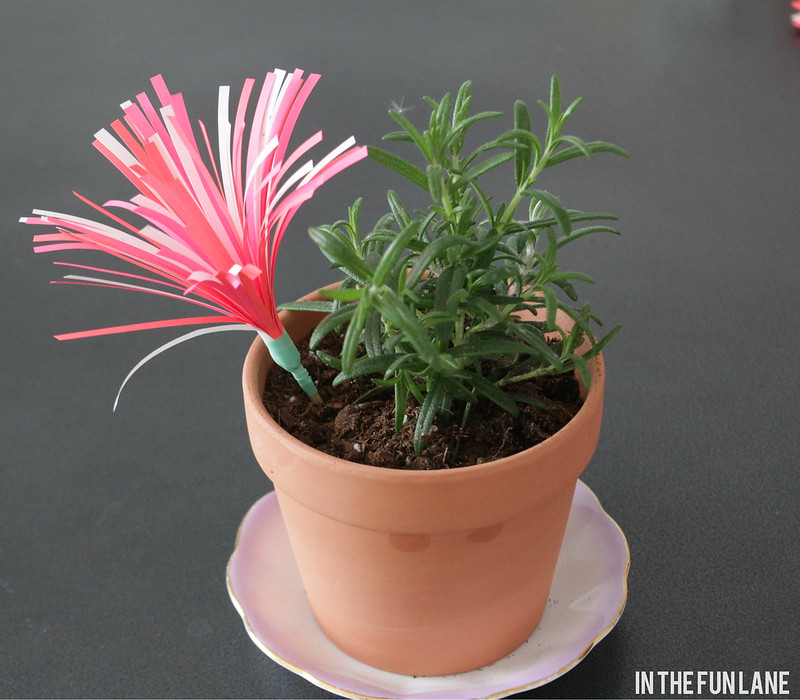
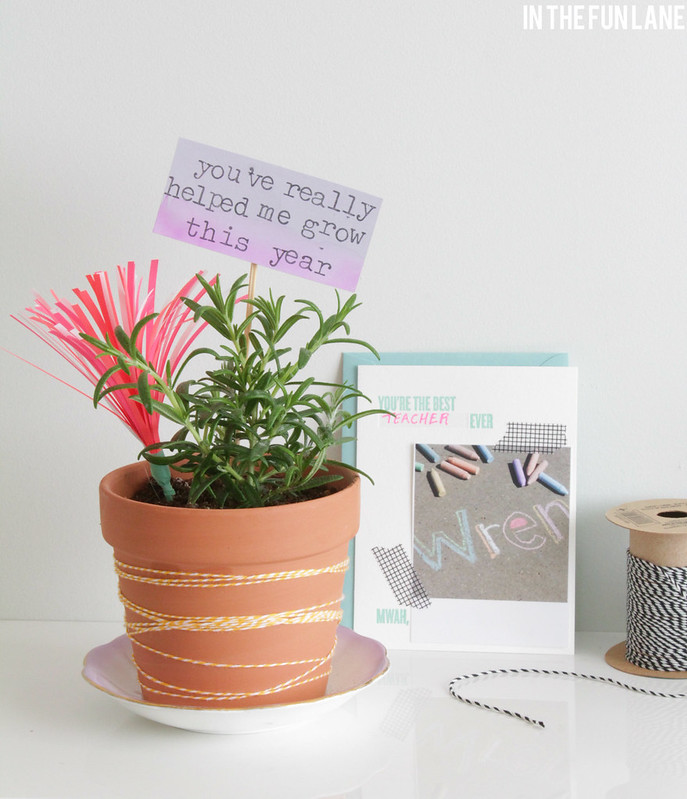
This year we wanted to give Wren's teachers a little thank you that could stick around indefinitely. So we decided on herbs, which are super affordable (and can even be found at the grocery store) and the pots were a great deal at 2 for $1 at the local dollar store. But that didn't seem too exciting so we added a little pop of fun to it with a quick and easy faux flower.
IMG_8162

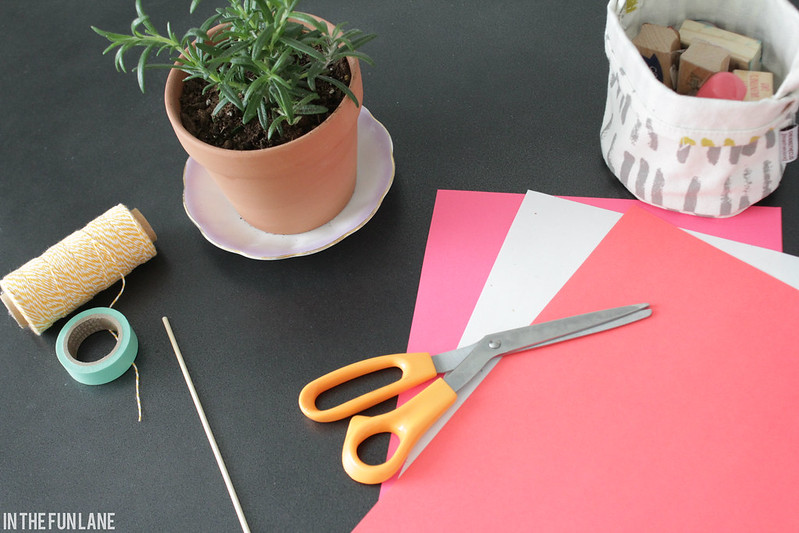
Over the next couple weeks I will be sharing a couple projects that I pulled together using the bright and fun papers the awesome folks at AstroBrights Papers sent my way. They have some really fun colours to play with and various stocks of paper so that you can find the right density depending on your craft.

I chose to pair 'plasma pink', 'rocket red' and 'stardust white' which has some little speckles of colour in it for this project, but you can do any colour combo you like, with as many or few papers as you desire. The only other supplies needed are a small dowel or kabob skewer, scissors and tap.

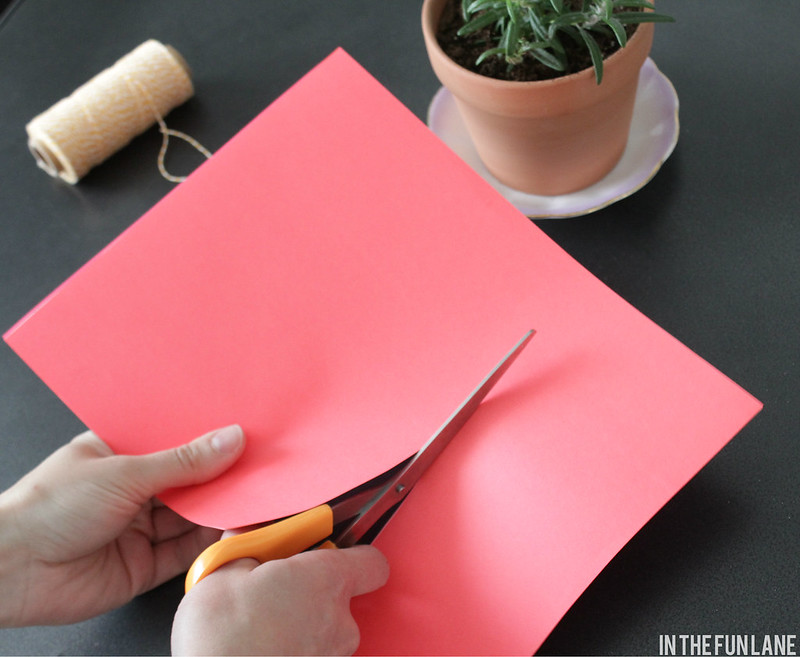
Cut a 3 to 4 inch strip of your papers.
IMG_8163

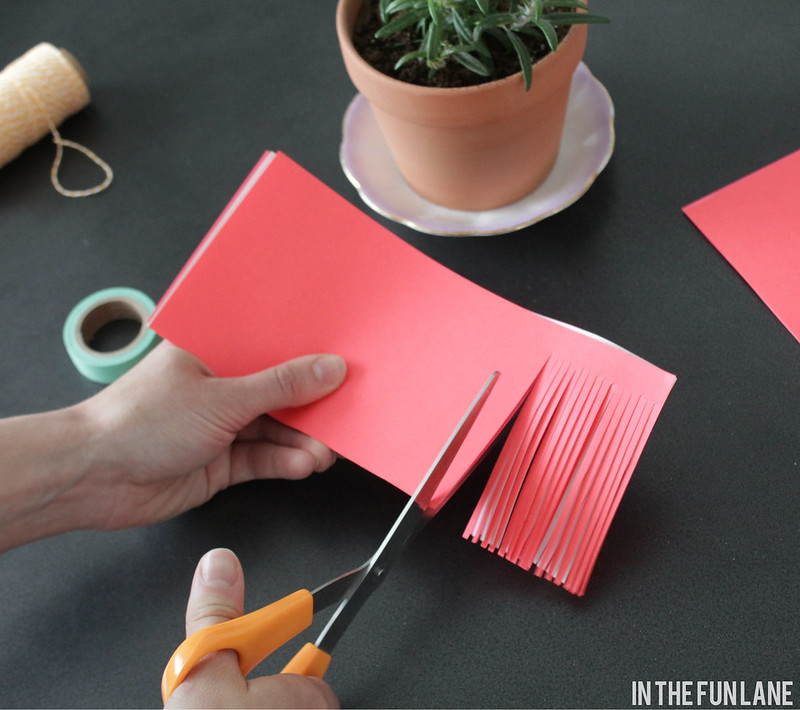
Then just eyeball and cut strips about a quarter inch apart along the length of your papers (I just held and cut all three together to save time), only cutting to about three quarters of an inch from the edge.
IMG_8165

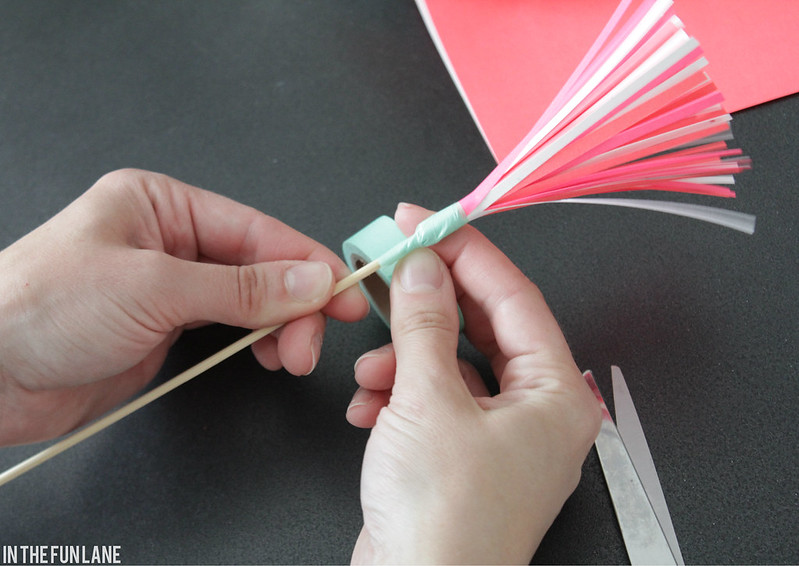
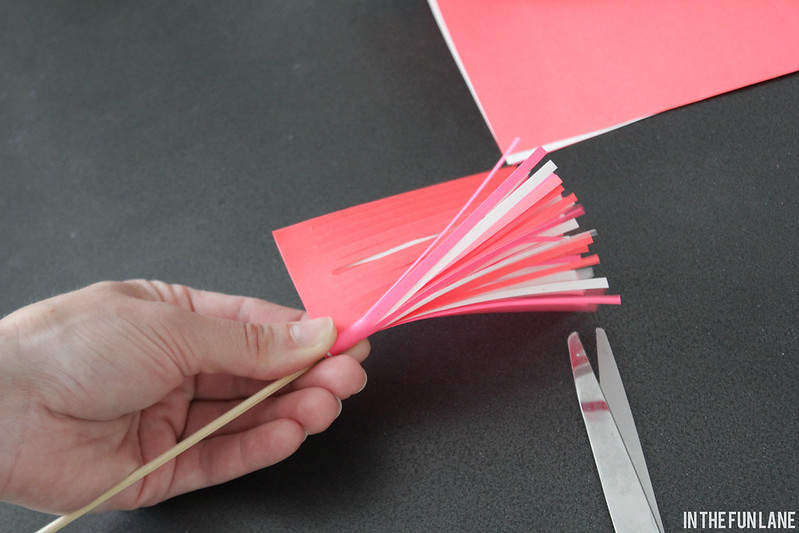
Then wrap the uncut edge around the skewer and tape in place.
IMG_8169
IMG_8170

To make it 'bloom' I simply rolled the strips gently outward on my fingers and played with it till it looked like I wanted it.
IMG_8173

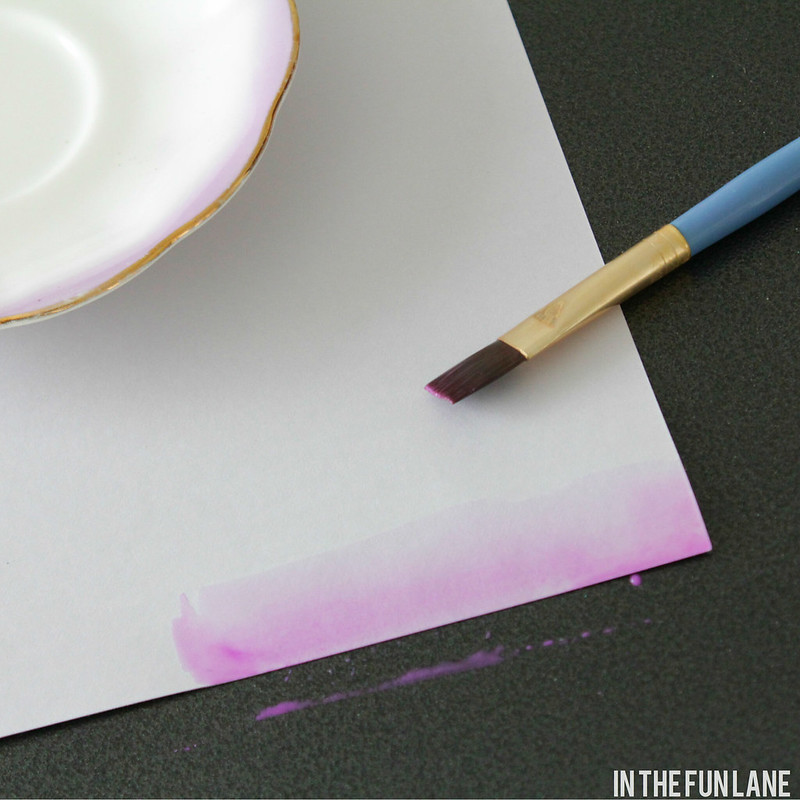
Next, I made a little sign for the pot, and I wanted it to tie in with the vintage plate I used as a saucer so I did a quick swipe of water colour along the bottom of the paper.
IMG_8177

Then we stamped a little message.
IMG_8179

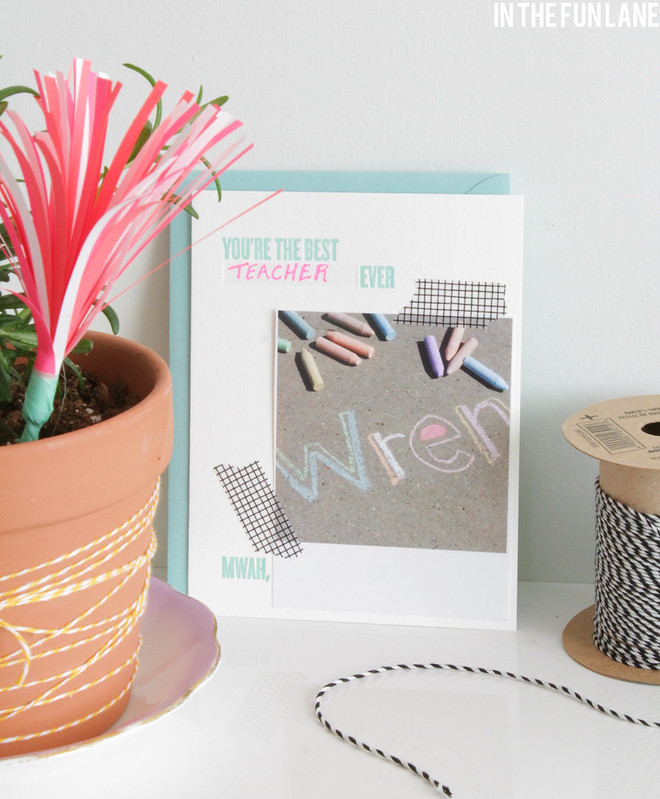
Finally, for the card we used this cute one I found at Urban Outfitters (which you could easily recreate at home!), but to personalize it we taped a picture of Wren's name from last summer that I took on my phone and printed in a batch of photos from Printic a while ago. I love keeping a variety of these Polaroid-like photos around to use in cards and on gifts, and this one made a cute addition to the front of the card.
IMG_8187

A little twine around the pot for some extra colour and in no time we had a cute, easy and homemade gift to tell Wren's teacher and teacher's assistant just how much we appreciate them!
IMG_8183

Wednesday, June 11, 2014

Like, Want, Need!

like
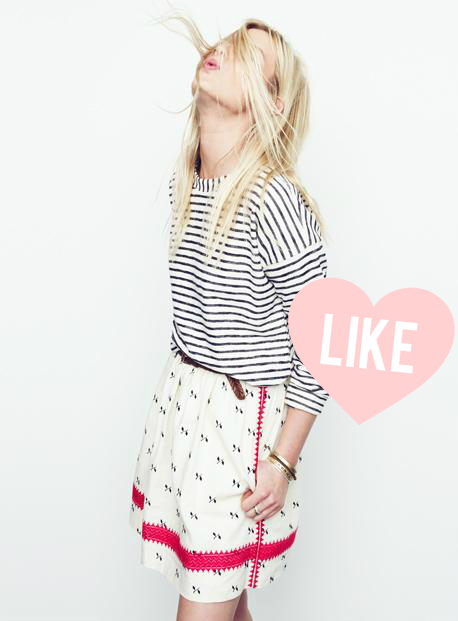
Perfect for Summer, I love the little punch of color on this Madewell skirt.


want
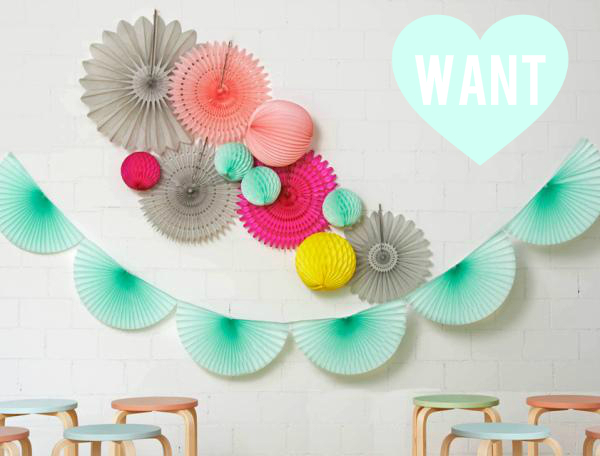
When we were in Paris I discovered Sous Le Lampion. They have the sweetest selection of candy colored honeycomb balls, lanterns and a ton of assorted paper decorations. Eye candy is an understatement (and I love that they ship worldwide!).

need
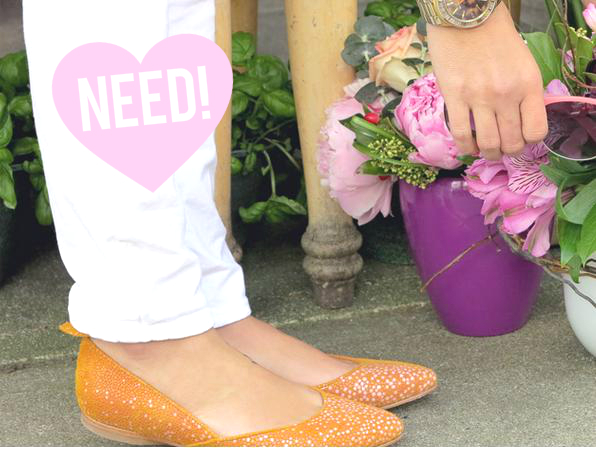
Poppy Barley has my heart palpitating with their adorable limited edition Summer flats! I am a high arched, wide footed lady so I have been thinking about going on a whim and getting some custom made shoes (plus I LOVE that they are local!) and these fit the bill. And considering they are custom made, the bill isn't too crazy. Well done, Poppy Barley, well done.

Tuesday, June 10, 2014

Cabin Progress

So I know I said I would show you this yesterday, but I got held up on the hunt for my next project here in the city. It is a long shot,  but we threw an offer out on a really cool property and if it happens I will finally have my next flip! If not, I keep hunting.

But as for the cabin, things have changed a lot since I showed you last, and have even since these photos two weeks ago I'm sure.

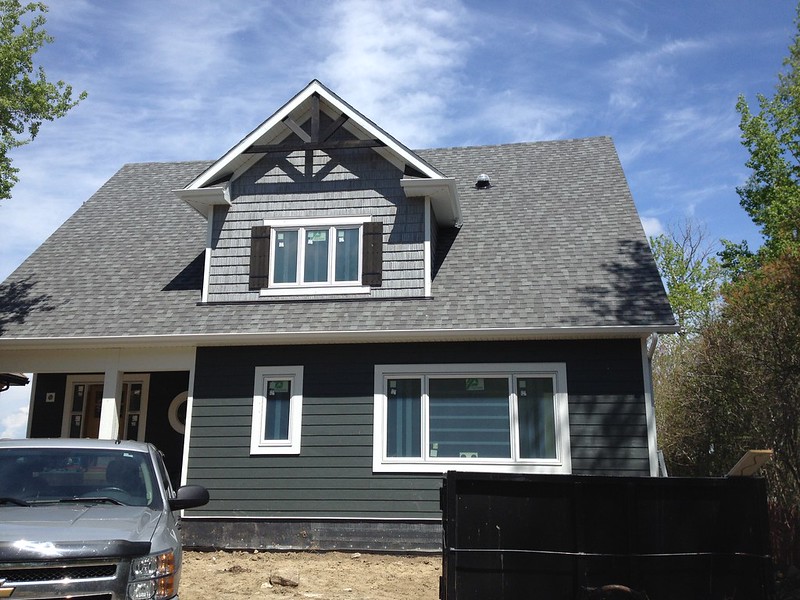
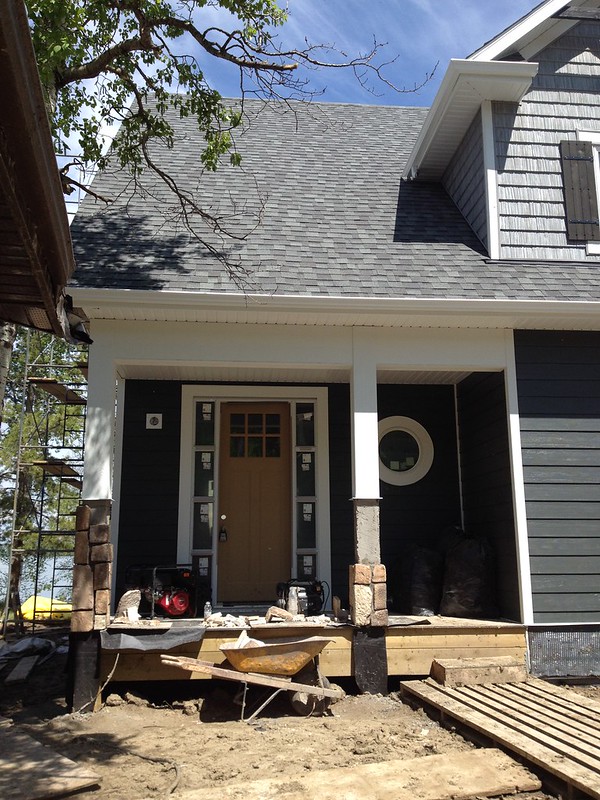
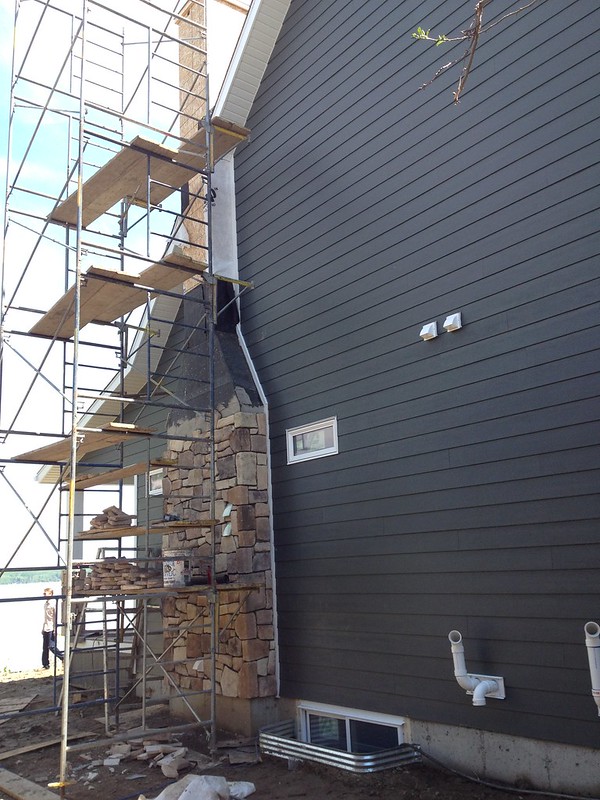
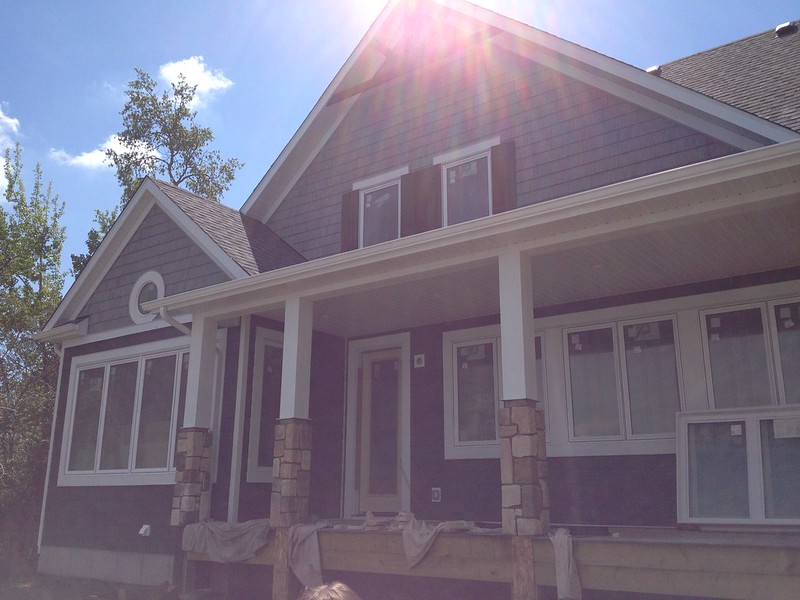
We now have an exterior and the stone work is going up.
photo 1 (5)

The front porch (facing the driveway/road)
photo 2 (4)

The chimney is looking sharp now that the masons are on site.
photo 1 (4)

This is the water side of the house, so we wanted as many windows as possible.
photo 2 (3)

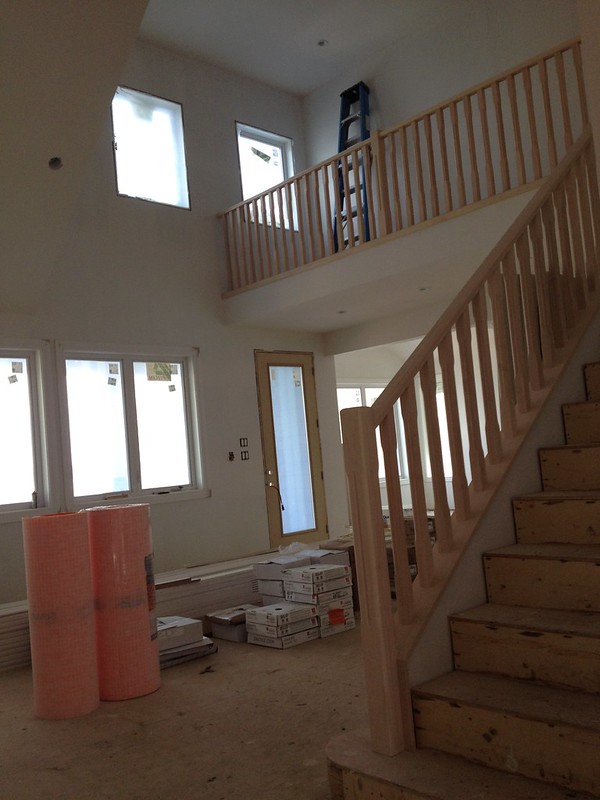
I must have forgot to snap the foyer and powder room, but just off the foyer you come into the living room.
photo 3 (3)

There is a fireplace hiding behind all that trim work that will be covered in stonework as well as a reclaimed beam from the old cabin for the mantle.
photo 5 (3)

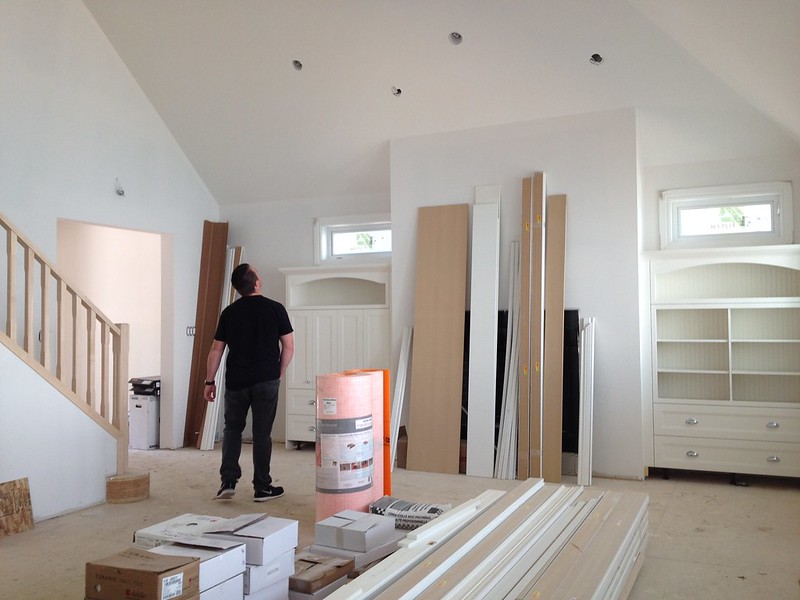
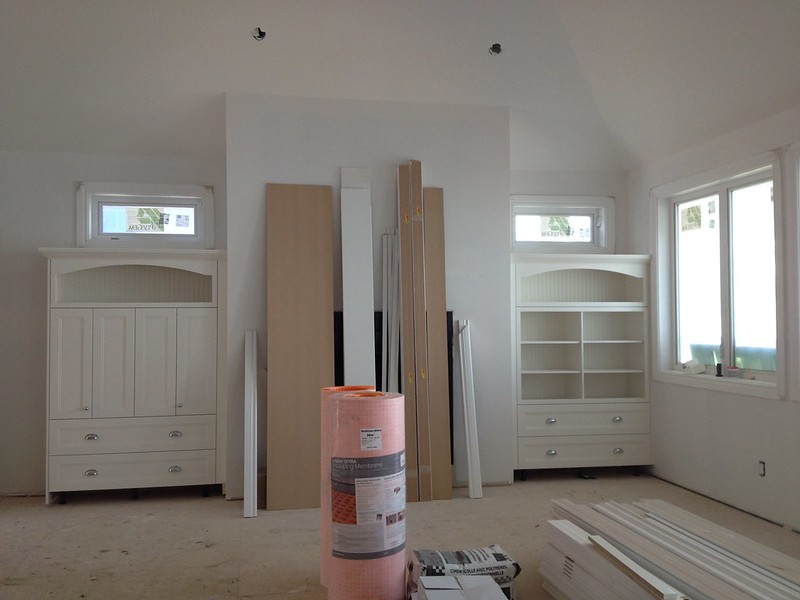
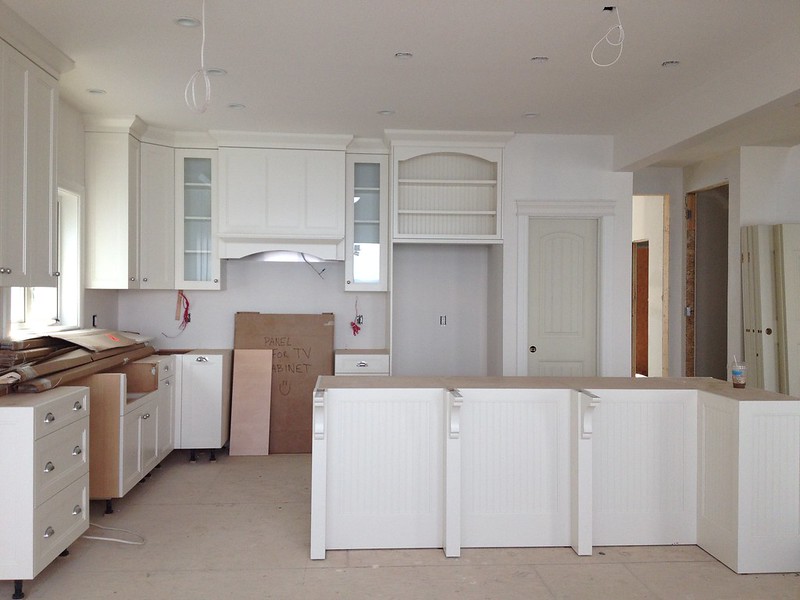
Built ins to hide a TV and hold odds and ends are already in place.
photo 4 (3)

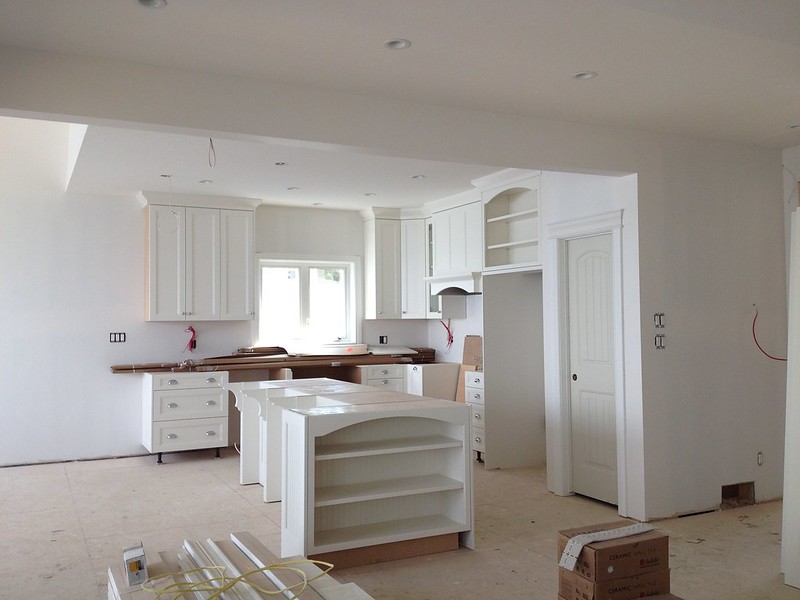
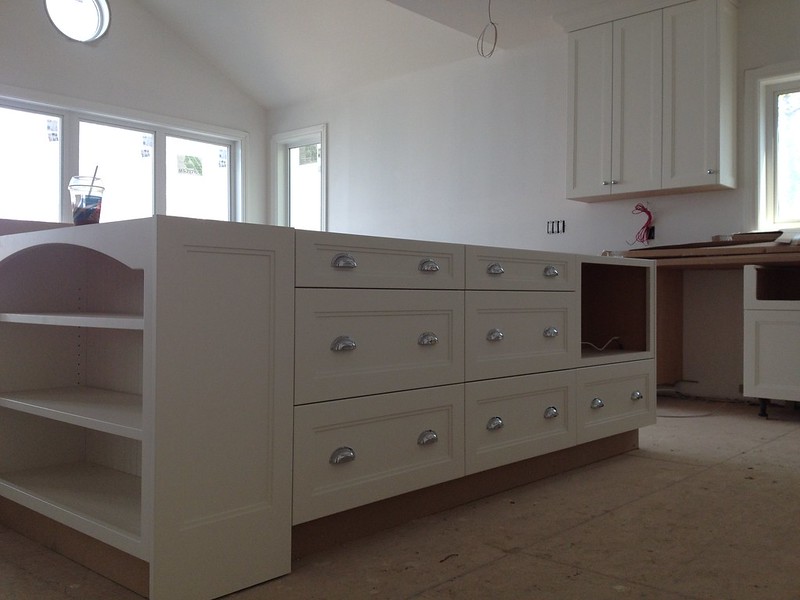
As well as the kitchen cabinets. 
photo 1 (6)

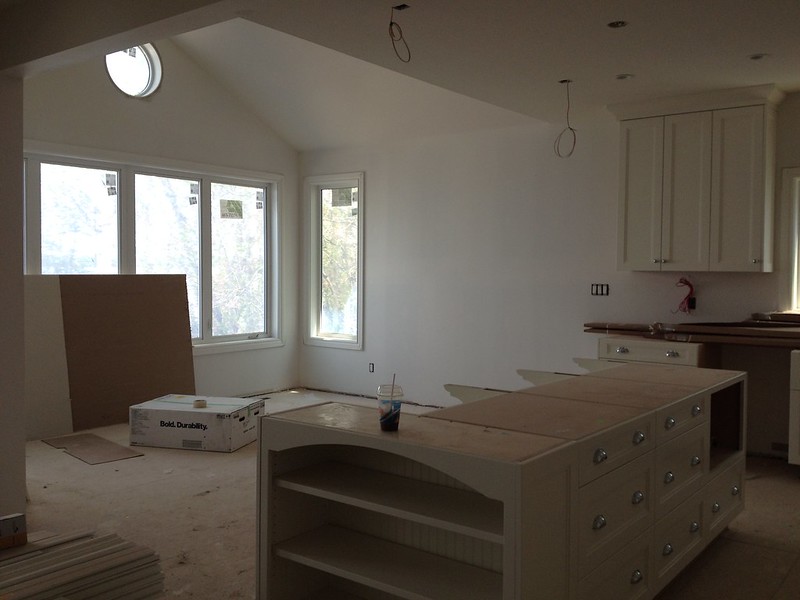
The dining area off the kitchen is vaulted and has a port hole-esque window.
photo 3 (4)

There will be a butcher block countertop on the island and quartz on the rest of the kitchen.
photo 2 (5)

photo 3

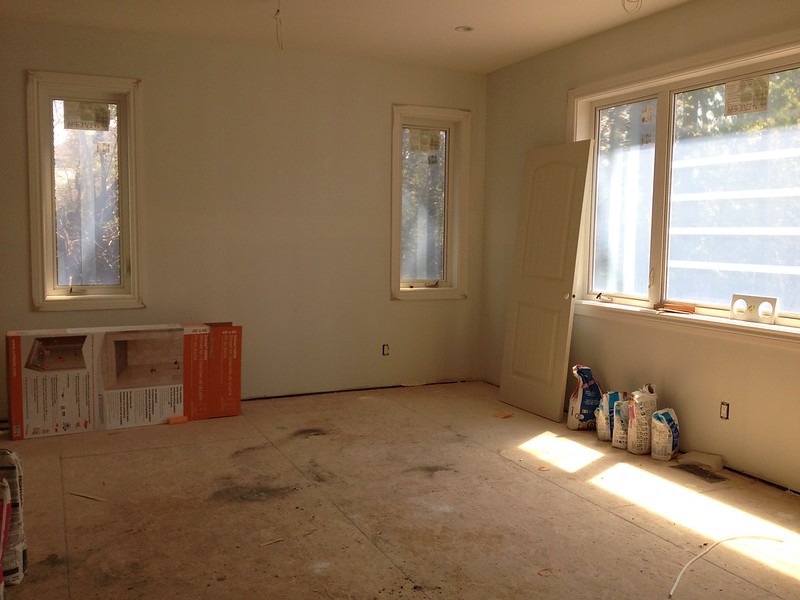
Behind the kitchen is the master bedroom.
photo 5 (4)

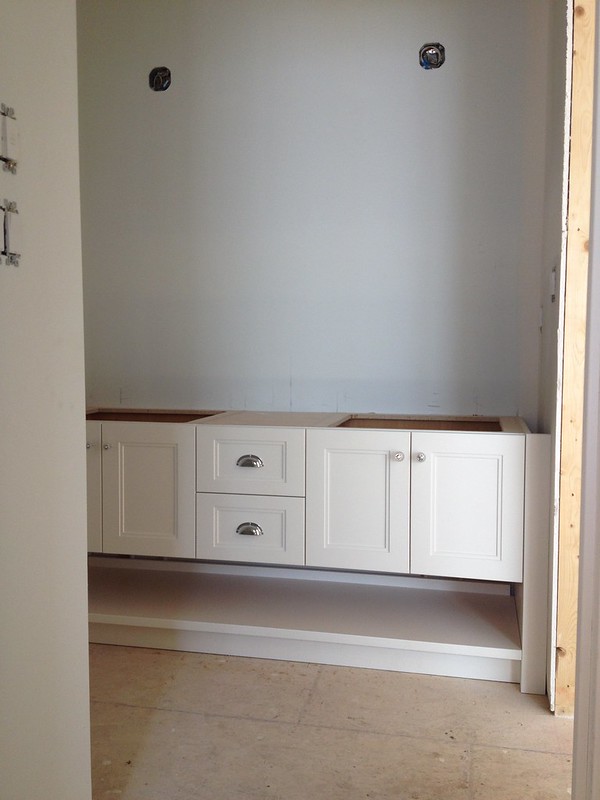
The master bath, and all the bathrooms in the house have segregated toilets and showers from the vanities. It isn't as open, but usually there are several people here on any given weekend and this way we can all have access to our toothbrushes, etc. if someone else is using the shower.
photo 4 (4)
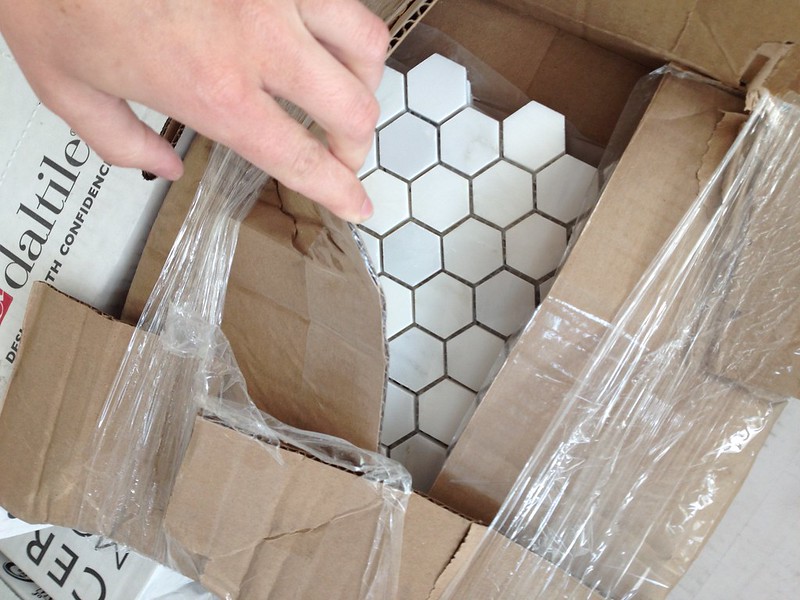
The tiles for the master bath, some marble hex tiles.
photo 4

Upstairs is another bathroom and two bedrooms.
photo 5 (1)

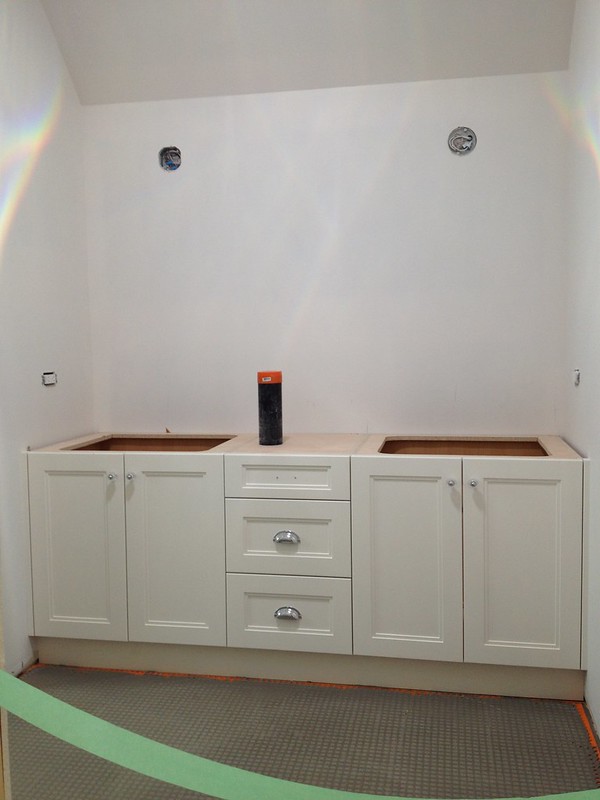
The vanity upstairs.
photo 5 (2)

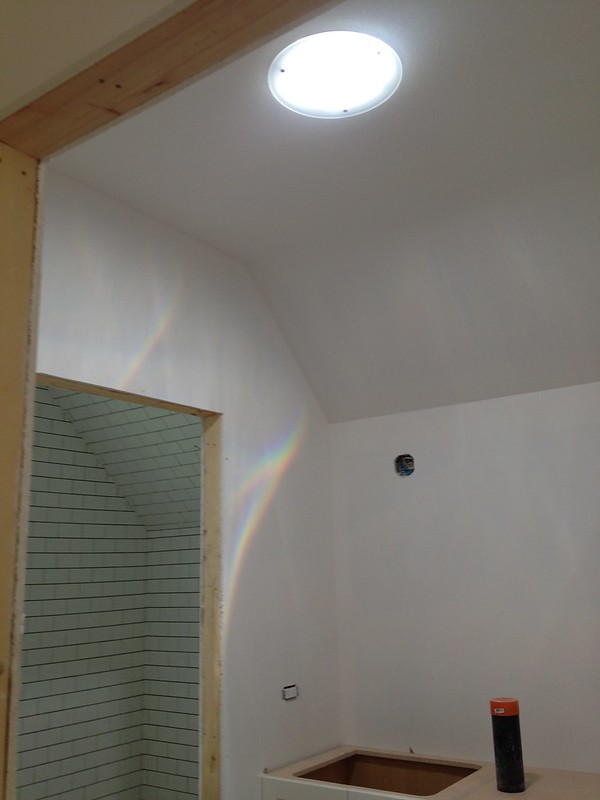
I love how bright it is in here thanks to the solar tube sky light!
photo 2

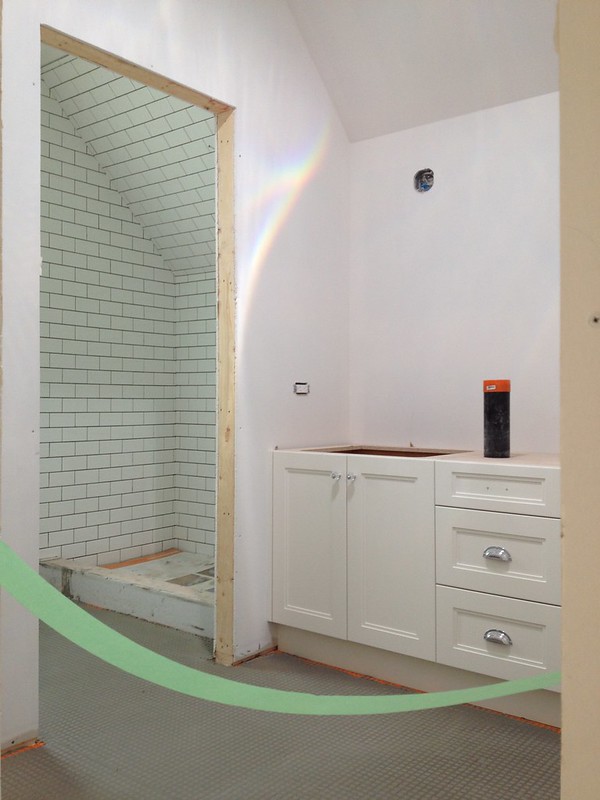
Again, the shower/toilet is segregated.
photo 2 (2)

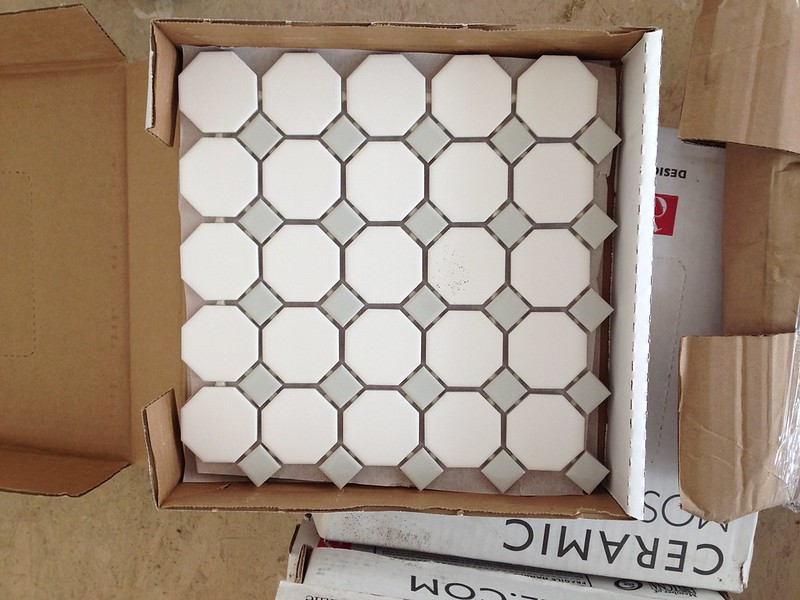
Floor tile for in here is an octagon square combo in white and grey.
photo 5

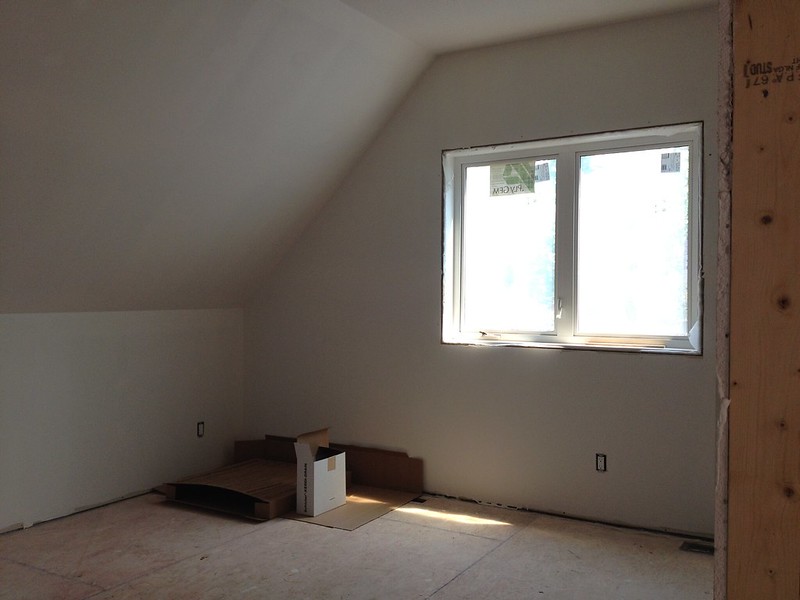
The back bedroom is super cute and will feature matching twin beds along the sloped ceiling 
photo 3 (2)

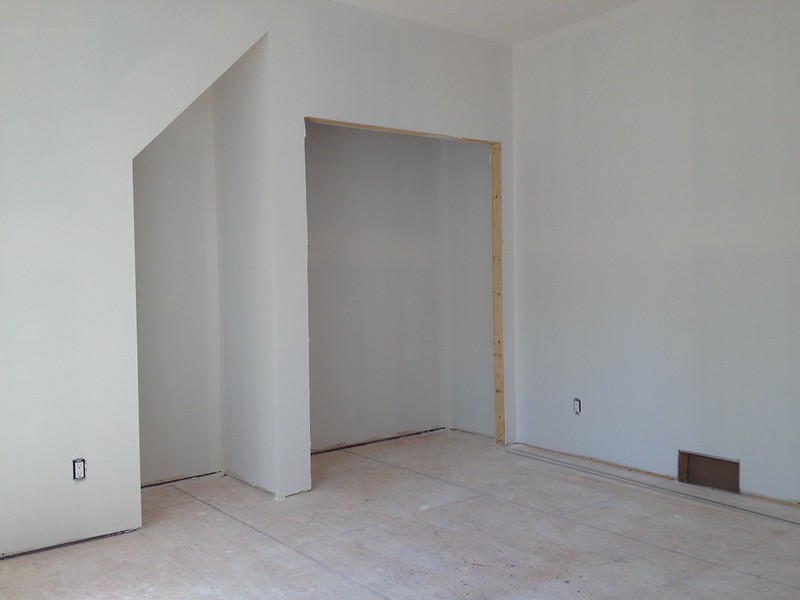
We took out the closet in this room since most people don't need to hang a ton of stuff, or leave much for the weekend. We decided to put a wardrobe or armoire in the corner instead.
photo 4 (2)

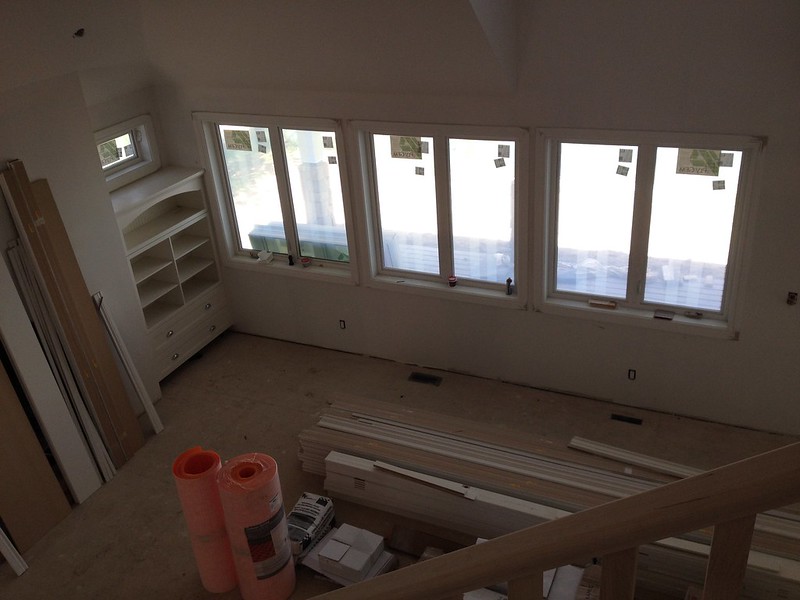
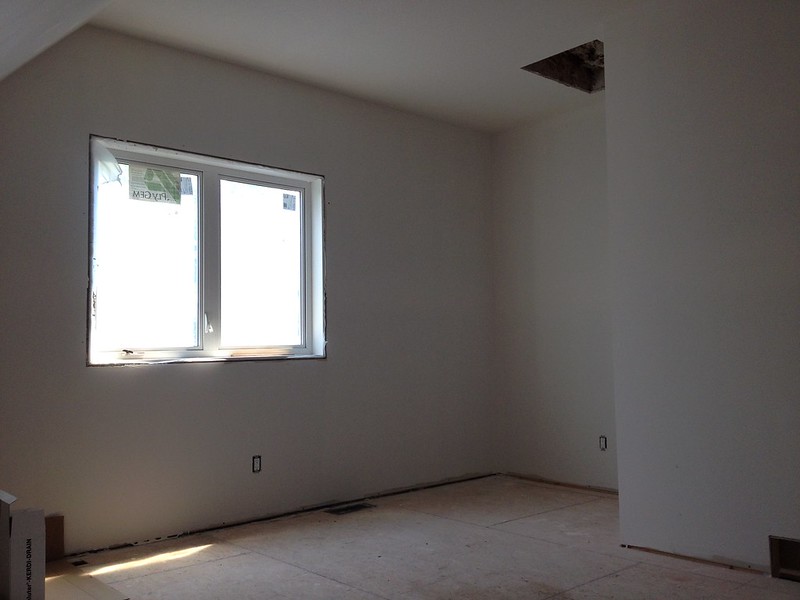
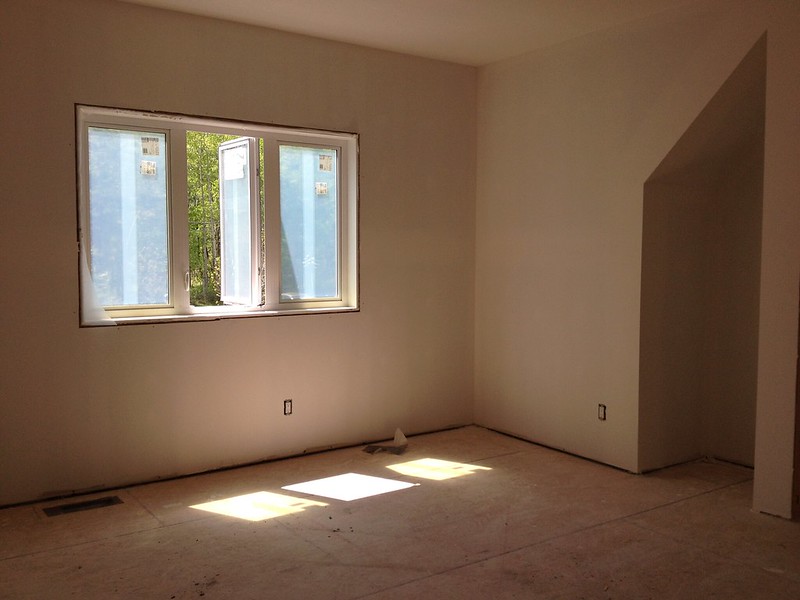
Facing the front of the house is the final bedroom, which belongs to Sean and I. 
photo 2 (1)

My mom wanted to play up the architectural quirks so we left that little cubby instead of drywalling over it and the finisher is going to do some cool shelving in there to put the space to good use.
photo 3 (1)

Still lots to do, but it has come quite a ways and we should be in for July! I can't wait to get all our finds in place and start enjoying the summer here.
 
Blogging tips